在杰理demo上添加自己的功能
为了便于管理和复用,我们将 LED 引脚定义放在一个公共头文件中。
以LED为例子
一、目标说明
我们要在 wifi_story_machine/include 工程中实现以下功能:
- 通过一个 GPIO 引脚(例如
IO_PORTA_00)控制 LED 的点亮和熄灭。 - 提供三个函数:
led_on():点亮 LED。led_off():熄灭 LED。led_toggle():翻转 LED 状态。
- 在程序启动时点亮 LED,并通过定时器实现 LED 闪烁效果。
二、实现步骤
步骤 1:定义 LED 引脚
为了便于管理和复用,我们将 LED 引脚定义放在一个公共头文件中。
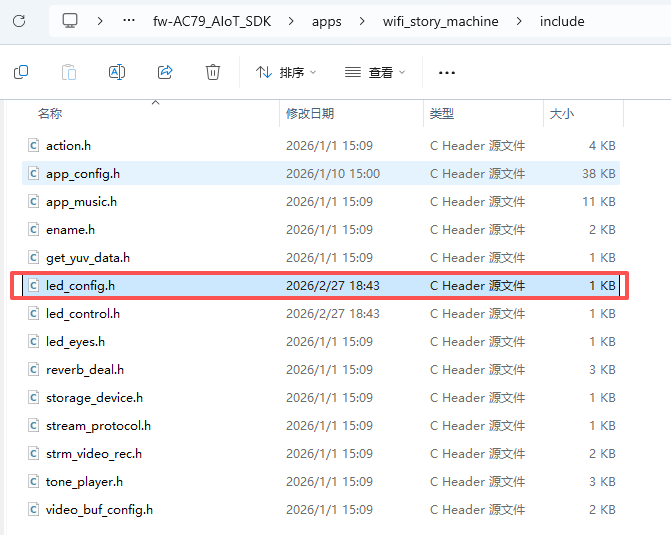
(1)创建头文件 led_config.h
在 apps/wifi_story_machine/include/ 目录下创建 led_config.h 文件:
// led_config.h

#ifndef LED_CONFIG_H
#define LED_CONFIG_H

// 定义 LED 引脚
#define LED_PIN IO_PORTA_00

#endif // LED_CONFIG_H
步骤 2:初始化 LED 引脚
在 board_7911B.c 中初始化 LED 引脚为输出模式。
修改 board_7911B.c
// board_7911B.c

#include "led_config.h"  // 包含 LED 配置头文件
#include "system/includes.h"
#include "gpio.h"

// 初始化 LED 引脚为输出模式
void led_gpio_init(void)
{
    gpio_direction_output(LED_PIN, 0); // 初始状态为低电平(熄灭)
}

void board_init()
{
    board_power_init();
#ifdef CONFIG_RTC_ENABLE
    rtc_early_init();
#endif
#if TCFG_ADKEY_ENABLE || (defined CONFIG_BT_ENABLE || defined CONFIG_WIFI_ENABLE)
    adc_init();
#endif
    key_driver_init();
#ifdef CONFIG_AUTO_SHUTDOWN_ENABLE
    sys_power_init();
#endif
#ifdef CONFIG_BT_ENABLE
    void cfg_file_parse(void);
    cfg_file_parse();
#endif

    // 初始化 LED
    led_gpio_init();
}
步骤 3:编写 LED 控制函数
为了规范,这里按照杰理官方的文件结构编写,当然,简单函数直接写 app_main.c 中实现也是可以的
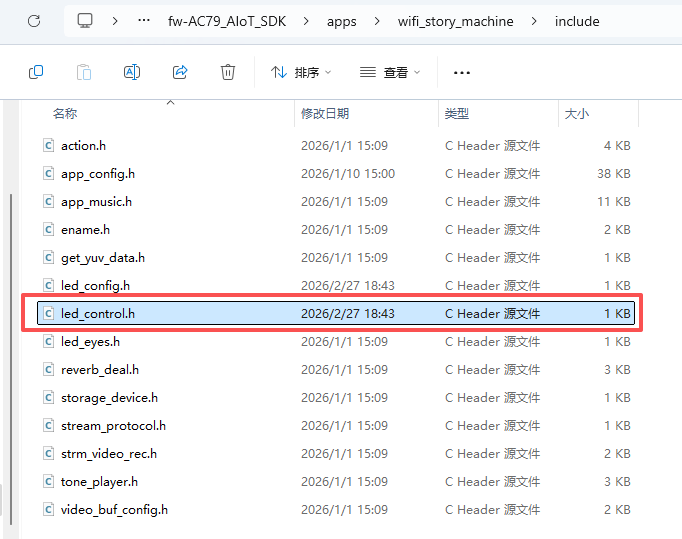
(1)创建 led_control.h
在 apps/wifi_story_machine/include/ 目录下创建 led_control.h 文件:
// led_control.h

#ifndef LED_CONTROL_H
#define LED_CONTROL_H

void led_on(void);
void led_off(void);
void led_toggle(void);

#endif // LED_CONTROL_H
(2)创建 led_control.c
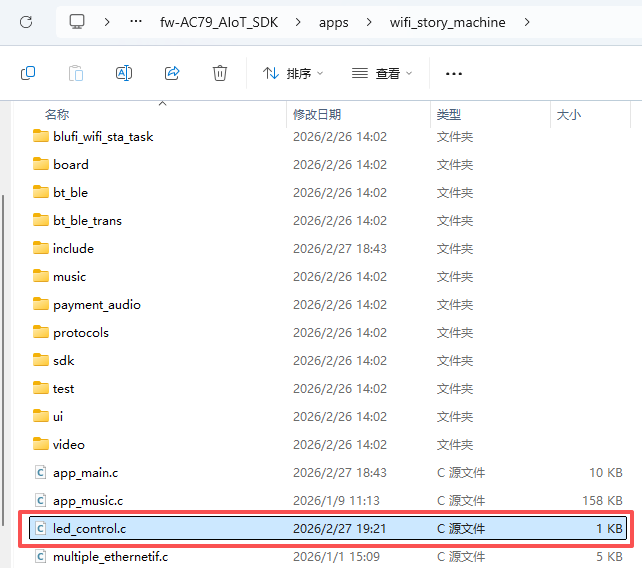
在 apps/wifi_story_machine/目录下创建 led_control.c 文件:
// led_control.c

#include "led_config.h"
#include "gpio.h"
#include "stdint.h"

// 点亮 LED
void led_on(void)
{
    gpio_direction_output(LED_PIN, 1);
}

// 熄灭 LED
void led_off(void)
{
    gpio_direction_output(LED_PIN, 0);
}

// 翻转 LED
void led_toggle(void)
{
    static uint8_t led_state = 0;
    led_state = !led_state;
    gpio_direction_output(LED_PIN, led_state);
}
(3)在 app_main.c 中调用:
#include "led_control.h"

void app_main()
{
void app_main()
{
    struct intent it;

    puts("------------- wifi_story_machine app main-------------\n");

    init_intent(&it);
    it.name = "sta_state";
    it.action = ACTION_MUSIC_PLAY_MAIN;
    start_app(&it);

    //该文件和官方的不太一样,这个是修改过的

    // 点亮 LED
    led_on();
}
步骤 4:修改 Makefile
确保所有新增文件都被编译:
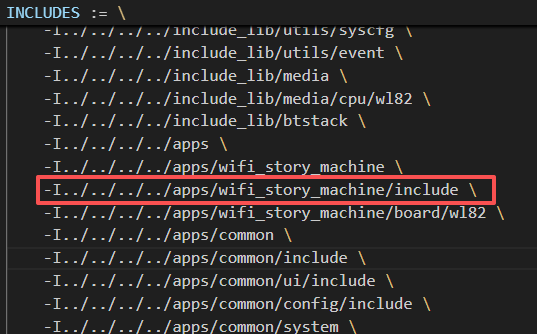
在wifi_story_machine文件夹下创建的led_control.c文件需要在Makefile中添加下图红框的内容,相当于告诉编译器:“这个 wifi_story_machine 文件夹下的 led_control.c 需要编译”
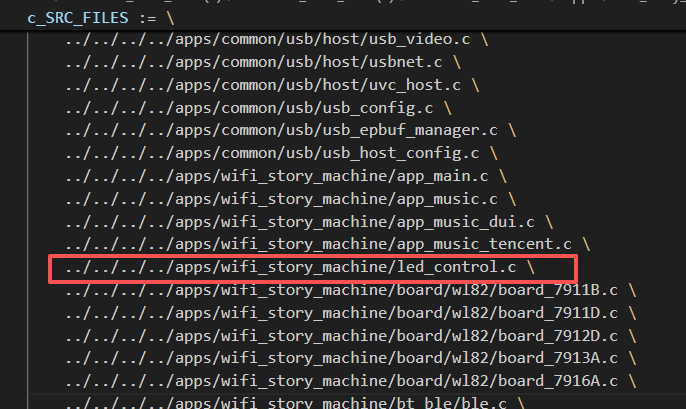
但是对于头文件led_control.h和led_config.h则不需要,因为Makefile文件已经把wifi_story_machine目录下的include文件夹整个添加进来了,不需要额外再添加头文件了,相当于已经将文件夹include中的所有头文件都添加进去了。
以上就是在杰理demo工程中添加自己定义的功能的流程,之后对于其他功能也能按照这个流程进行。

智能硬件社区聚焦AI智能硬件技术生态,汇聚嵌入式AI、物联网硬件开发者,打造交流分享平台,同步全国赛事资讯、开展 OPC 核心人才招募,助力技术落地与开发者成长。
更多推荐


 8
8 0
0- 0


 已为社区贡献2条内容

所有评论(0)