树莓派5部署yolo
本文旨在给出在树莓派5B以及目前最新的基于Debian version: 12 bookworm的raspberrypiOS上部署yolo的教程。不同于一些过时的教程,这篇教程中的方法会强调与老方法的不同点以及需要注意的坑。
一、前言
本文旨在给出在树莓派5B以及目前最新的基于Debian version: 12 bookworm的raspberrypiOS上部署yolo的教程。不同于一些过时的教程,这篇教程中的方法会强调与老方法的不同点以及需要注意的坑。
二,检测摄像头
最新的树莓派系统不需要在raspi-config中开启摄像头了,如果在raspi-config中找会发现找不到摄像头的选项。
所以安装好摄像头后直接在终端中运行
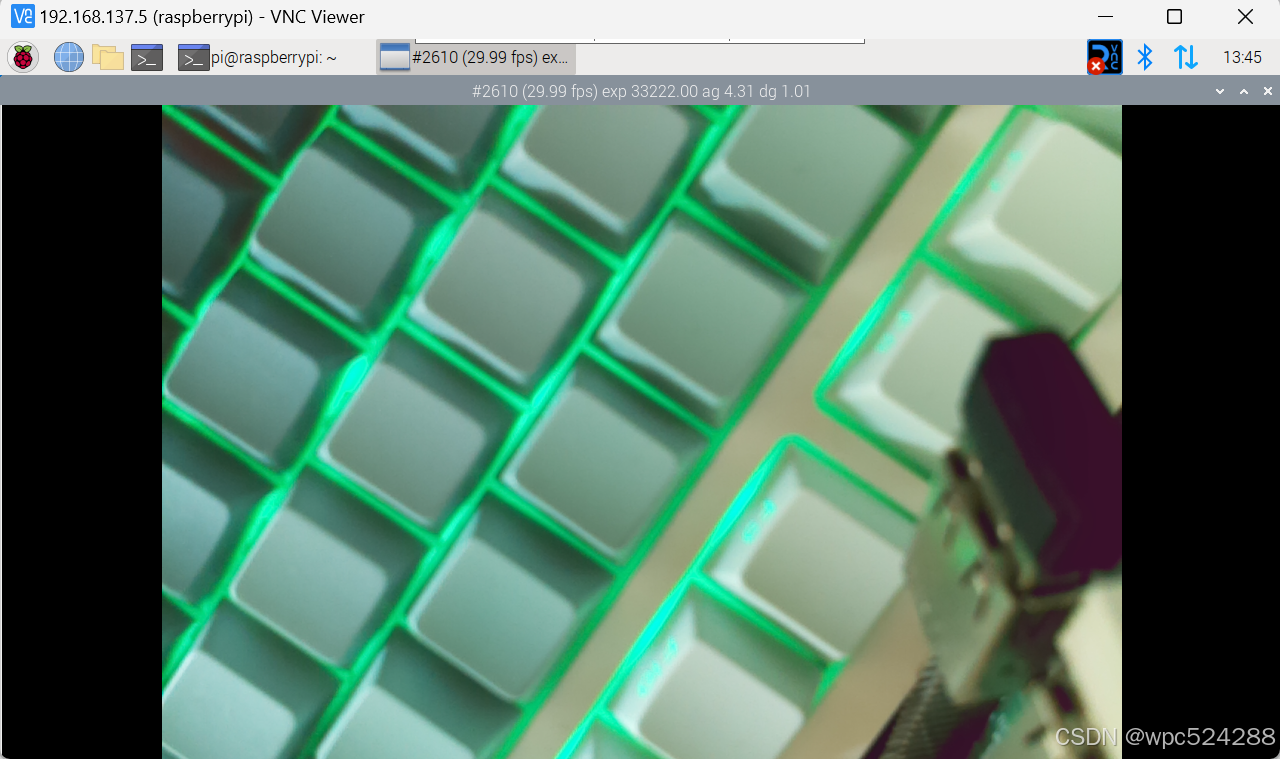
sudo libcamera-hello -t 0 --camera 0
(这里是把摄像头装到CAM0接口)
如果能看到画面就算摄像头安装成功
三、安装库
根据官方给出的代码,我们要安装一些python的库:opencv、picamera2、ultralytics。
但是我们如果直接pip安装会发现报错error: externally-managed-environment This environment is externally managed。但是如果创建虚拟环境的话会找不到libcamera库,所以我们要执行下面的命令
sudo mv /usr/lib/python3.11/EXTERNALLY-MANAGED /usr/lib/python3.11/EXTERNALLY-MANAGED.bak这样就可以进行pip安装了。
四、运行代码
这里我用的是官网最新的代码,很多老的教程这里还是通过cv2.videocapture()来获取摄像头图像,如果还是这样用的话会报错,所以我们要用picamera2。
import cv2
from picamera2 import Picamera2
from ultralytics import YOLO
# Initialize the Picamera2
picam2 = Picamera2()
picam2.preview_configuration.main.size = (1280, 720)
picam2.preview_configuration.main.format = "RGB888"
picam2.preview_configuration.align()
picam2.configure("preview")
picam2.start()
# Load the YOLO11 model
model = YOLO("yolo11n.pt")
while True:
# Capture frame-by-frame
frame = picam2.capture_array()
# Run YOLO11 inference on the frame
results = model(frame)
# Visualize the results on the frame
annotated_frame = results[0].plot()
# Display the resulting frame
cv2.imshow("Camera", annotated_frame)
# Break the loop if 'q' is pressed
if cv2.waitKey(1) == ord("q"):
break
# Release resources and close windows
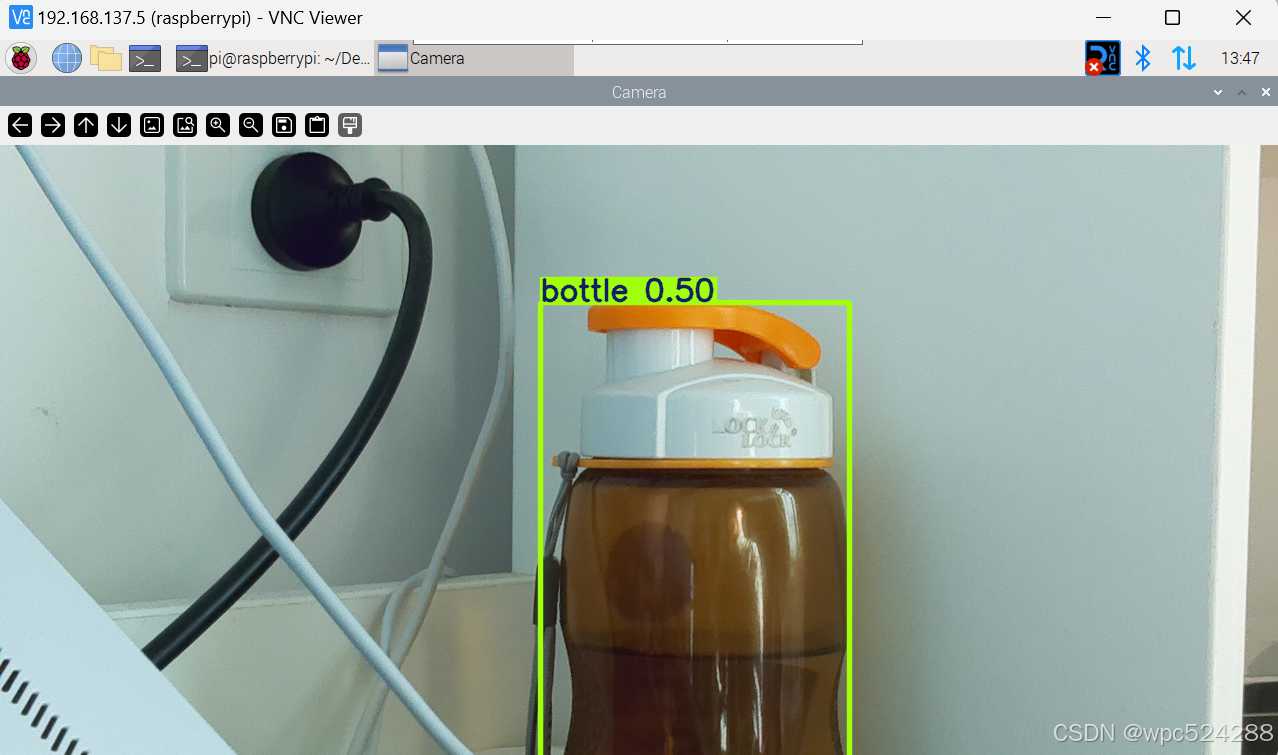
cv2.destroyAllWindows()这段代码第一次运行会下载yolov11的模型,下载完毕后会出现一个窗口显示摄像头图像,按q键可以退出。

智能硬件社区聚焦AI智能硬件技术生态,汇聚嵌入式AI、物联网硬件开发者,打造交流分享平台,同步全国赛事资讯、开展 OPC 核心人才招募,助力技术落地与开发者成长。
更多推荐

 13
13 0
0- 0


 已为社区贡献4条内容

所有评论(0)