BlueZ编译
交叉编译需要很多arm64的依赖,有些依赖又依赖于其他的依赖,子子孙孙无穷尽也... 总结起来就是非常复杂,但实际上我们只需要有编译出来的arm64位的这些库就行了,在公司的RK3568源码里面已经集成了这些库,我们只需要调用这些已经被编译好的库就行了,下面是编译这些arm64的库的脚本,我们只需要在bluez源码目录下执行这个脚本,然后就可以make && sudo make install了。
编译Bluez(x86架构)
1. 下载并解压Bluez源码
Bluez官网:https://www.bluez.org/download/
选择下载最新版本的bluez:
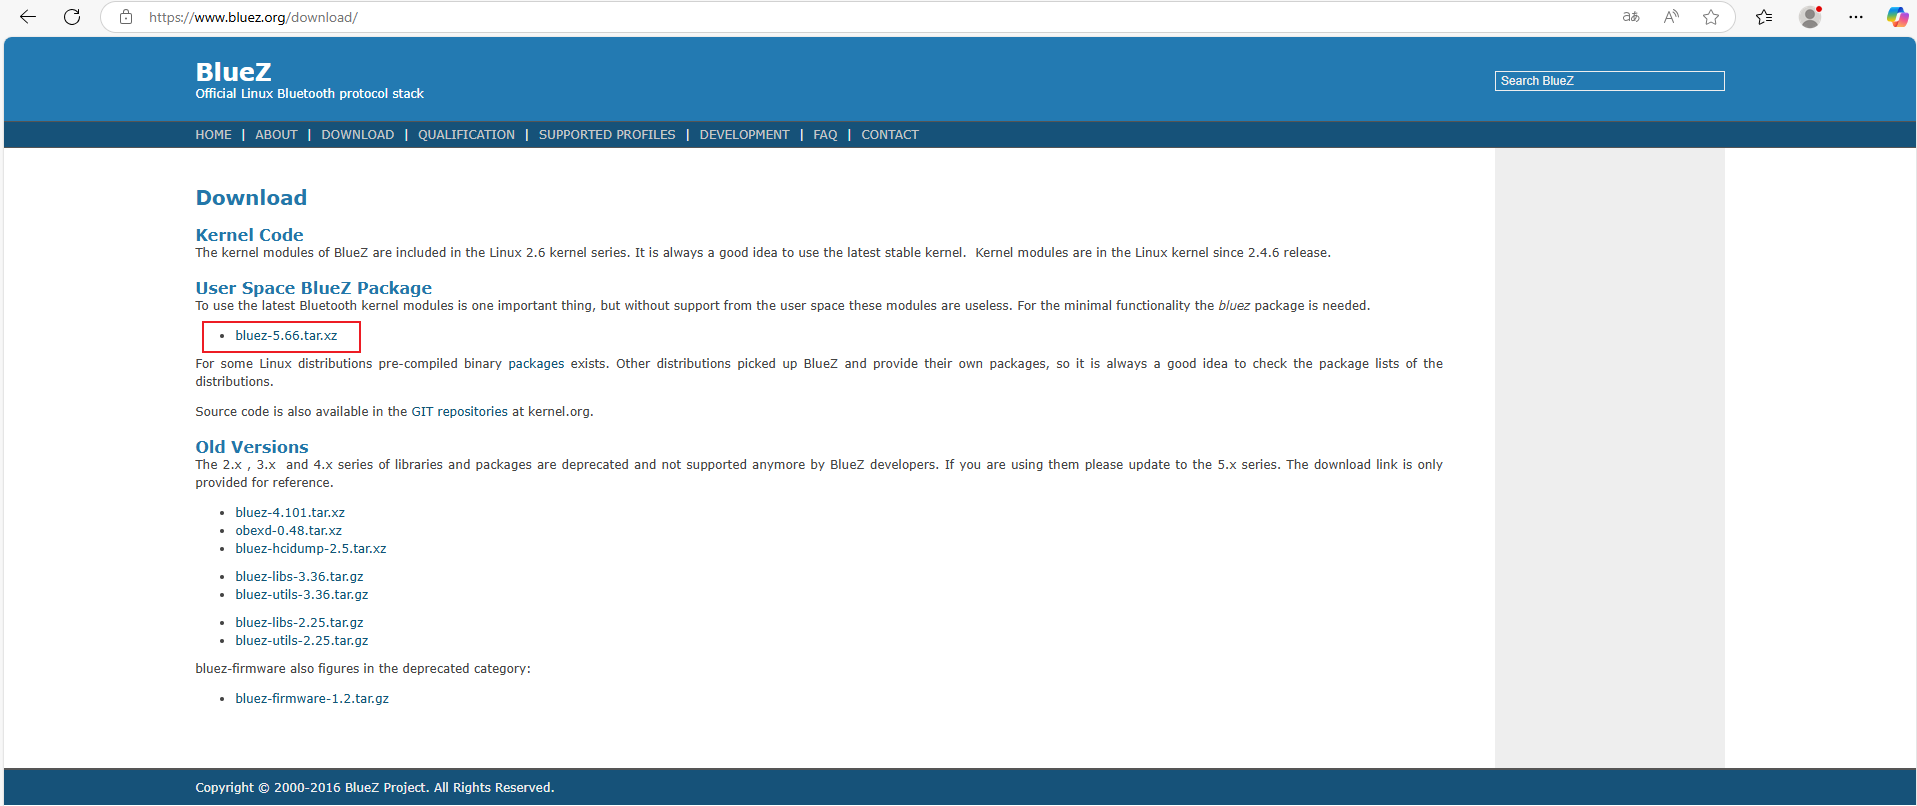
*该网址需要在Linux下打开
创建一个目录Bluez,将下载好的安装包剪切到目录下,右键选择解压到本地
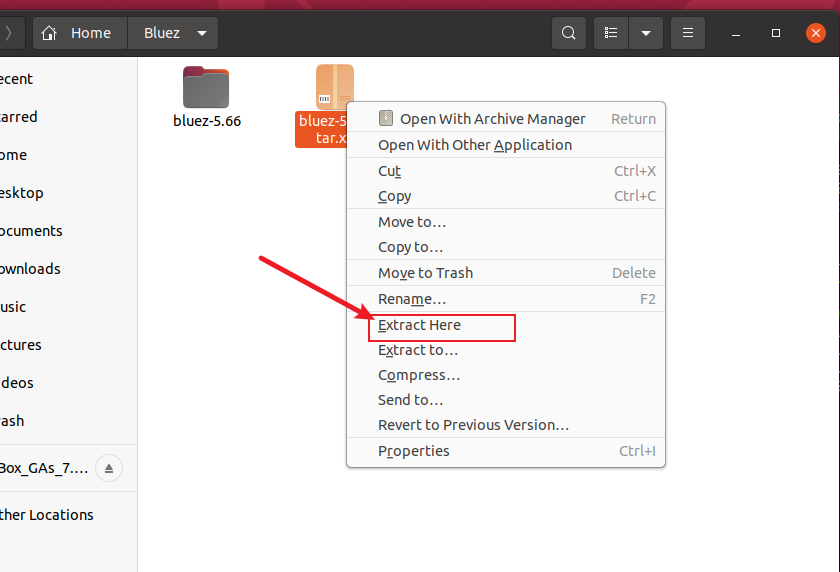
解压之后我们就获得了名为bluez-5.66的文件夹,里面存放的就是bluez的源码了
2. Bluez编译环境搭建
一般拿到一份代码,但是你不知道怎么编译运行的时候,可以查看代码中的README文件,里面会提供编译运行指导:
cat README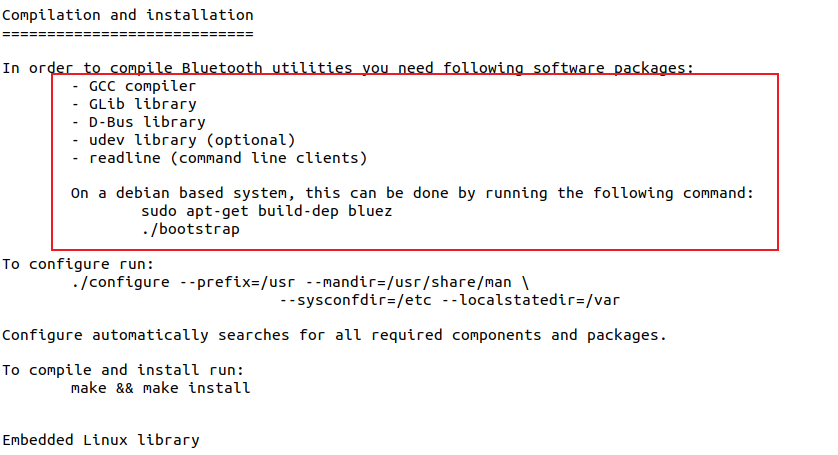
可以看到这里需要安装一堆依赖,如果是debian系的系统,bluez提供了一个脚本文件一键安装依赖。
sudo apt-get build-dep bluez可以发现是报错了
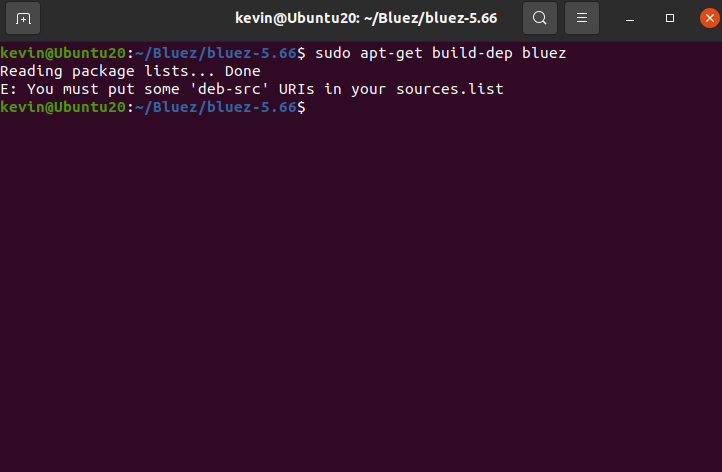
问一下AI,就知道这种报错的原因:
apt-get build-dep命令的主要作用是安装编译特定软件包所必需的依赖项,不过它需要访问源码包信息才能够正常工作。你当前收到的错误提示,表明你的sources.list文件里没有配置源码仓库。
所以我们得修改sources.list文件中的内容,配置源码仓库。
sudo nano /etc/apt/sources.listsource.list中的内容如下:
#deb cdrom:[Ubuntu 20.04.6 LTS _Focal Fossa_ - Release amd64 (20230316)]/ focal main restricted

# See http://help.ubuntu.com/community/UpgradeNotes for how to upgrade to
# newer versions of the distribution.
deb http://cn.archive.ubuntu.com/ubuntu/ focal main restricted
# deb-src http://cn.archive.ubuntu.com/ubuntu/ focal main restricted

## Major bug fix updates produced after the final release of the
## distribution.
deb http://cn.archive.ubuntu.com/ubuntu/ focal-updates main restricted
# deb-src http://cn.archive.ubuntu.com/ubuntu/ focal-updates main restricted

## N.B. software from this repository is ENTIRELY UNSUPPORTED by the Ubuntu
## team. Also, please note that software in universe WILL NOT receive any
## review or updates from the Ubuntu security team.
deb http://cn.archive.ubuntu.com/ubuntu/ focal universe
# deb-src http://cn.archive.ubuntu.com/ubuntu/ focal universe
deb http://cn.archive.ubuntu.com/ubuntu/ focal-updates universe
# deb-src http://cn.archive.ubuntu.com/ubuntu/ focal-updates universe

## N.B. software from this repository is ENTIRELY UNSUPPORTED by the Ubuntu
## team, and may not be under a free licence. Please satisfy yourself as to
## your rights to use the software. Also, please note that software in
## multiverse WILL NOT receive any review or updates from the Ubuntu
## security team.
deb http://cn.archive.ubuntu.com/ubuntu/ focal multiverse
# deb-src http://cn.archive.ubuntu.com/ubuntu/ focal multiverse
deb http://cn.archive.ubuntu.com/ubuntu/ focal-updates multiverse
# deb-src http://cn.archive.ubuntu.com/ubuntu/ focal-updates multiverse

## N.B. software from this repository may not have been tested as
## extensively as that contained in the main release, although it includes
## newer versions of some applications which may provide useful features.
## Also, please note that software in backports WILL NOT receive any review
## or updates from the Ubuntu security team.
deb http://cn.archive.ubuntu.com/ubuntu/ focal-backports main restricted universe multiverse
# deb-src http://cn.archive.ubuntu.com/ubuntu/ focal-backports main restricted universe multiverse

## Uncomment the following two lines to add software from Canonical's
## 'partner' repository.
## This software is not part of Ubuntu, but is offered by Canonical and the
## respective vendors as a service to Ubuntu users.
# deb http://archive.canonical.com/ubuntu focal partner
# deb-src http://archive.canonical.com/ubuntu focal partner

deb http://security.ubuntu.com/ubuntu focal-security main restricted
# deb-src http://security.ubuntu.com/ubuntu focal-security main restricted
deb http://security.ubuntu.com/ubuntu focal-security universe
# deb-src http://security.ubuntu.com/ubuntu focal-security universe
deb http://security.ubuntu.com/ubuntu focal-security multiverse
# deb-src http://security.ubuntu.com/ubuntu focal-security multiverse

# This system was installed using small removable media
# (e.g. netinst, live or single CD). The matching "deb cdrom"
# entries were disabled at the end of the installation process.
# For information about how to configure apt package sources,
# see the sources.list(5) manual.
可以发现,所有deb-src的配置项都被注释掉了,我们取消其注释并保存退出后,再使用命令更新软件包索引(包括源码仓库信息)
sudo apt update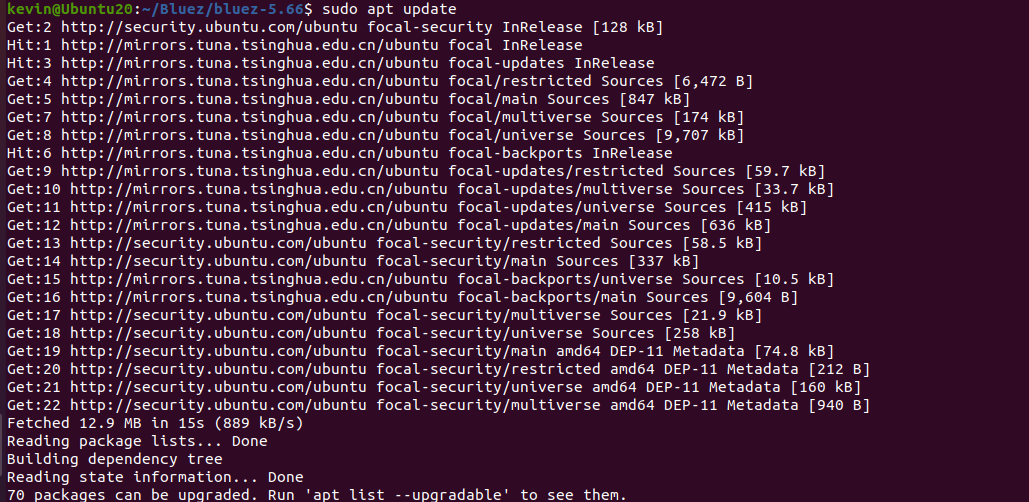
再次执行安装脚本文件的指令就可以执行成功了
执行脚本以安装依赖:
./bootstrap但是!居然发现没有bootstrap文件!!!
问了AI,他给出的解释是可能是我的安装包有损坏,建议我重新拉取。。
这回答一看就不靠谱,所以我把我当前源码包里的文件都问了AI,结果发现configure.ac也是编译脚本。
原来是当前版本的Bluez源码使用autogen.sh替代了bootstrap。
# 手动生成配置脚本(替代bootstrap的作用)
autoreconf -fi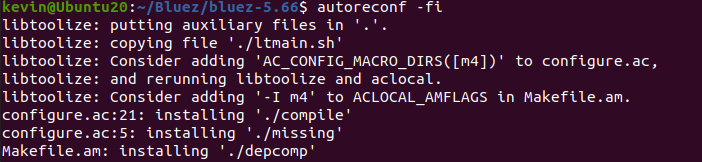
执行后,会自动生成configure脚本,接下来就可以继续按照README进行配置和编译。
./configure --prefix=/usr --mandir=/usr/share/man --sysconfdir=/etc --localstatedir=/var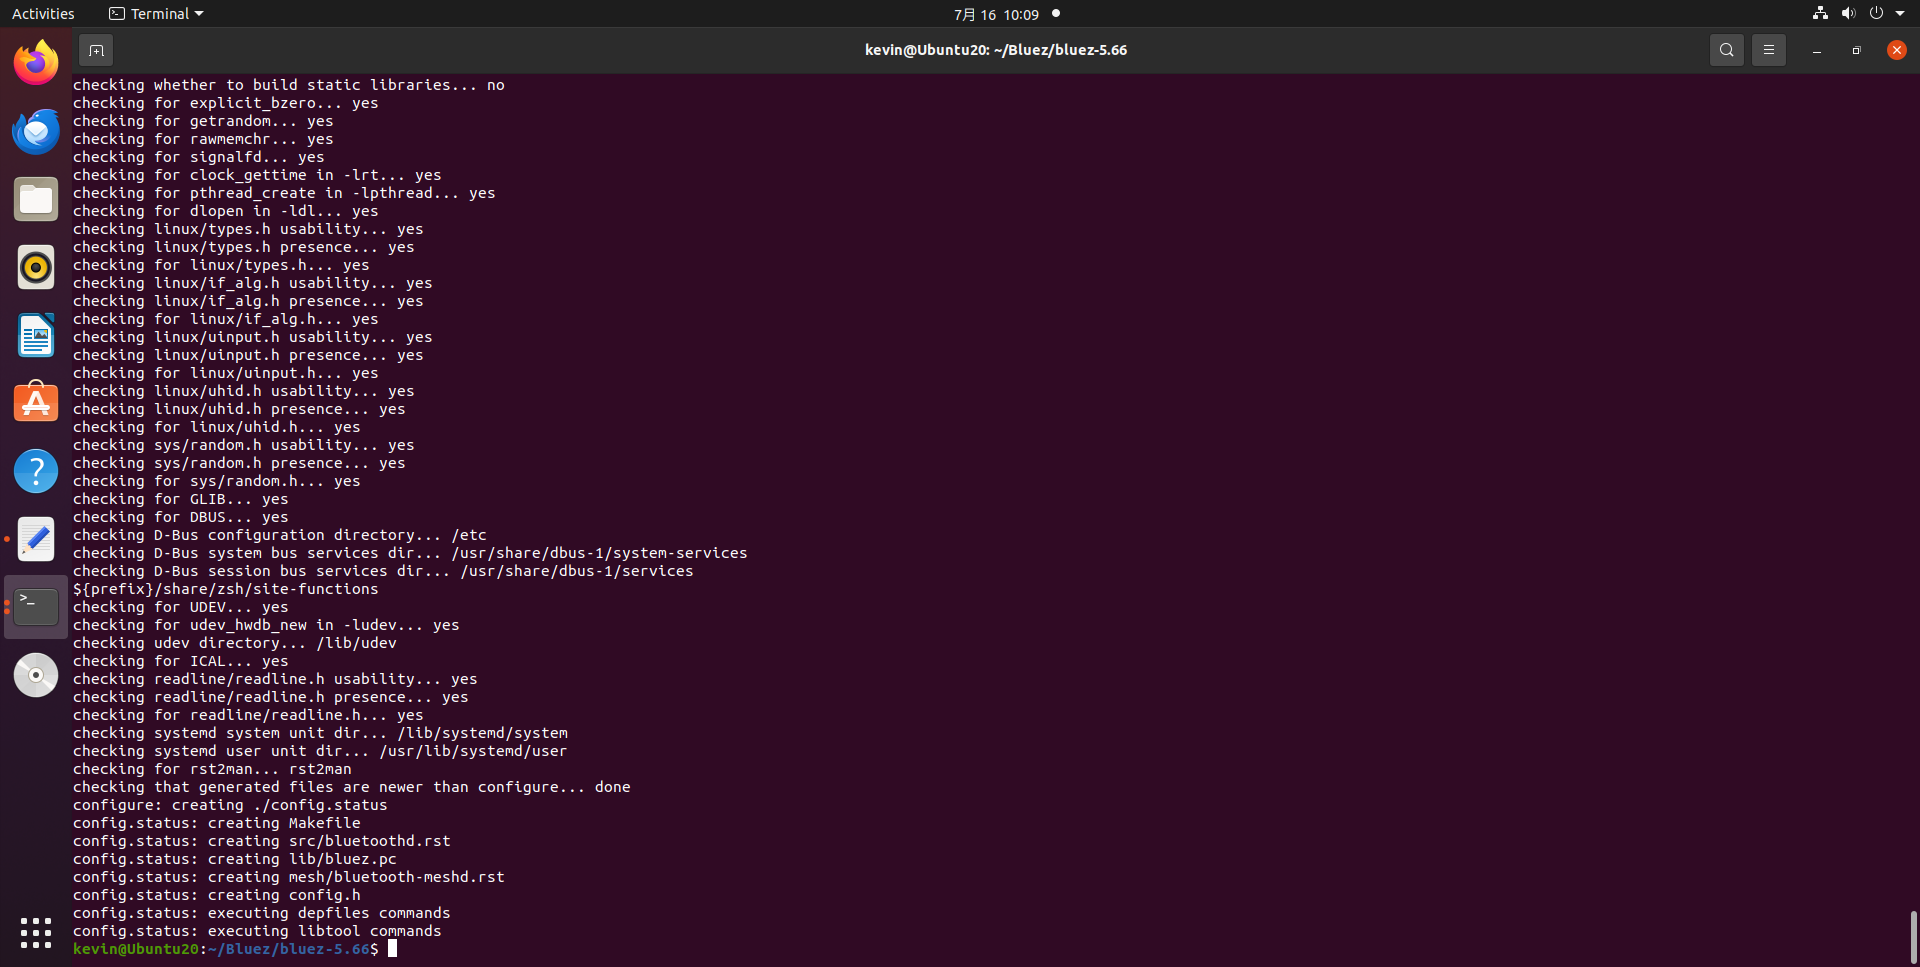
3. 编译Bluez
按照README的编译指导,安装完毕依赖后就可以直接执行
make && make install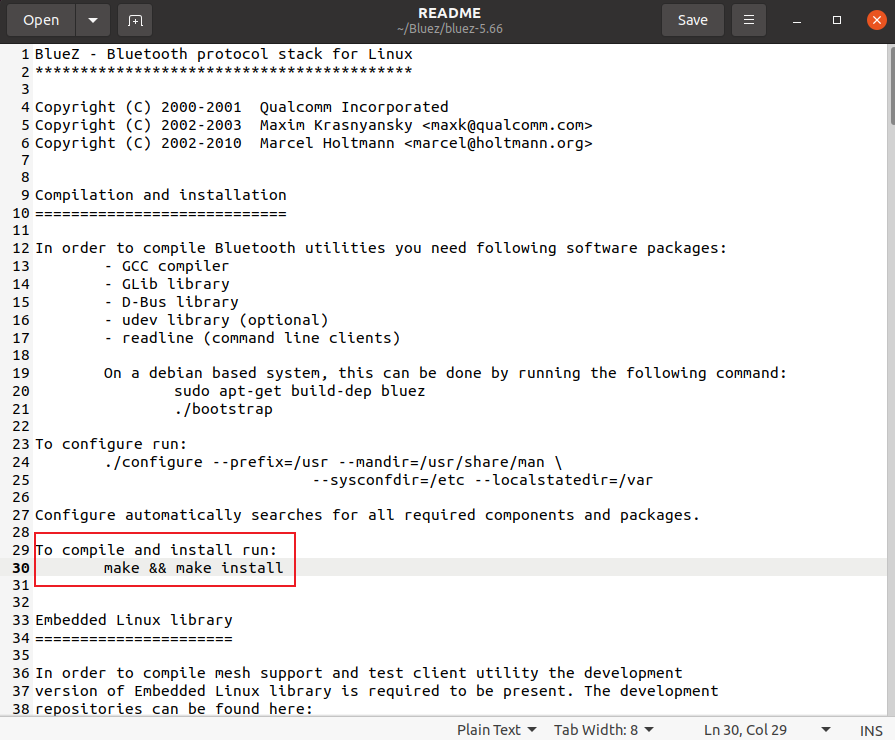
报错1.
make --no-print-directory install-am
 /usr/bin/mkdir -p '/usr/bin'
  /bin/bash ./libtool   --mode=install /usr/bin/install -c client/bluetoothctl monitor/btmon tools/rctest tools/l2test tools/l2ping tools/bluemoon tools/hex2hcd tools/mpris-proxy tools/btattach tools/isotest '/usr/bin'
libtool: install: /usr/bin/install -c client/bluetoothctl /usr/bin/bluetoothctl
/usr/bin/install: cannot remove '/usr/bin/bluetoothctl': Permission denied
make[2]: *** [Makefile:4526: install-binPROGRAMS] Error 1
make[1]: *** [Makefile:11666: install-am] Error 2
make: *** [Makefile:11660: install] Error 2这个错误的原因是没有足够的权限删除或替换系统中已存在的bluetoothctl文件(位于/usr/bin/目录下)。解决方法很简单:使用sudo提升权限执行安装命令。
所以重新执行
make && sudo make install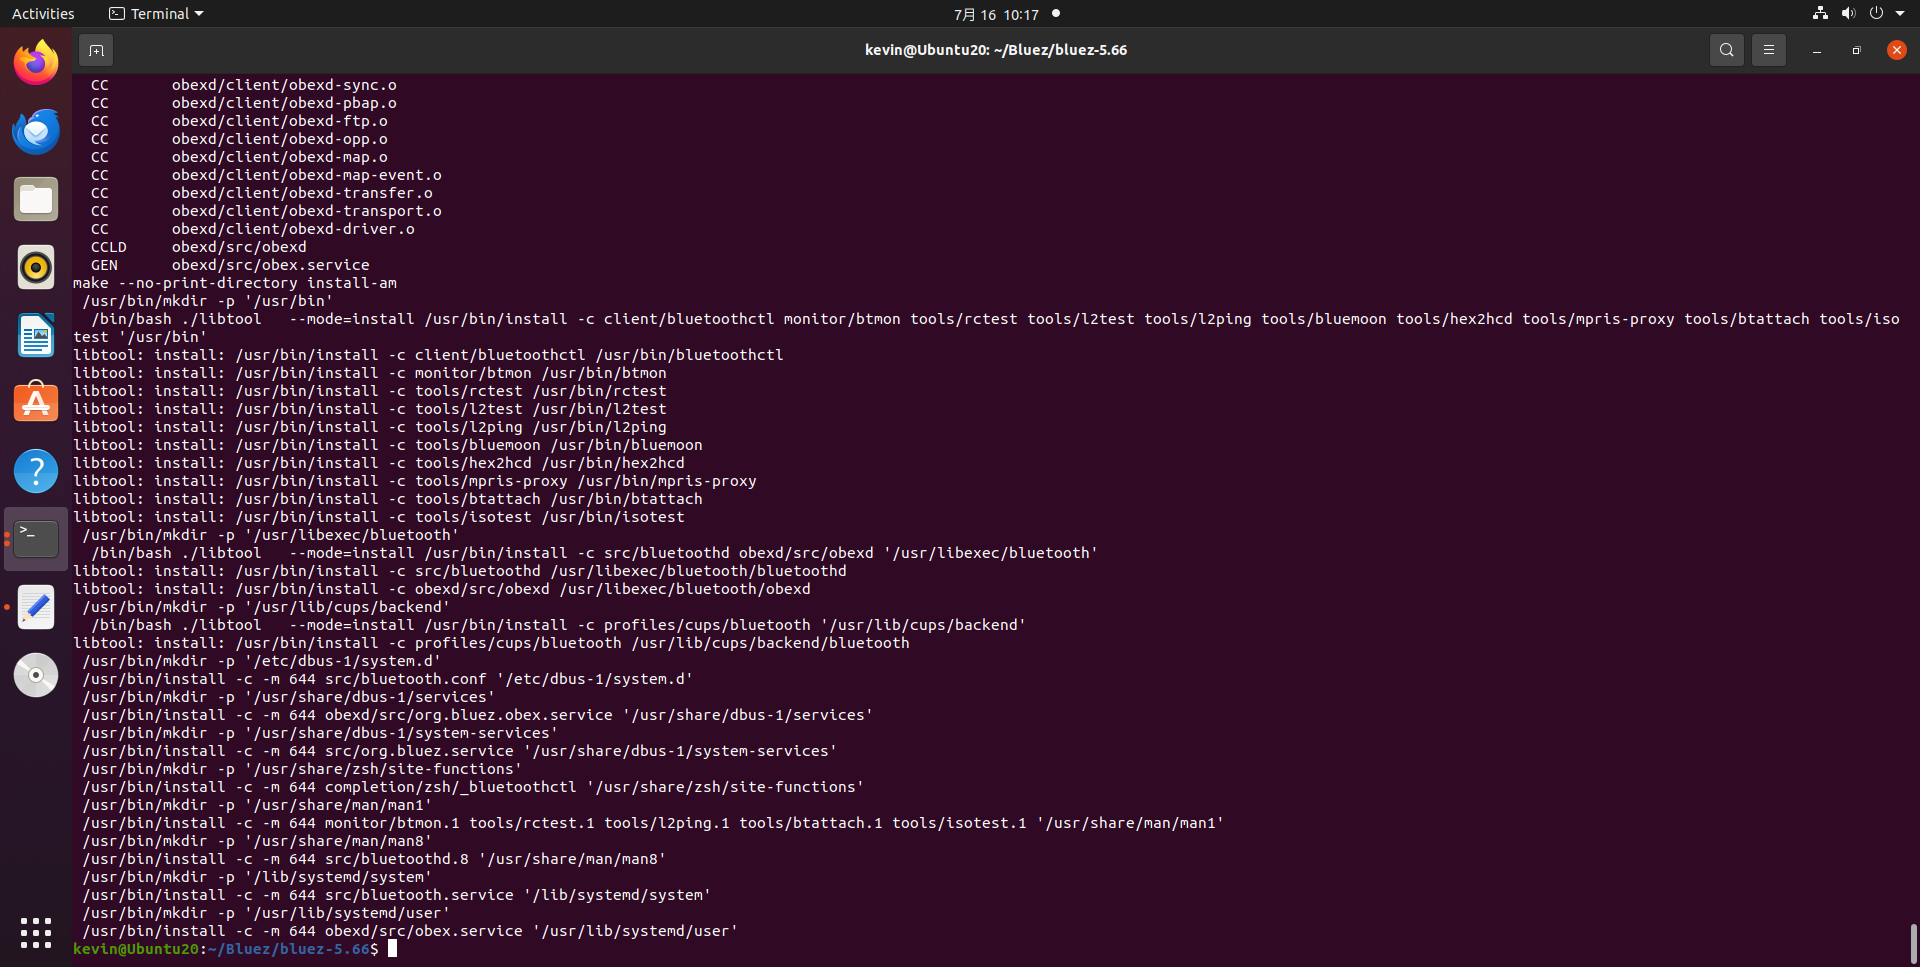
编译就没问题了,编译产出的文件如下:

![]()
交叉编译Bluez(arm64架构)
这里以在RK3568-WF EVB 源码路径 bluez目录下执行编译BlueZ为例。
源码路径 bluez目录:
/home/yiyuan/workspace/Quectel/FCS940R/RK3568/buildroot/output/rockchip_rk3568/build/bluez5_utils-5.66想要将Bluez交叉编译到arm64位的平台(RK3568),首先要找到arm64的编译器
find . -name aarch64-linux-gnu-gcc![]()
arm64编译器位置
RK3658/prebuilts/gcc/linux-x86/aarch64/gcc-linaro-6.3.1-2017.05-x86_64_aarch64-linux-gnu/bin/aarch64-linux-gnu-gcc交叉编译Bluez参考下面的文章(下面文章是交叉编译成arm架构,与我们所需的arm64架构仍有不同,仅参考)
交叉编译需要很多arm64的依赖,有些依赖又依赖于其他的依赖,子子孙孙无穷尽也... 总结起来就是非常复杂,但实际上我们只需要有编译出来的arm64位的这些库就行了,在公司的RK3568源码里面已经集成了这些库,我们只需要调用这些已经被编译好的库就行了,下面是编译这些arm64的库的脚本,我们只需要在bluez源码目录下执行这个脚本,然后就可以make && sudo make install了
调用下面脚本编译出来的产物就是arm64位的了:
# 定义路径(请根据实际情况修改以下路径)
SYSROOT="/home/yiyuan/workspace/Quectel/FCS940R/RK3568/buildroot/output/rockchip_rk3568/host/aarch64-buildroot-linux-gnu/sysroot"
TOOLCHAIN_BIN="/home/yiyuan/workspace/Quectel/FCS940R/RK3568/prebuilts/gcc/linux-x86/aarch64/gcc-linaro-6.3.1-2017.05-x86_64_aarch64-linux-gnu/bin"
PKG_CONFIG="/home/yiyuan/workspace/Quectel/FCS940R/RK3568/buildroot/output/rockchip_rk3568/host/bin/pkg-config"
INSTALL_DIR="/home/yiyuan/workspace/Quectel/FCS940R/RK3568/buildroot/output/rockchip_rk3568/build/bluez5_utils-5.66/bluez_install"  # 编译结果安装目录

# 设置环境变量(关键:让编译器和pkg-config找到依赖)
export PKG_CONFIG_PATH="$SYSROOT/usr/lib/pkgconfig"          # pkg-config查找.pc文件的路径
export PKG_CONFIG_SYSROOT_DIR="$SYSROOT"                    # 告诉pkg-config依赖在sysroot中
export CFLAGS="--sysroot=$SYSROOT"                          # 编译器的sysroot
export LDFLAGS="--sysroot=$SYSROOT"                         # 链接器的sysroot

# 清理之前的编译缓存
make distclean
rm -f config.cache

# 配置BlueZ(交叉编译核心参数)
./configure \
    --host=aarch64-linux-gnu \
    --prefix="$INSTALL_DIR" \
    --enable-library \
    --disable-systemd \
    --enable-tools \
    --enable-experimental \
    --enable-deprecated \
    --disable-android \
    --with-gnu-ld \
    CC="$TOOLCHAIN_BIN/aarch64-linux-gnu-gcc" \
    CXX="$TOOLCHAIN_BIN/aarch64-linux-gnu-g++" \
    PKG_CONFIG="$PKG_CONFIG"
智能硬件社区聚焦AI智能硬件技术生态,汇聚嵌入式AI、物联网硬件开发者,打造交流分享平台,同步全国赛事资讯、开展 OPC 核心人才招募,助力技术落地与开发者成长。
更多推荐


 23
23 0
0- 0


 已为社区贡献6条内容

所有评论(0)