英飞凌TLD4020-3STD_KIT评估板(一)
·
(一)英飞凌TLD4020-3STD_KIT评估板开箱及官方介绍
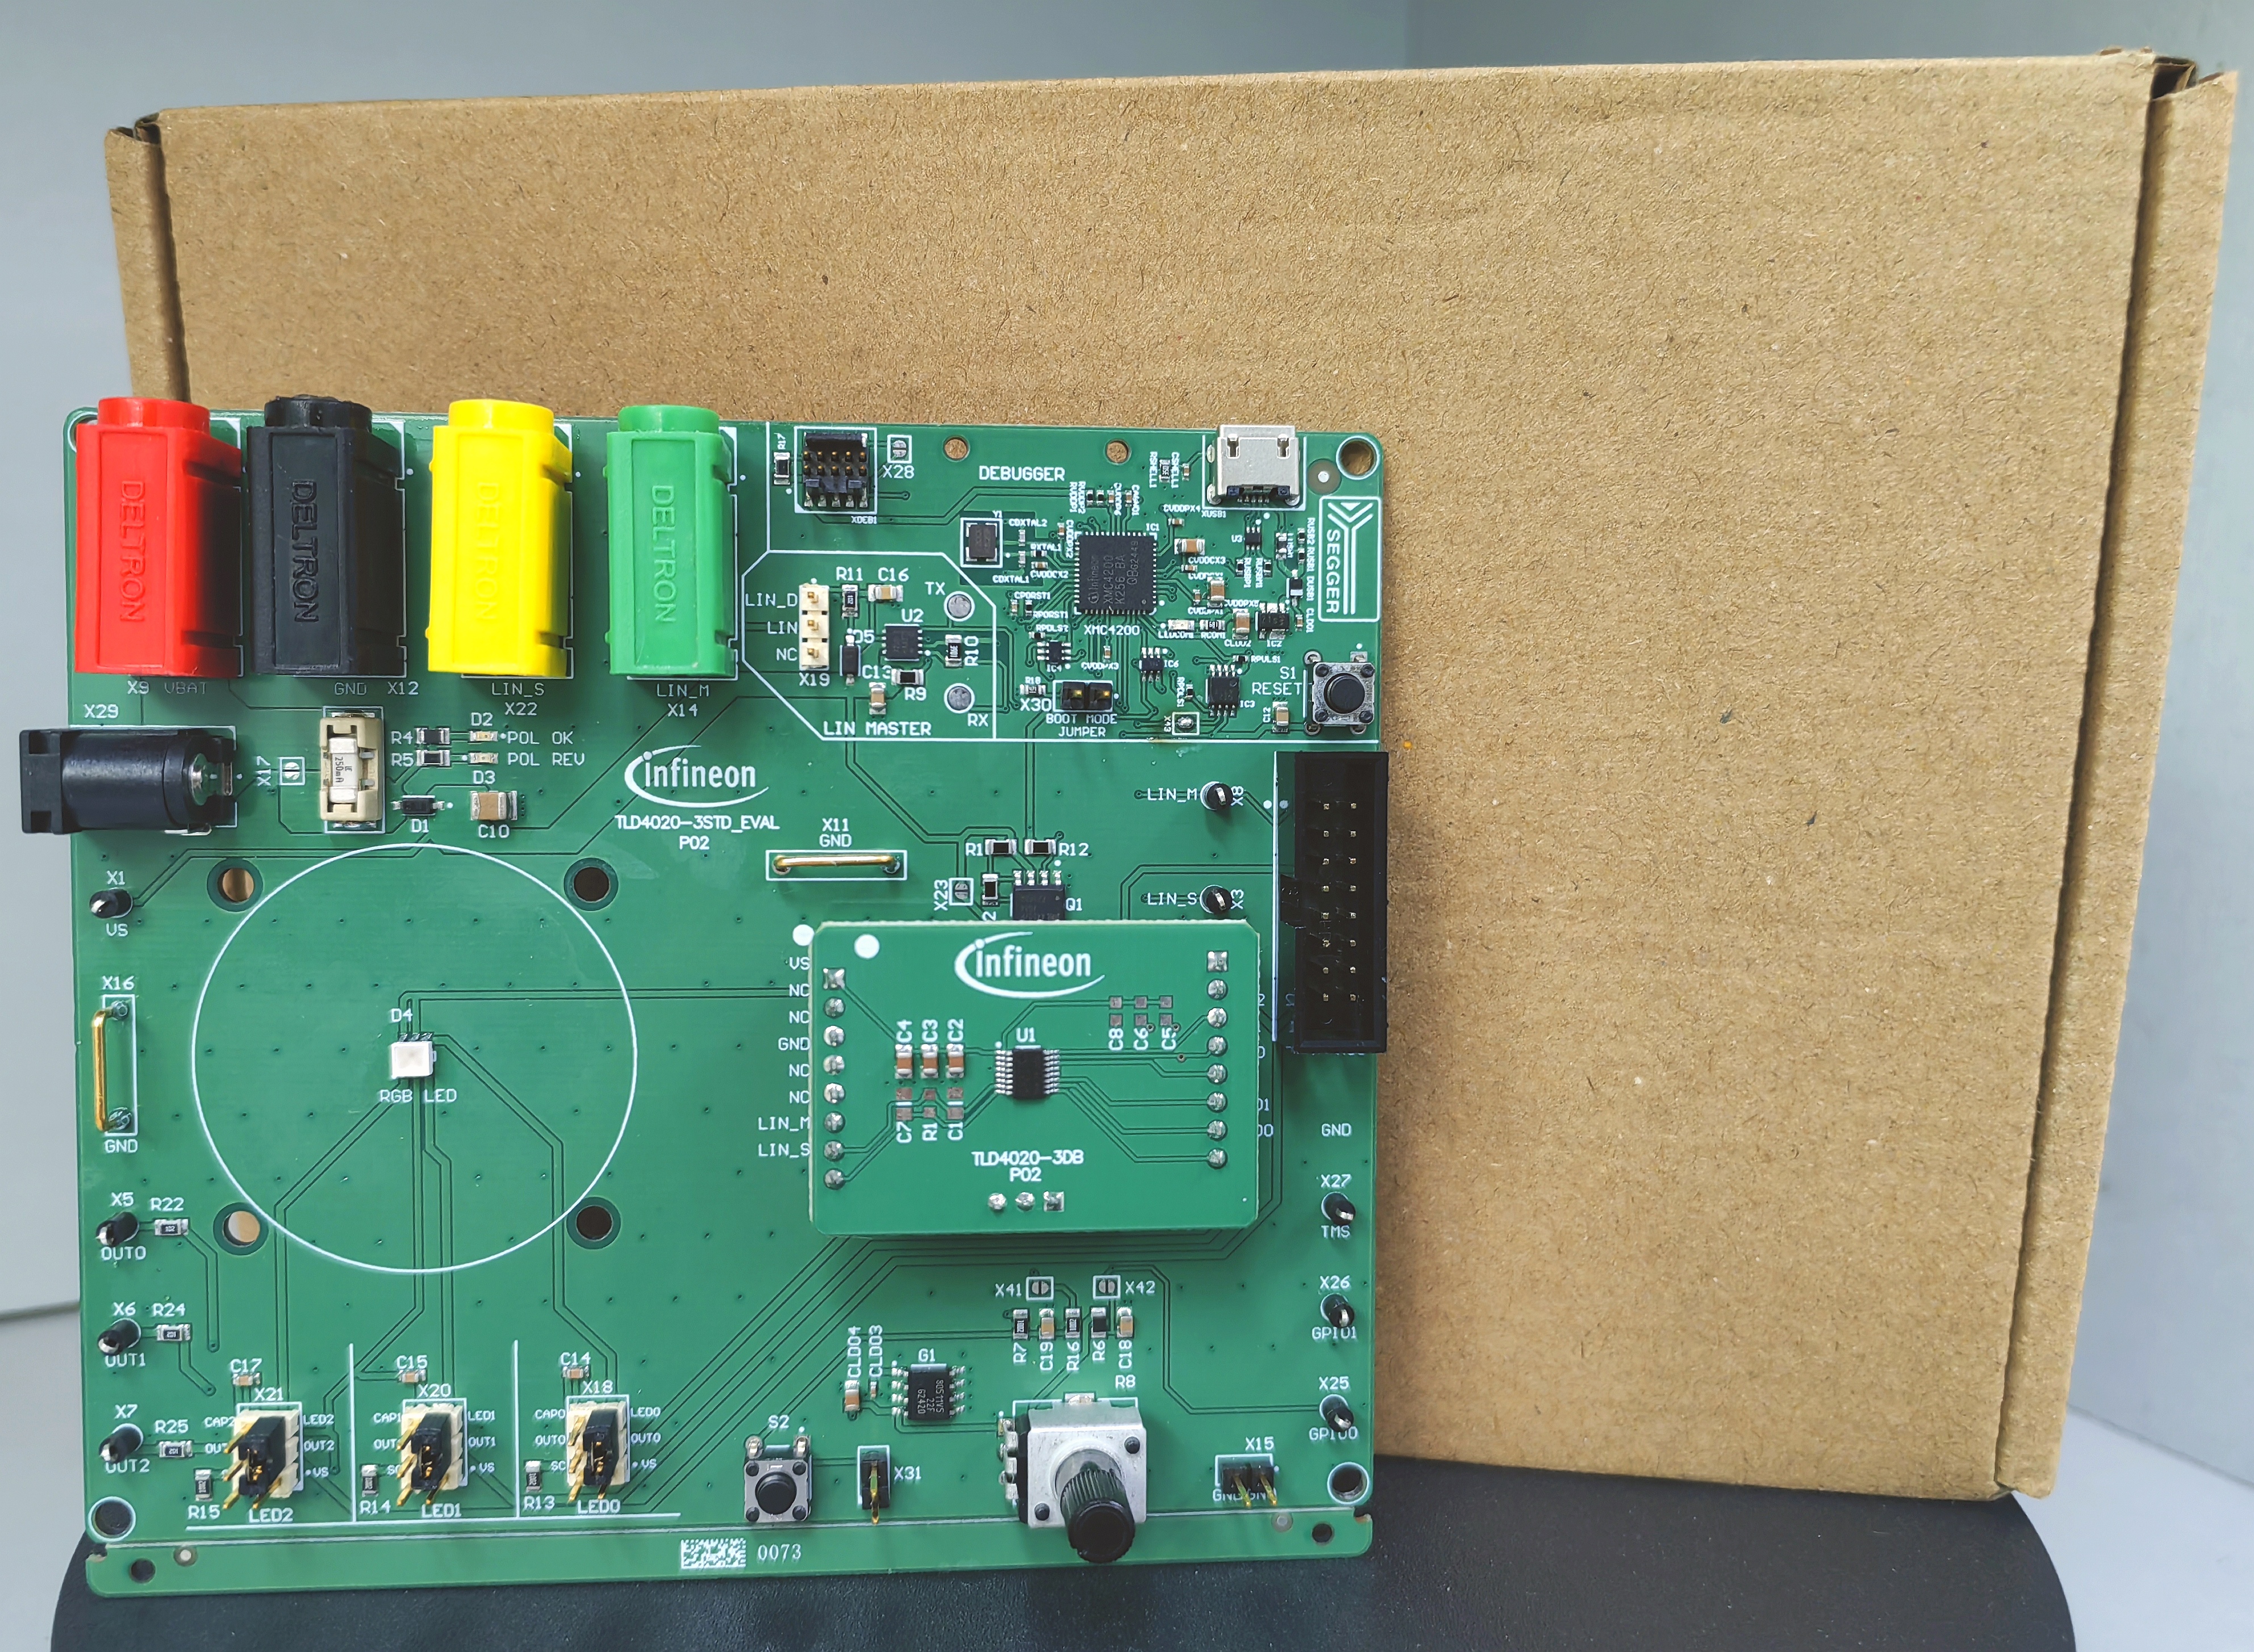
开箱
本次测评的是英飞凌推出的TLD4020-3STD_KIT评估板。目前本产品暂未对外公开售卖,因此目前暂不清楚具体的发行价格。
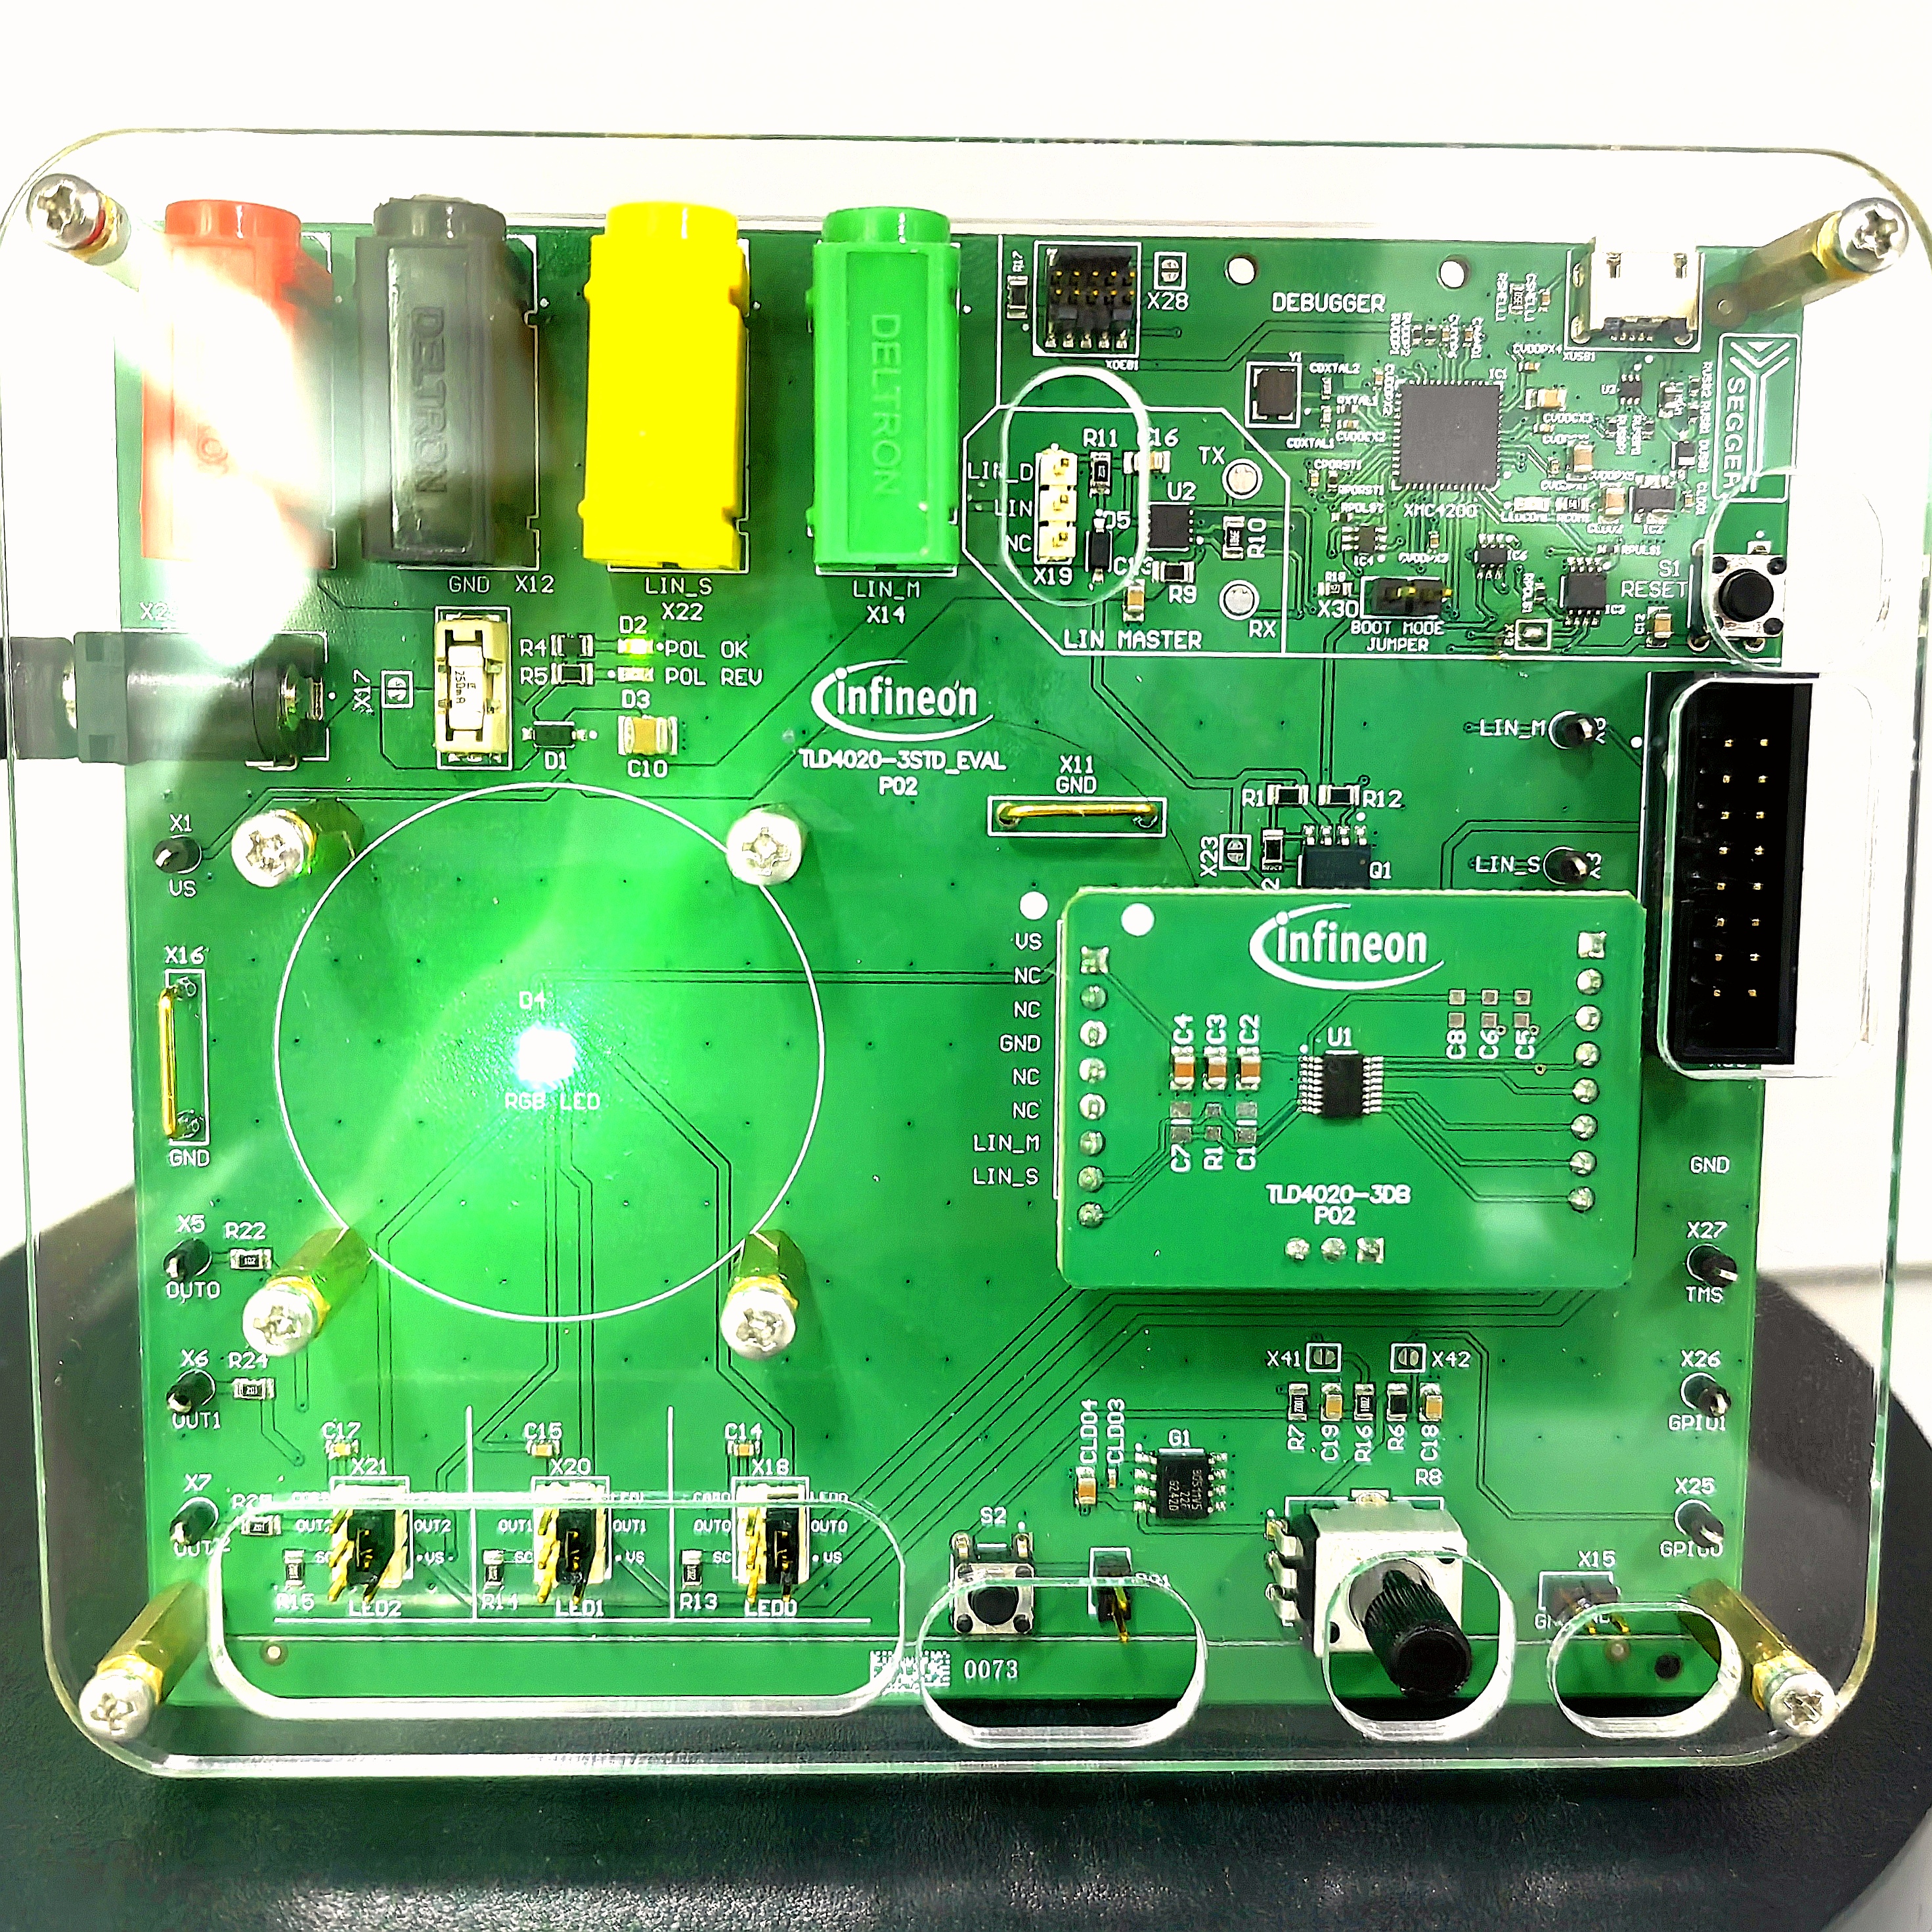
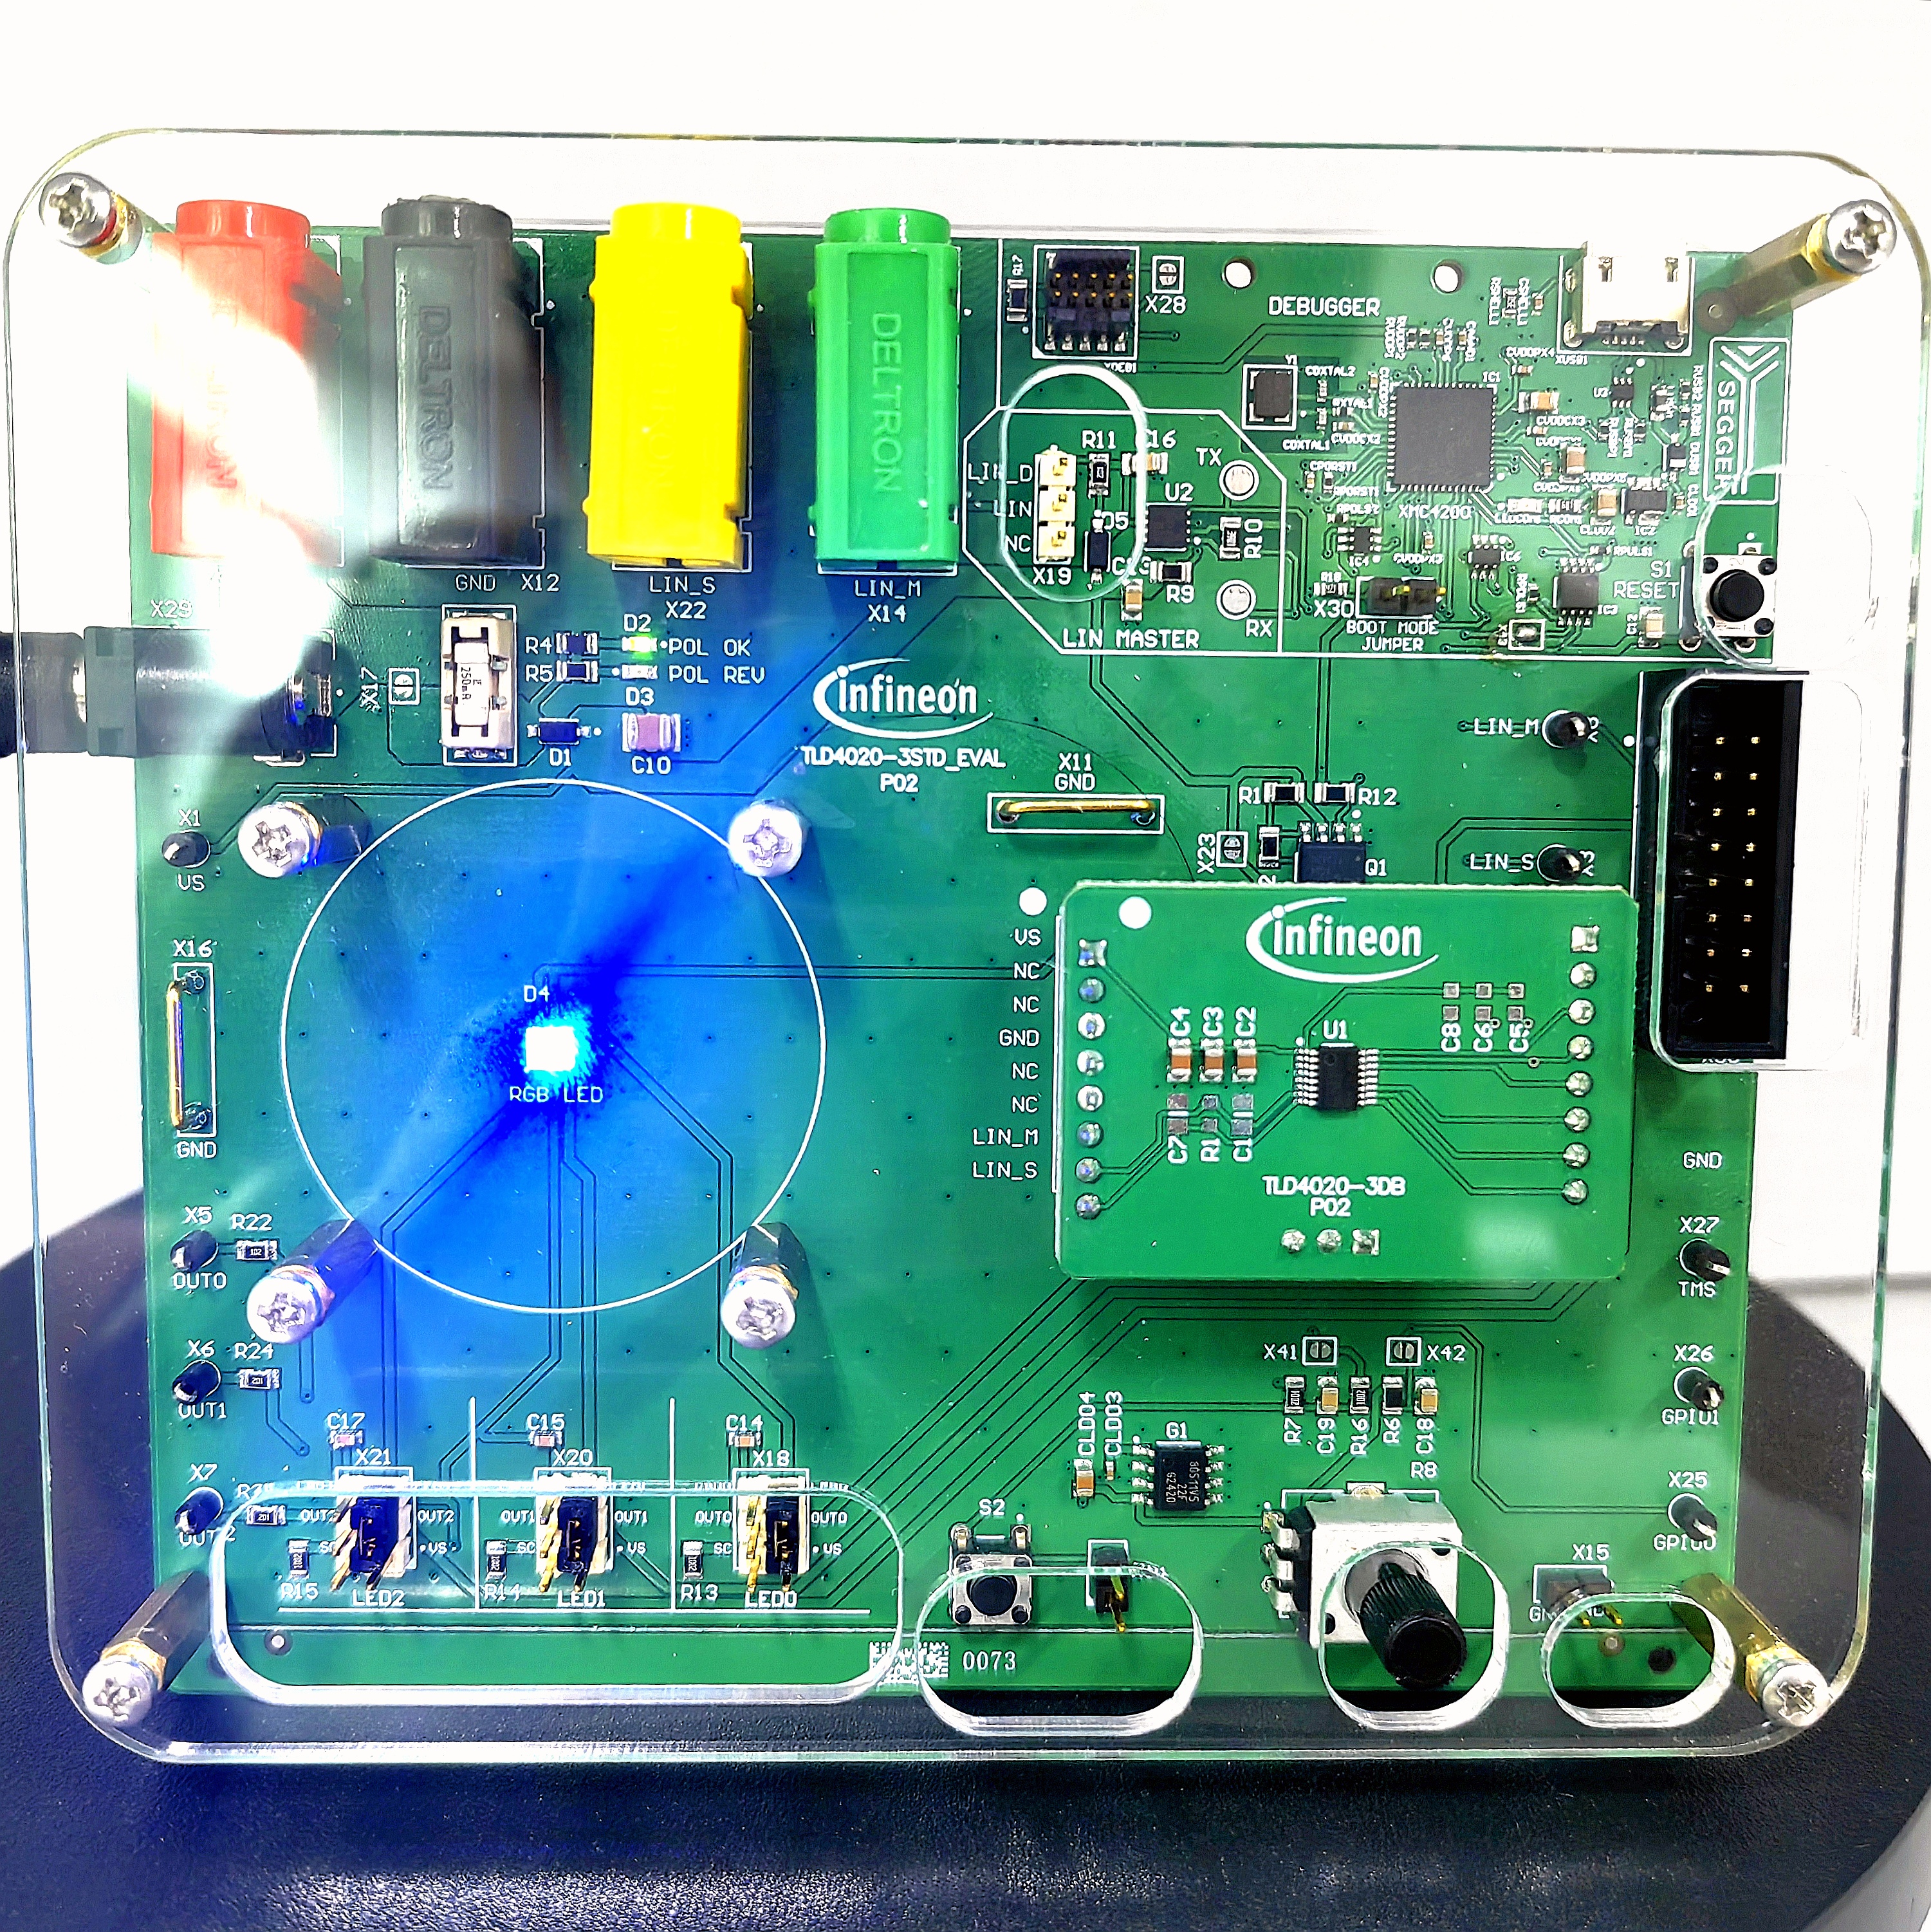
英飞凌TLD4020-3STD_KIT评估板外包装为开盖牛皮纸盒。盒内仅包含英飞凌TLD4020-3STD_KIT评估板本体。
关于该评估板的相关技术资料可通过访问英飞凌官网(https://www.infineon.com/evaluation-board/TLD4020-3STD-KIT)获取。
内容物
英飞凌TLD4020-3STD_KIT评估板所有内容物包含:
开发板主体 *1
英飞凌TLD4020-3STD_KIT评估板官方介绍
TLD4020-3STD_KIT评估板旨在简化LITIX™ TLD4020-3ET器件的开发与测试流程。该器件具备三个集成的独立受保护低侧电流源以及内置32位Arm® Cortex®-M23内核,特别适用于RGB LED控制。套件包含两块电路板:主板TLD4020-3STD_EVAL和扩展板TLD4020-3DB。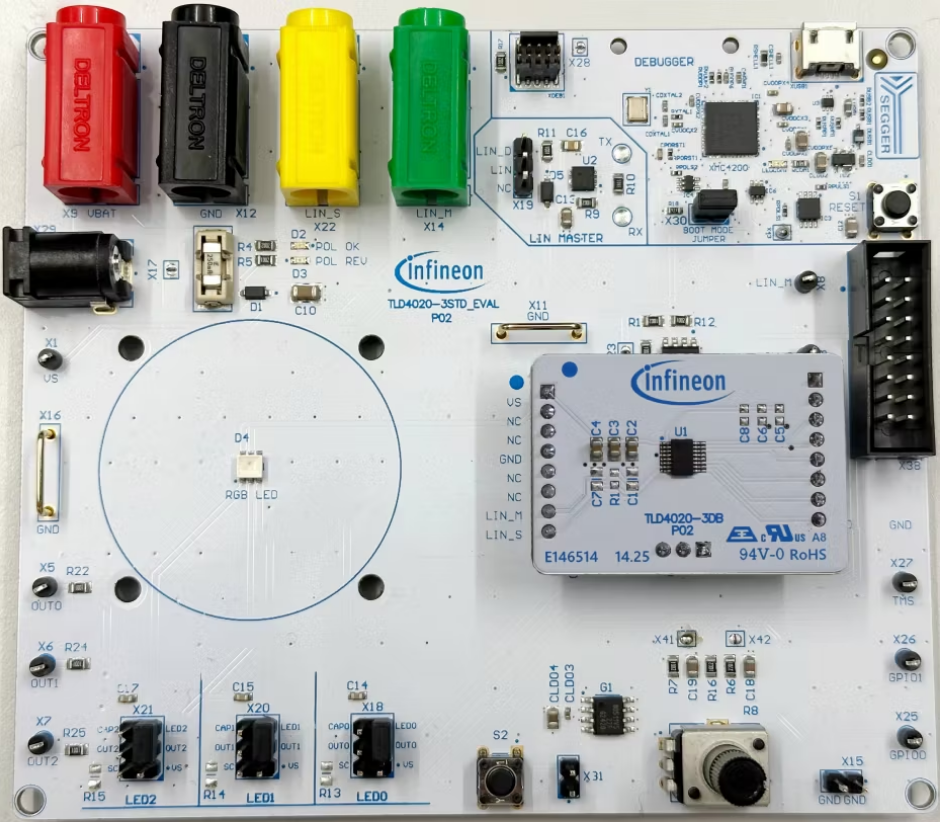
英飞凌TLD4020-3STD_KIT评估板产品参数
- PWM频率最大值:610MHz
- 板卡类型:评估板
- 供电电压:7V至29V
- 尺寸:121x105mm
- 工作温度范围:-20°C至85°C
- 拓扑结构:线性
- 接口:LIN
- 描述:TLD4020-3STD_KIT是用于TLD4020-3ET LED驱动器的评估套件。
- 目标应用:汽车内部照明
- 产品系列:英飞凌汽车内部照明系列LITIX™ Interior
- 输入电流:160mA
- 输入类型:直流(DC)
- 输出电流范围:0mA至51.5mA
- 配置:线性电流吸收器
英飞凌TLD4020-3STD_KIT评估板产品特性
- 配套评估板套件
- 32位Arm®Cortex®-M23内核
- 三路集成低边电流吸收器
- 反极性保护输入
- 过流保护输入
- 内置XMC™Link调试器
- GPIO接口
- 板载LIN引导加载程序连接器
- 主要信号测试点
英飞凌TLD4020-3STD_KIT评估板产品优势
- 静态内饰灯,开发更快捷
- 提供软件代码示例
- 支持 SWD 接口轻松调试
- 兼容主流行业 IDE(Keil、IAR)
(以上内容取自英飞凌官方网站,地址:https://www.infineon.cn/evaluation-board/TLD4020-3STD-KIT)
(二)英飞凌TLD4020-3STD_KIT评估板开发环境搭建
1.下载并安装J-Link
1.1使用浏览器打开SEGGER官网(地址:https://www.segger.com/downloads/jlink);
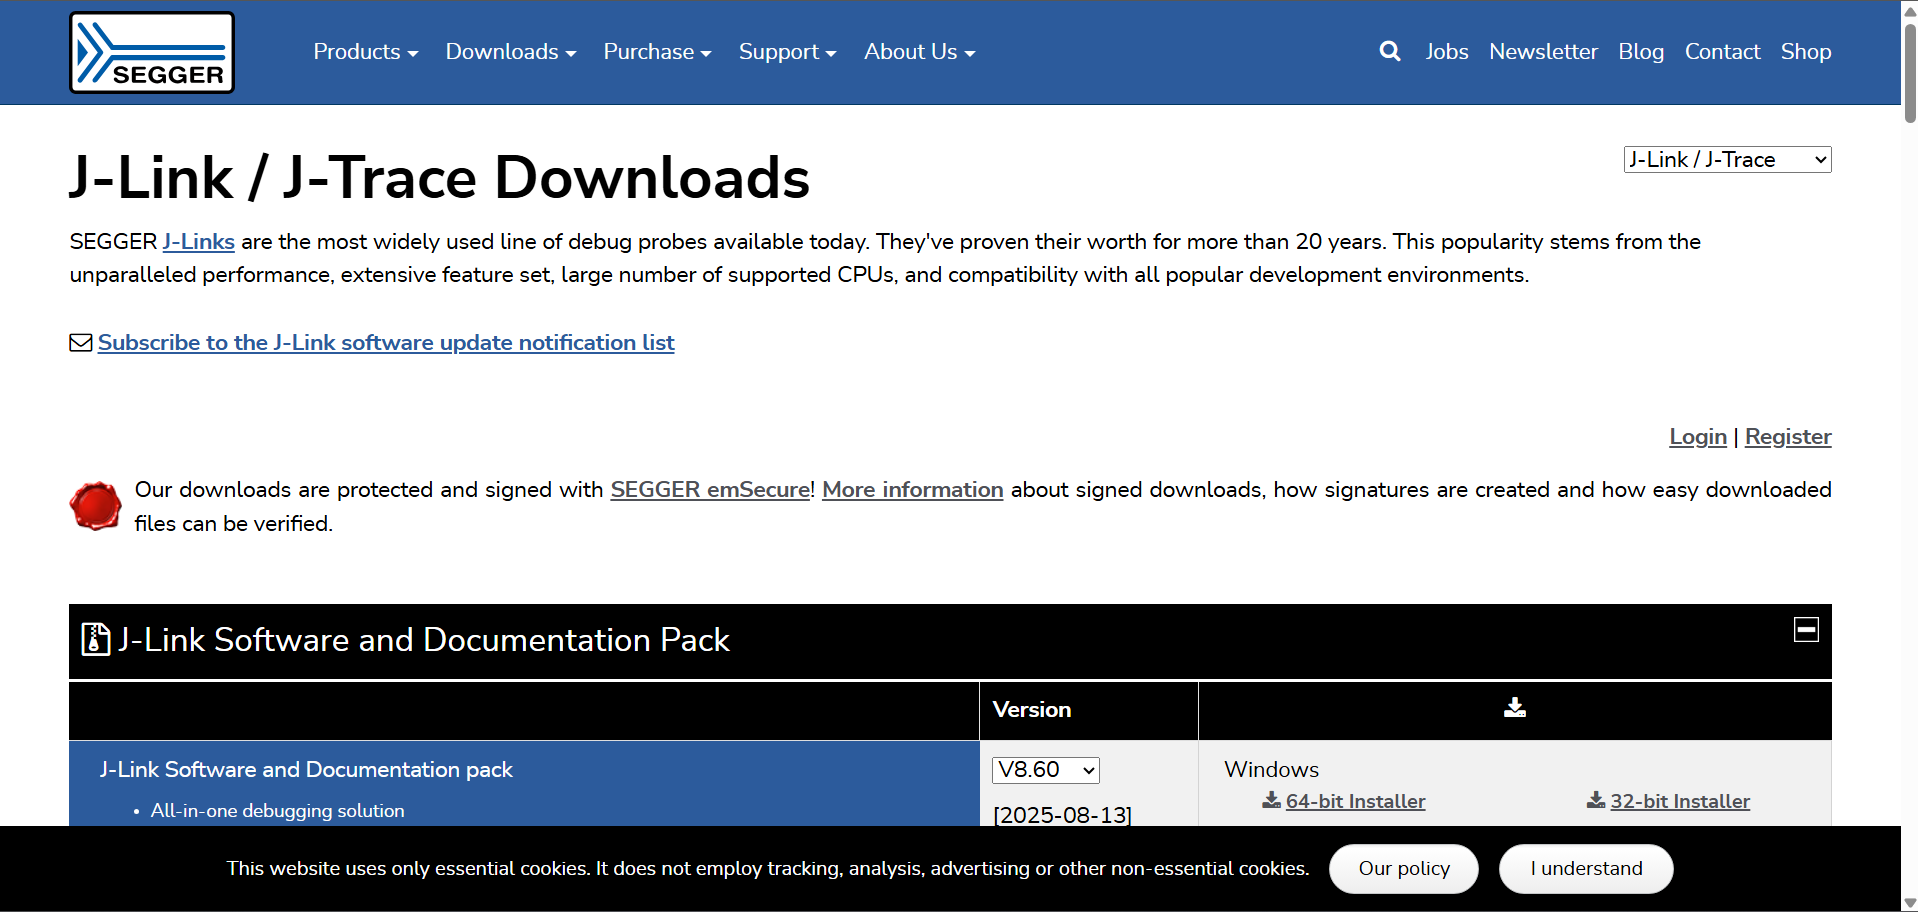
1.2下载“J-Link Software and Documentation pack 64-bit Installer”;
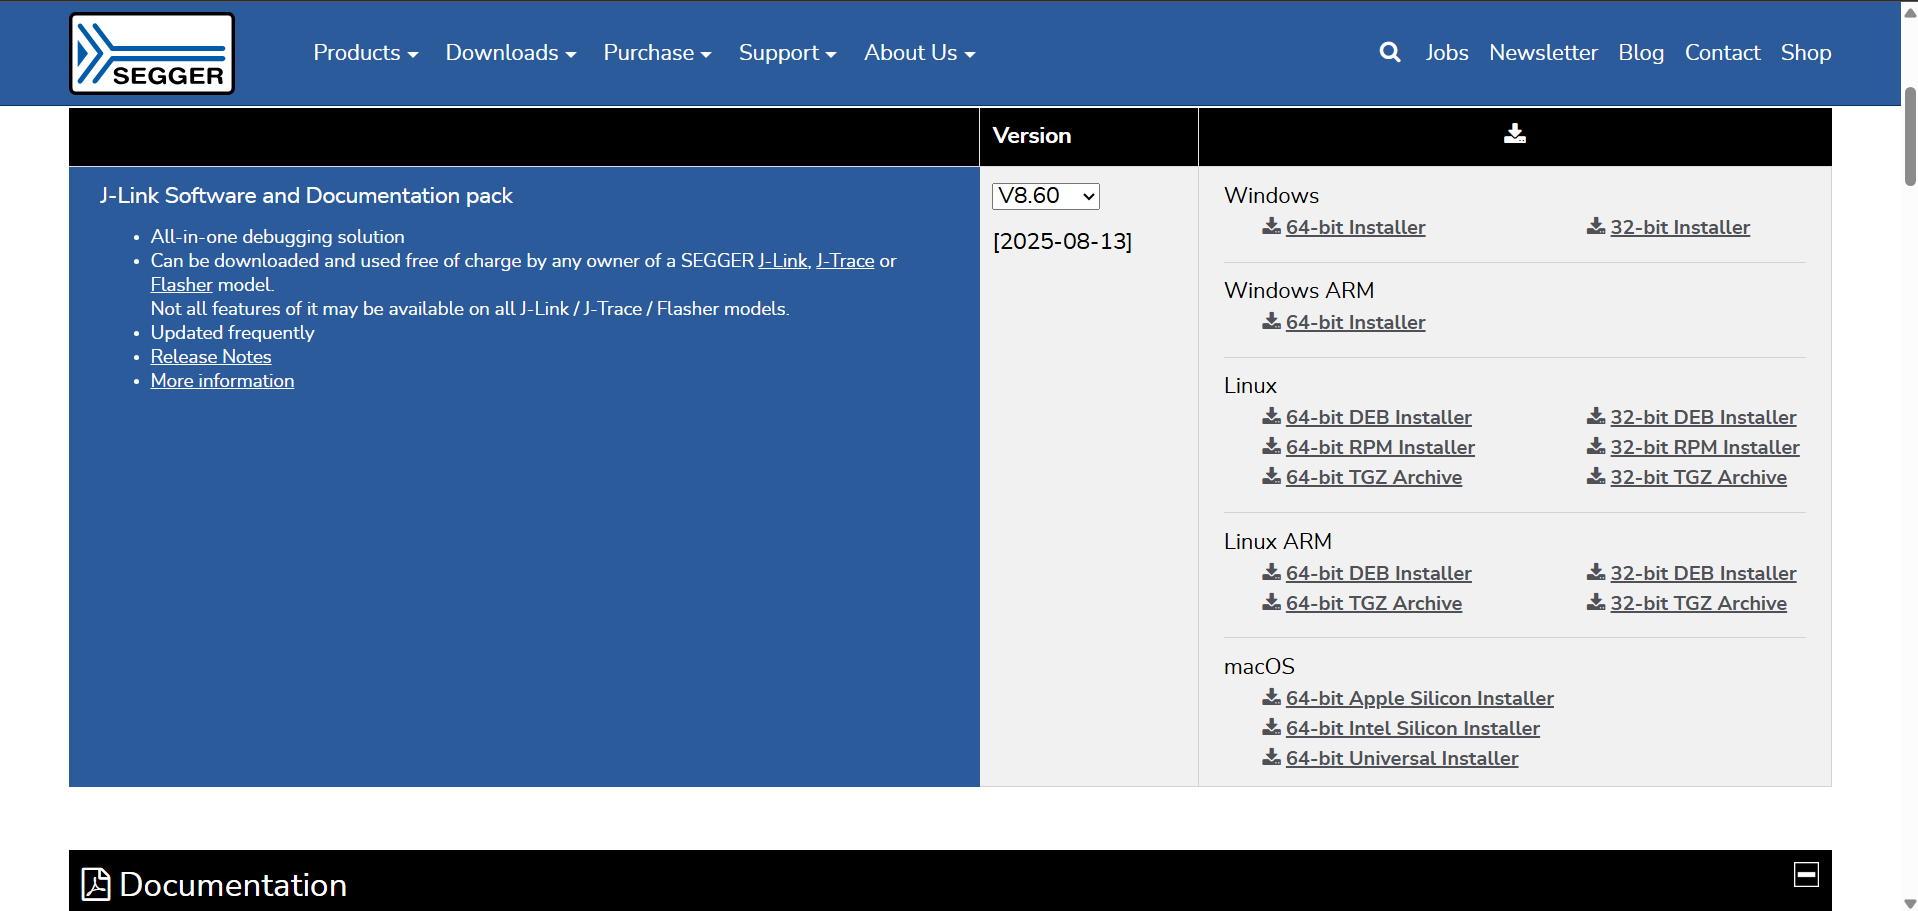
1.3选择“I accept these Terms of Use.”,并点击“DownLoad software”;
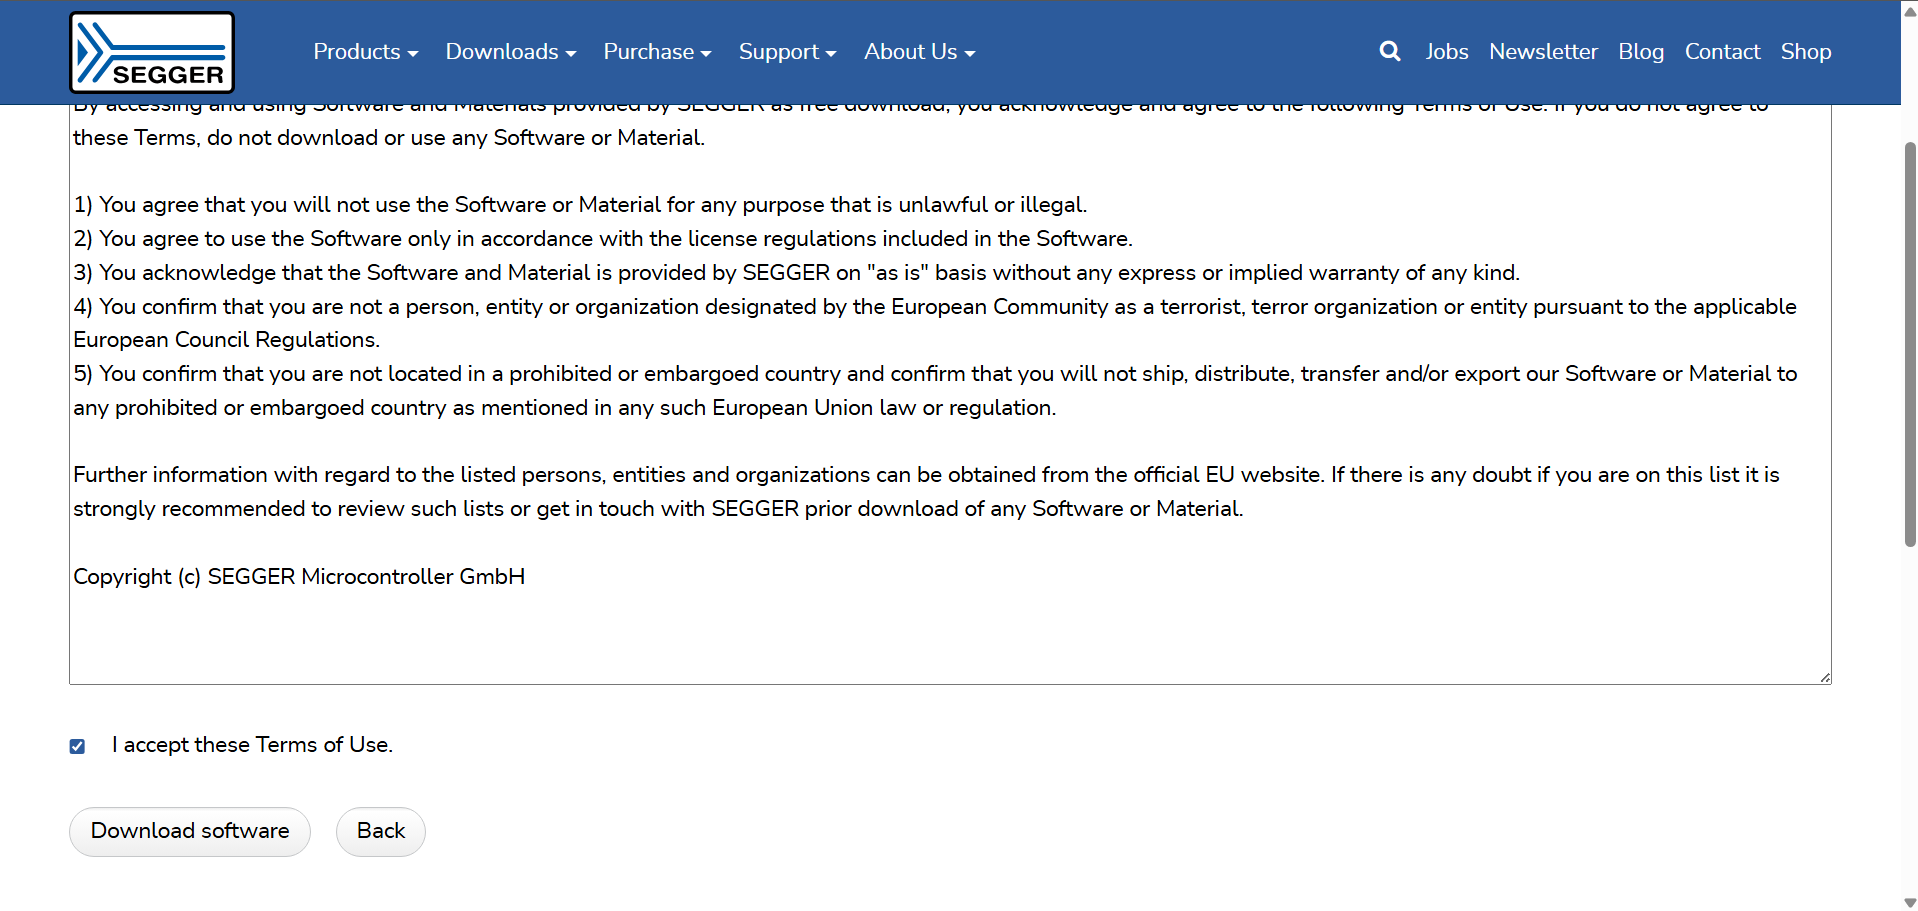
1.4双击“JLink_Windows_V860_x86_64.exe”;
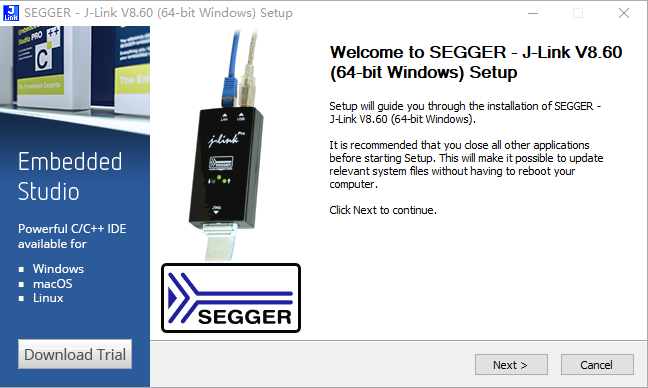
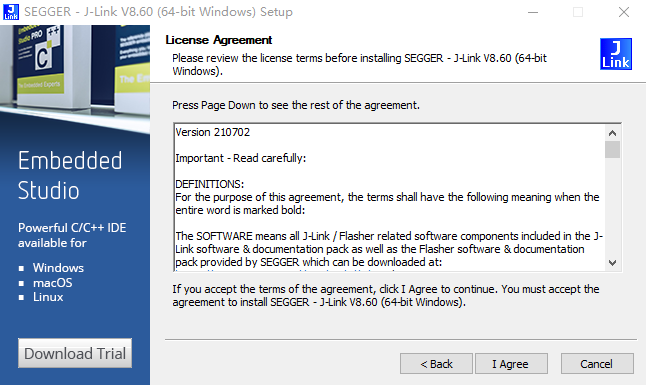
1.5点击“Next”,点击“I Agree”;
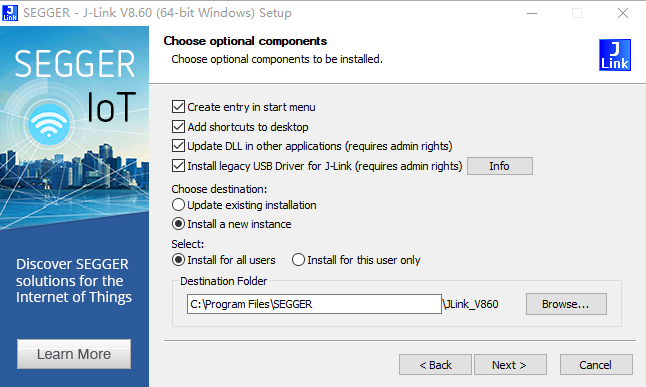
1.6选择安装可选项,点击“Next”;
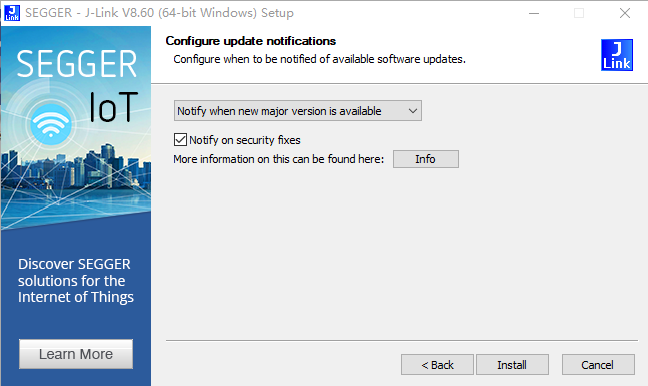
1.7选择设置更新提醒选项,点击“Install”;
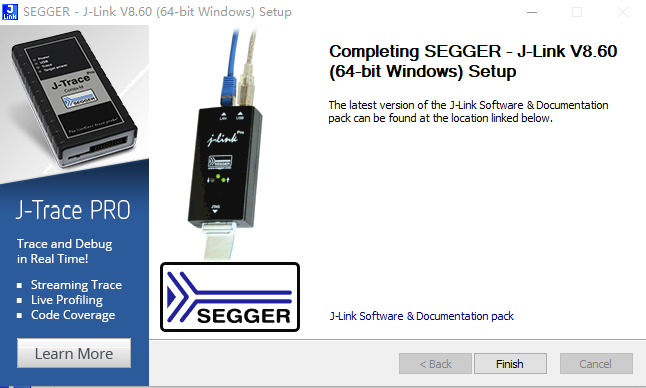
1.8点击“Finish”,完成安装。
2.下载并安装Infineon MCU Configuration Wizard
2.1使用浏览器打开infineon官网(地址:https://softwaretools.infineon.com/assets/com.ifx.tb.tool.ifxconfigwizardforembeddedpowerics);
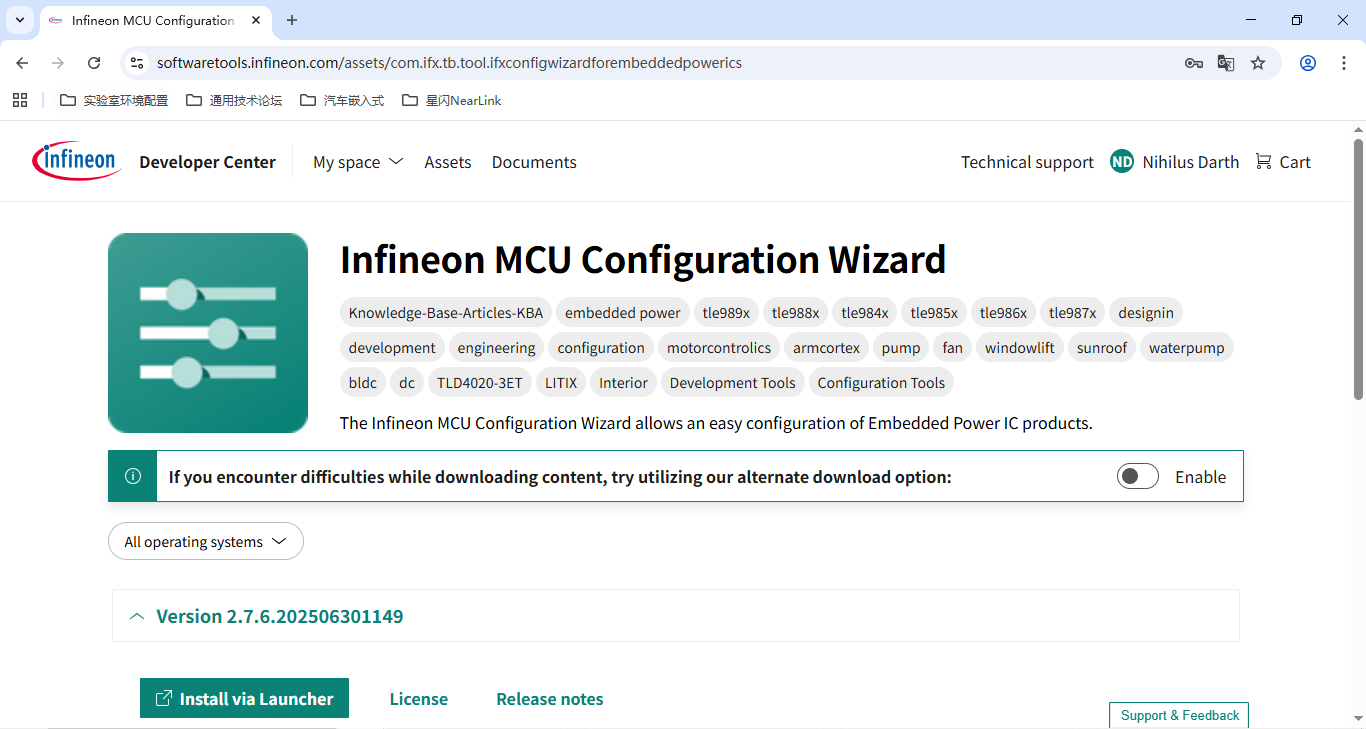
2.2下载“Infineon MCU Configuration Wizard V 2.7.6.202506301149”;
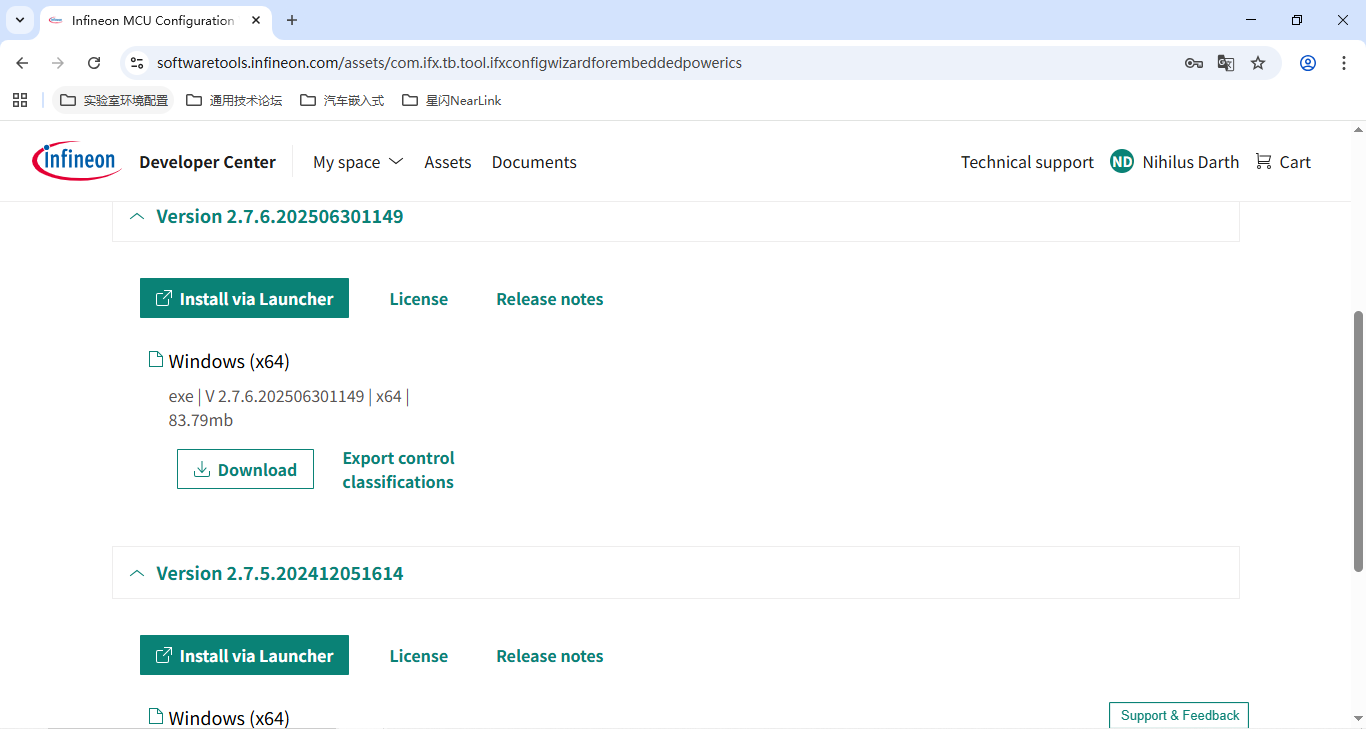
2.3双击“ifxconfigwizardforembeddedpowerics_2.7.6.202506301149_Windows_x64.exe”;
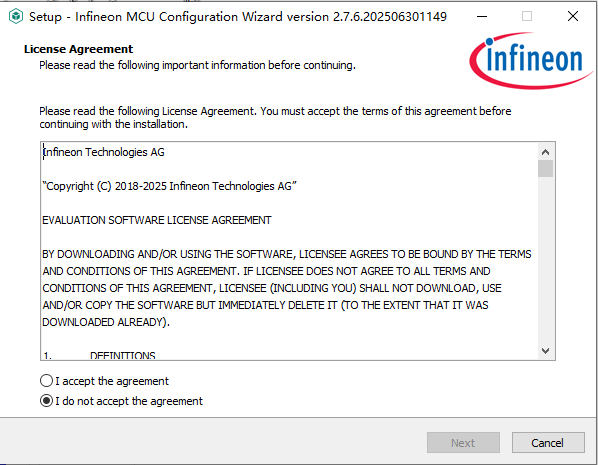
2.4点击“I accept the agreement”,点击“Next”;
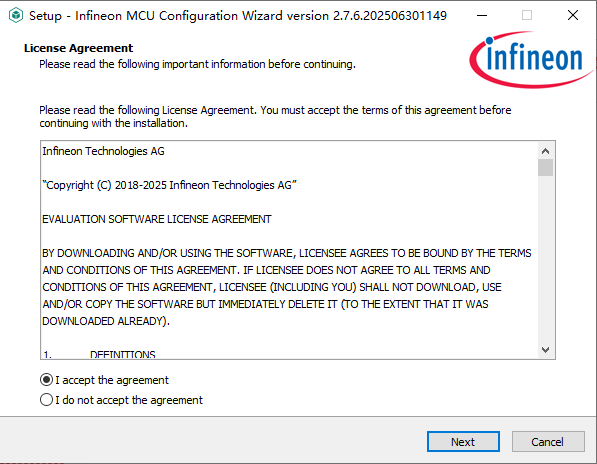
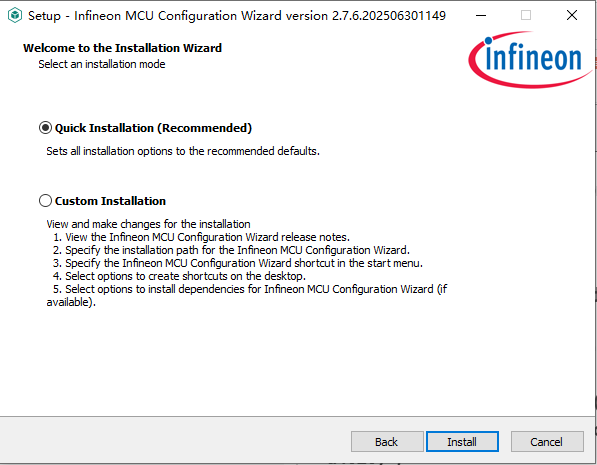
2.5点击“Quick Installation(Recommended)”,点击“Install”;
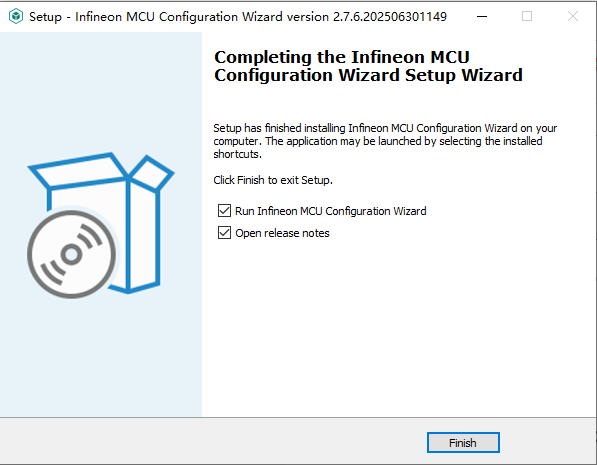
2.6点击“Finish”,完成安装。
3.下载并安装keil uvision5
3.1使用浏览器打开keil uvision5官网(地址:https://www.keil.com/demo/eval/arm.htm);
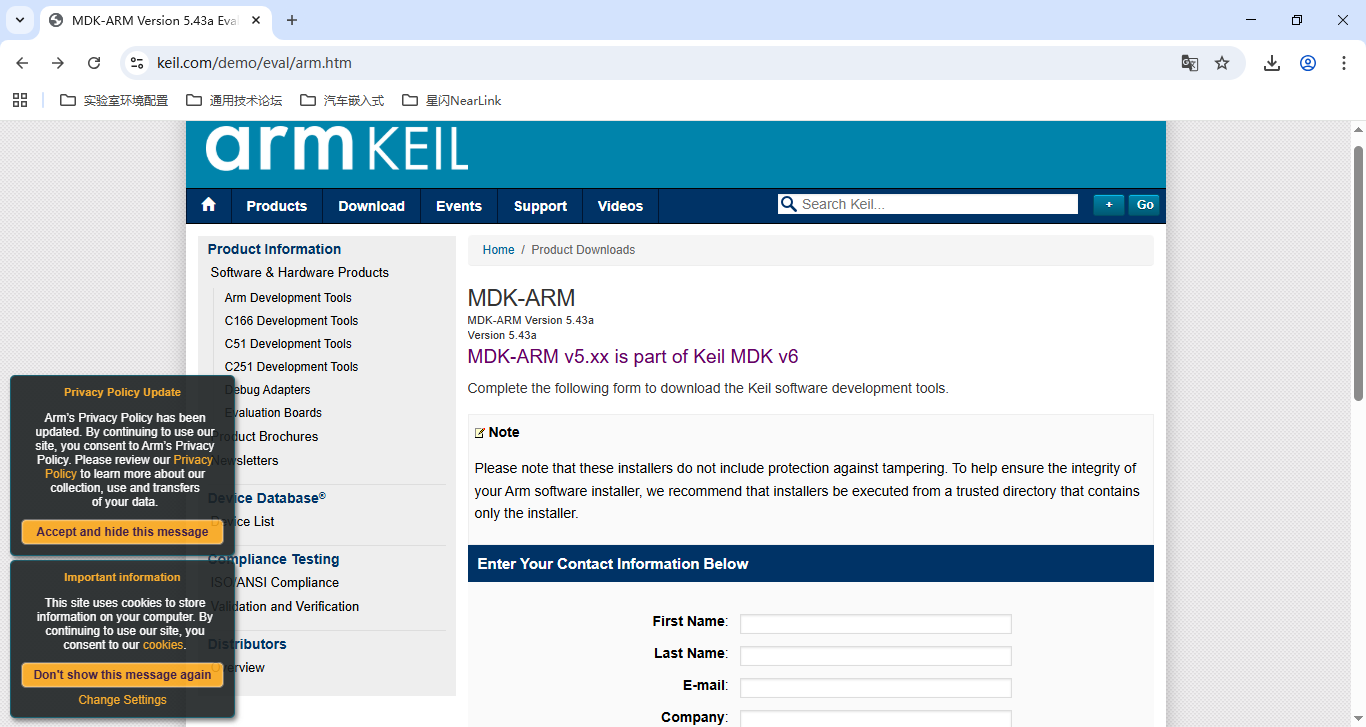
3.2填写完成相关信息后,点击“Submit”;
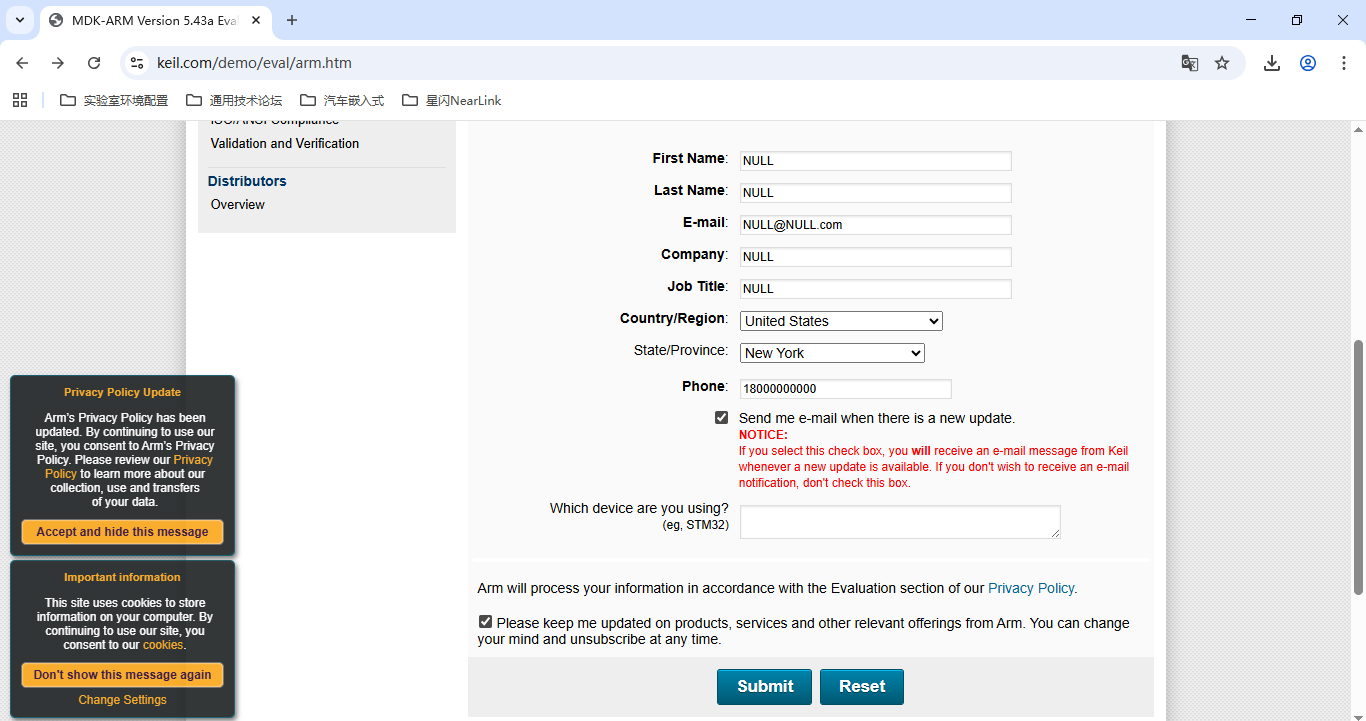
3.3下载“MDK543A.EXE”;
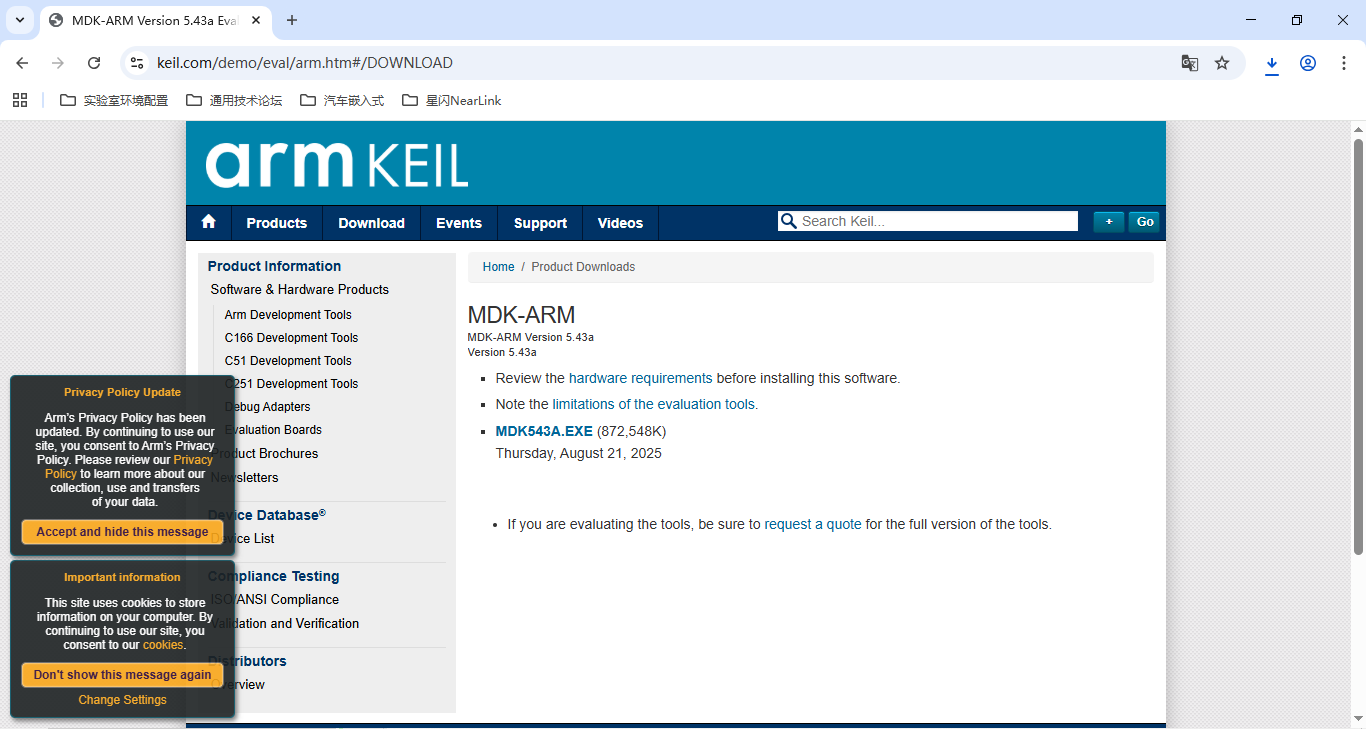
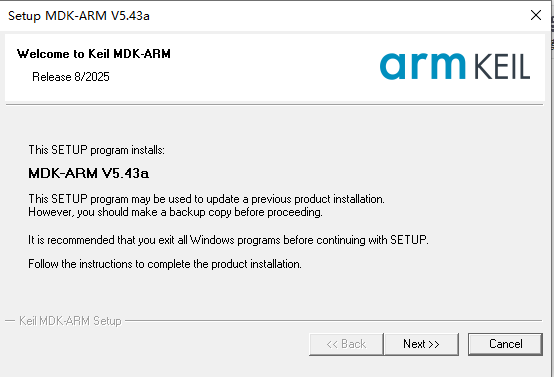
3.4双击“MDK543A.EXE”;
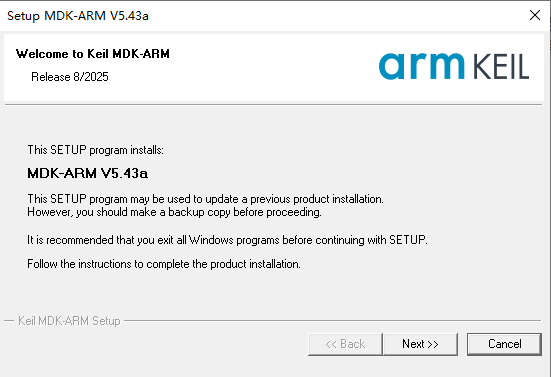
3.5点击“Next”;
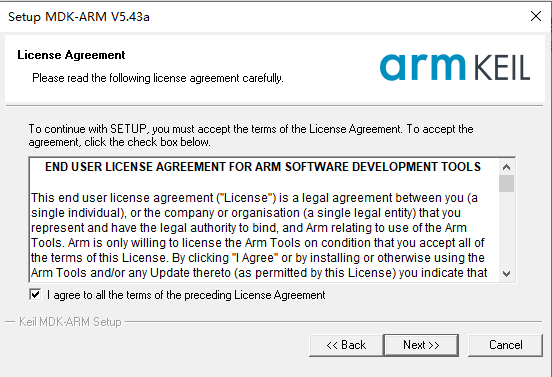
3.6点击“I agree to all the terms of the preceding License Agreement”,点击“Next”;
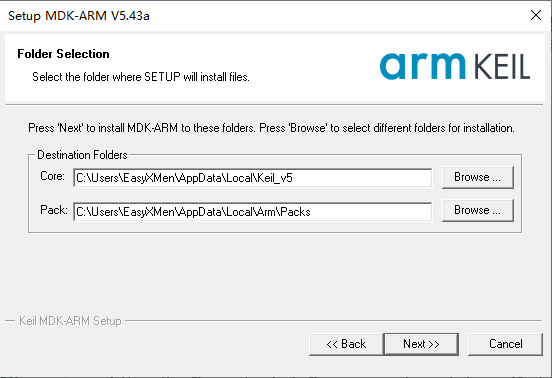
3.7点击“Next”;
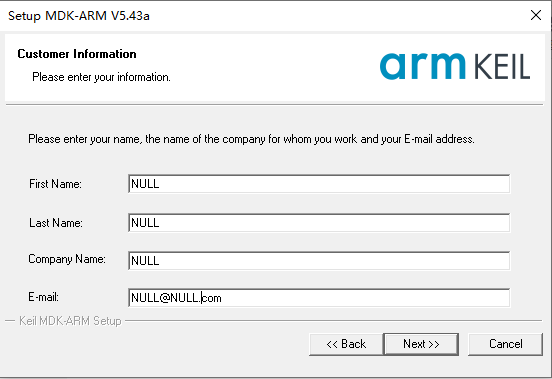
3.8填写完成相关信息后,点击“Next”;
3.9点击“Finish”,完成安装。
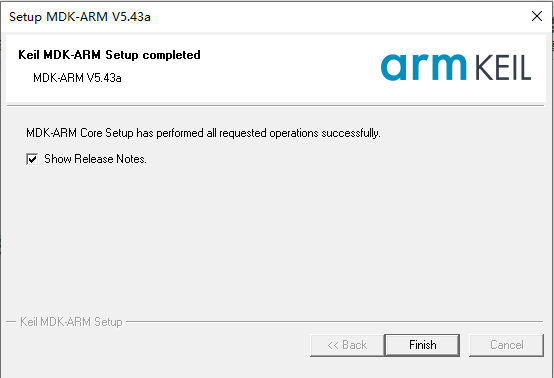
4.下载并安装LITIX™ MCU SDK for TLD40xx
4.1使用浏览器打开infineon官网(地址:https://softwaretools.infineon.com/assets/com.ifx.tb.tool.litixmcusdkfortld4020);
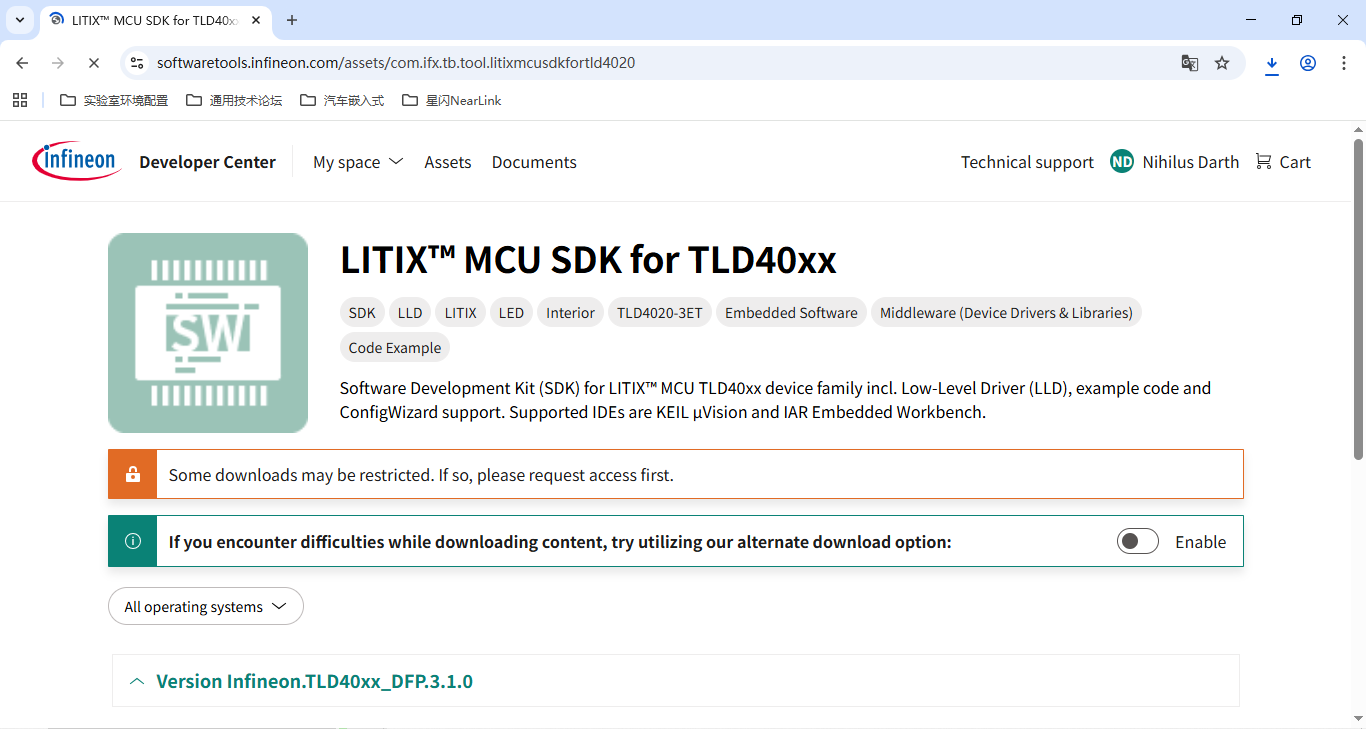
4.2下载“Infineon.TLD40xx_DFP.3.0.0”;
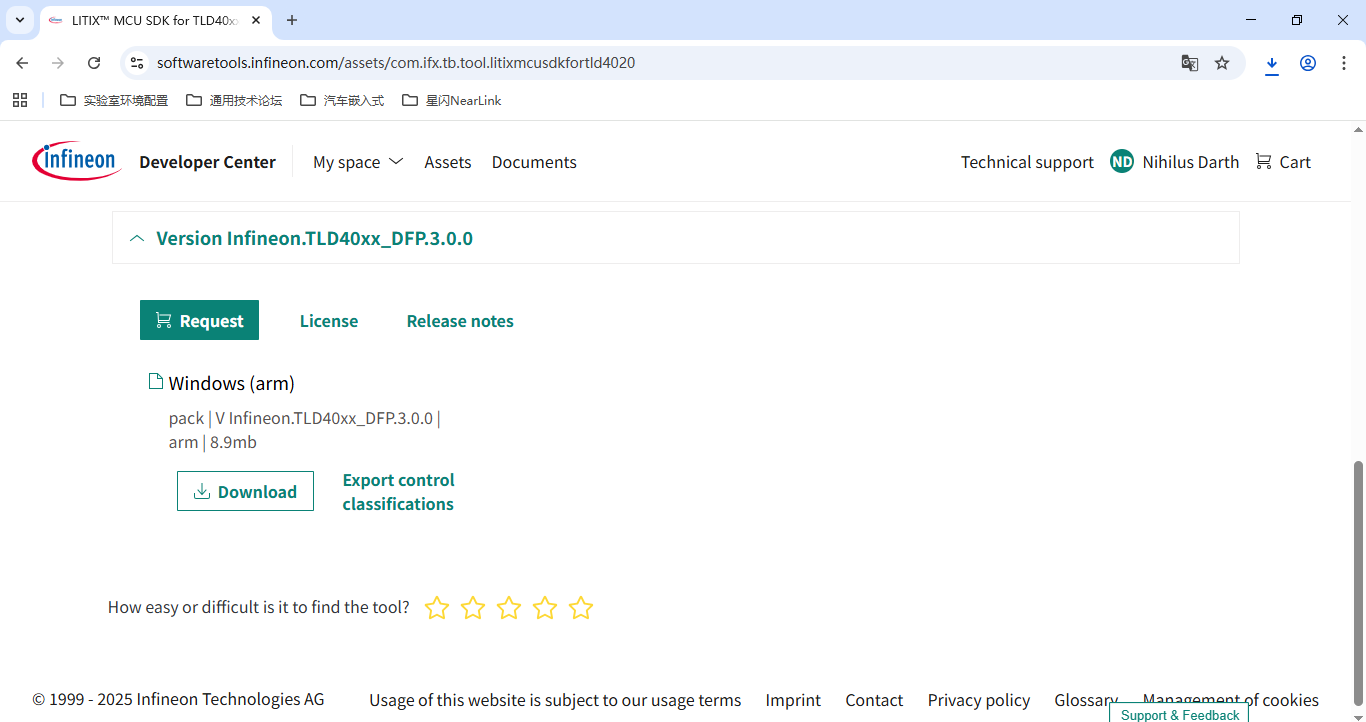
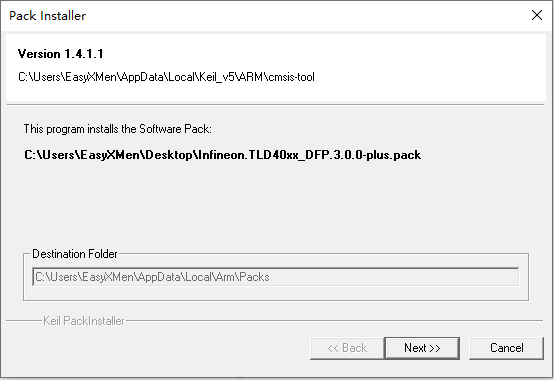
4.3双击“Infineon.TLD40xx_DFP.3.0.0-plus.pack”;
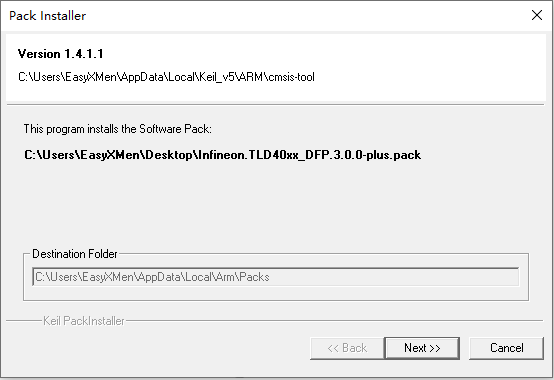
4.4点击“Next”;
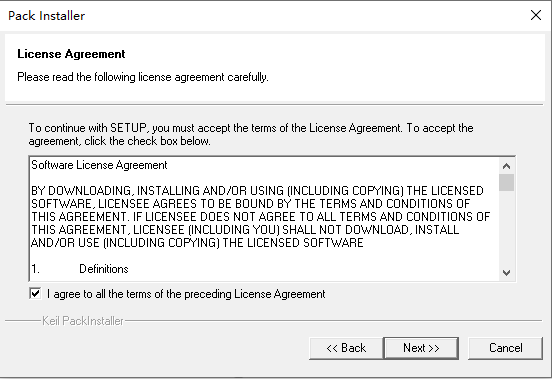
4.5点击“I agree to all the terms of the preceding License Agreement”,点击“Next”;
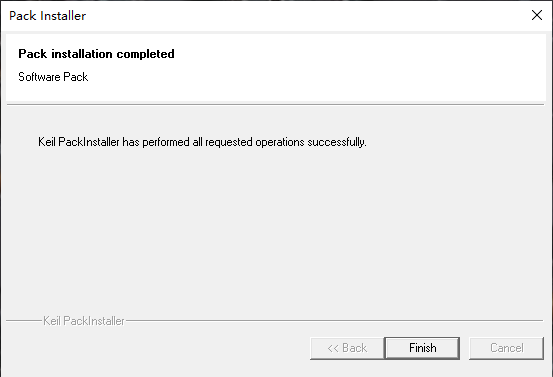
4.6点击“Finish”,完成安装。
(三)英飞凌TLD4020-3STD_KIT评估板点亮LED灯
1.打开keil uvision5,点击“Pack Installer”,点击“Board”,在“Search”中输入“TLD4020-3STD”;
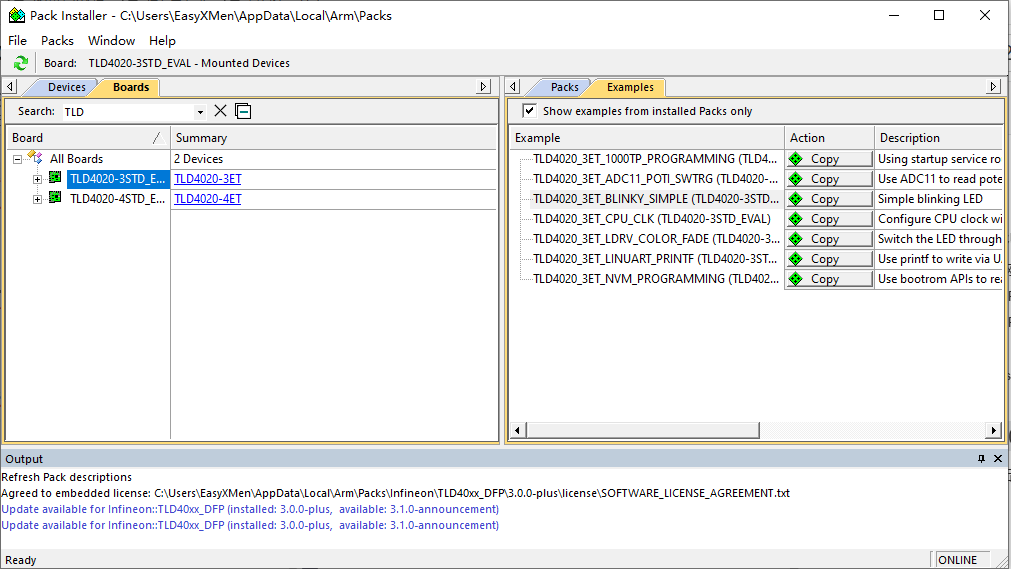
2.点击“Example”,点击“TLD4020_3ET_BLINKY_SIMPLE”,点击“Copy”;
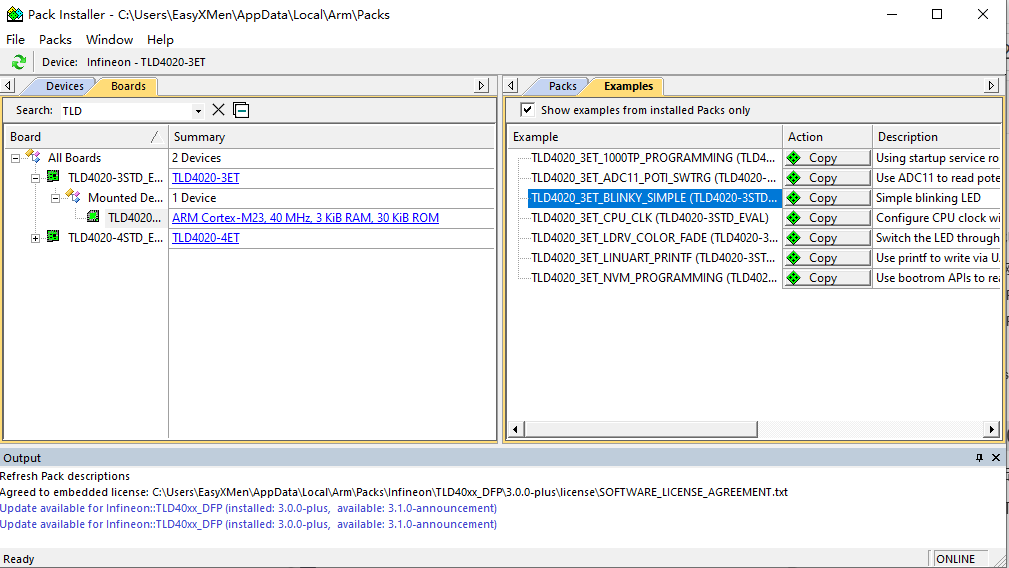
3.此时获得TLD4020-3STD_KIT评估板的示例代码;
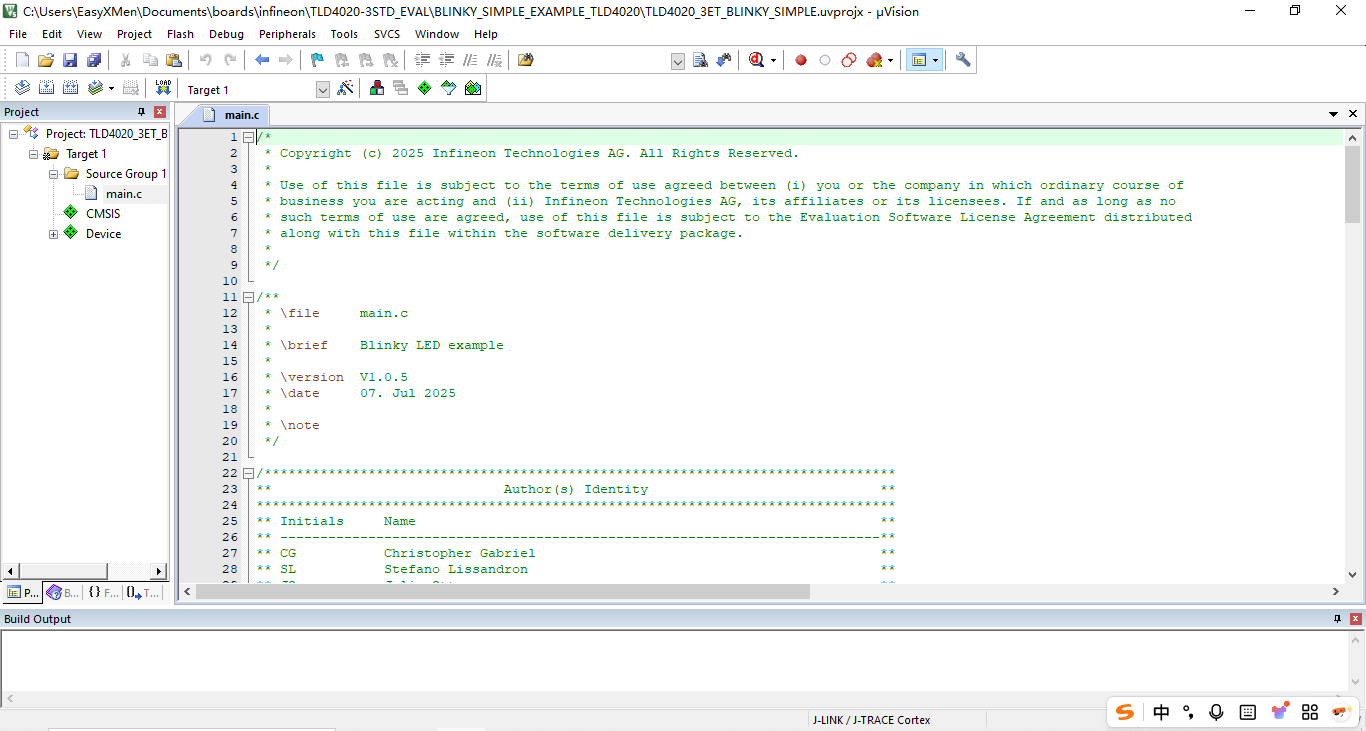
/*
 * Copyright (c) 2025 Infineon Technologies AG. All Rights Reserved.
 *
 * Use of this file is subject to the terms of use agreed between (i) you or the company in which ordinary course of
 * business you are acting and (ii) Infineon Technologies AG, its affiliates or its licensees. If and as long as no
 * such terms of use are agreed, use of this file is subject to the Evaluation Software License Agreement distributed
 * along with this file within the software delivery package.
 *
 */

/**
 * \file     main.c
 *
 * \brief    Blinky LED example
 *
 * \version  V1.0.5
 * \date     07. Jul 2025
 *
 * \note
 */

/*******************************************************************************
**                             Author(s) Identity                             **
********************************************************************************
** Initials     Name                                                          **
** ---------------------------------------------------------------------------**
** CG           Christopher Gabriel                                           **
** SL           Stefano Lissandron                                            **
** JO           Julia Ott                                                     **
** VO           Vanessa Ongaro                                                **
*******************************************************************************/

/*******************************************************************************
**                          Revision Control History                          **
********************************************************************************
** V1.0.0: 2022-10-27, SL:   Initial version                                  **
** V1.0.1: 2023-02-14, SL:   Handled initialization error with an infinite    **
                             loop                                             **
** V1.0.2: 2023-09-28, JO:   [ATVCOMETLL-131] Updated date format             **
** V1.0.3: 2024-08-08, VO:   [ATVCOMETLL-84] Added RGB color to channel       **
**                           correspondence                                   **
** V1.0.4: 2025-02-28, VO:   [ATVCOMETLL-173] Add abstract to main.c          **
** V1.0.5: 2025-07-07, VO:   [ATVCOMETLL-202] Updated license text            **
*******************************************************************************/

/*******************************************************************************
**                                  Abstract                                  **
********************************************************************************
** Blinky LED example                                                         **
********************************************************************************
** Within the endless main loop a tick count is incremented. If the tick      **
** reached 100000 the RGB LED colour is changed. Then the tick count is       **
** reinitialized to 0.                                                        **
*******************************************************************************/

/*******************************************************************************
**                                  Includes                                  **
*******************************************************************************/
#include "device.h"

/*******************************************************************************
**                        Global Constant Declarations                        **
*******************************************************************************/

/*******************************************************************************
**                          Global Type Declarations                          **
*******************************************************************************/

/*******************************************************************************
**                          Global Macro Declarations                         **
*******************************************************************************/

/*******************************************************************************
**                        Global Function Declarations                        **
*******************************************************************************/

/*******************************************************************************
**                     Global Inline Function Definitions                     **
*******************************************************************************/

sint32 main(void)
{
  uint8_t u8_return_code;
  sint32 s32_counter;
  sint8 s8_ledIndex;
  sint8 s8_onState;

  /* Main watchdog service */
  (void)PMU_serviceWatchdog();

  /* Initialization of hardware modules based on Config Wizard configuration */
  u8_return_code = Device_init();

  if (u8_return_code != ERR_LOG_SUCCESS)
  {
    /* Place your code here to handle an initialization error */
    for (;;)
      ;
  }

  /*****************************************************************************
  ** Place your application code here                                         **
  *****************************************************************************/
  #define MAX_BRIGHTNESS 0x0FFF
  #define MIN_BRIGHTNESS 0x0000
  #define MAX_COUNTER    100000
  #define RED_LED        0  /* Red LED is connected to channel 0 */
  #define BLUE_LED       1  /* Blue LED is connected to channel 1 */
  #define GREEN_LED      2  /* Grenn LED is connected to channel 2 */

  s32_counter = 0;
  s8_ledIndex = 0;
  s8_onState = 0;

  /*****************************************************************************
  ** Main endless loop                                                        **
  *****************************************************************************/
  for (;;)
  {
    /* Main watchdog service */
    (void)PMU_serviceWatchdog();

    /***************************************************************************
    ** Place your application code here                                       **
    ***************************************************************************/

    if (s32_counter++ > MAX_COUNTER)
    {
      if (s8_onState == 0)
      {
        LDRV->PWM_DC_CFG0.reg = (s8_ledIndex == RED_LED) ? MAX_BRIGHTNESS : MIN_BRIGHTNESS;
        LDRV->PWM_DC_CFG1.reg = (s8_ledIndex == BLUE_LED) ? MAX_BRIGHTNESS : MIN_BRIGHTNESS;
        LDRV->PWM_DC_CFG2.reg = (s8_ledIndex == GREEN_LED) ? MAX_BRIGHTNESS : MIN_BRIGHTNESS;

        if (++s8_ledIndex > GREEN_LED)
          s8_ledIndex = RED_LED;

        s8_onState = 1;
      }
      else
      {
        LDRV->PWM_DC_CFG0.reg = MIN_BRIGHTNESS;
        LDRV->PWM_DC_CFG1.reg = MIN_BRIGHTNESS;
        LDRV->PWM_DC_CFG2.reg = MIN_BRIGHTNESS;
        s8_onState = 0;
      }

      s32_counter = 0;
    }
  }
}
4.点击“Build”进行编译,点击“Download”进行下载;
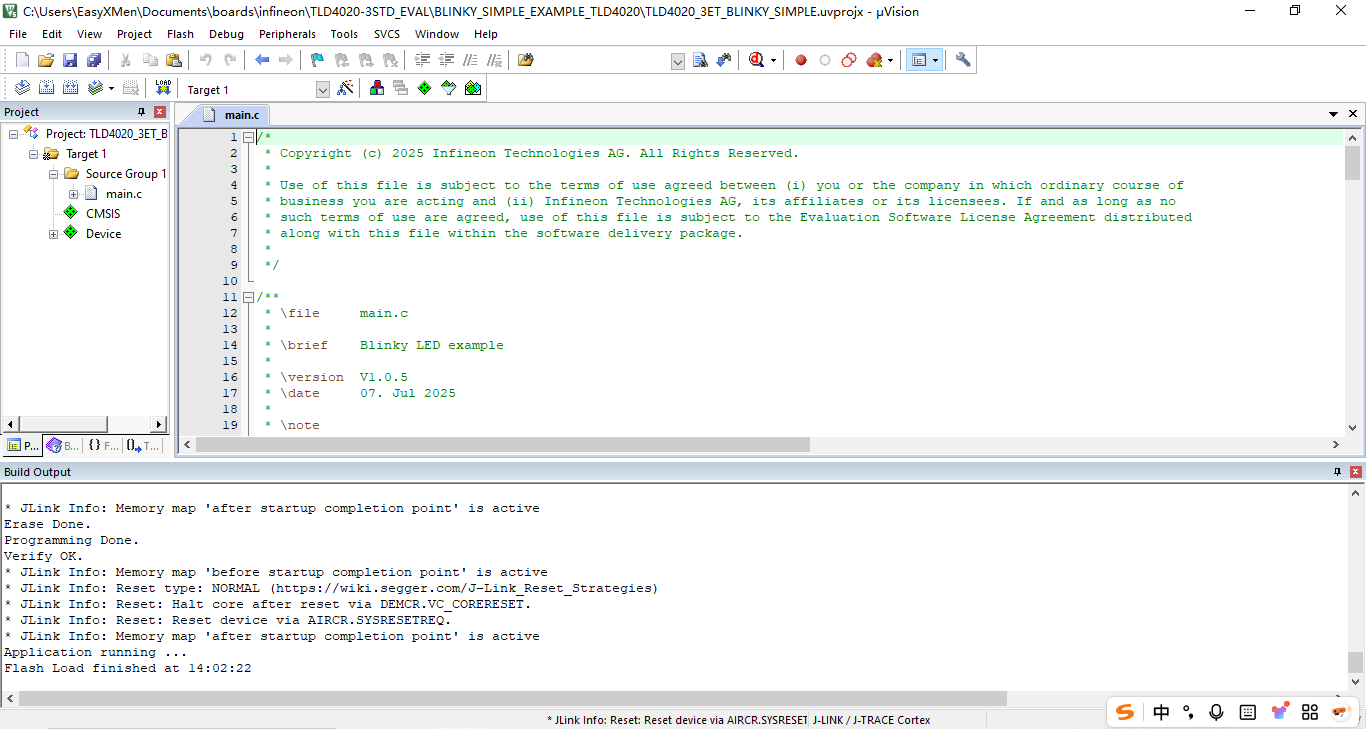
5.看到英飞凌TLD4020-3STD_KIT评估板板载LED灯进行“红-蓝-绿”依次闪烁即为成功。
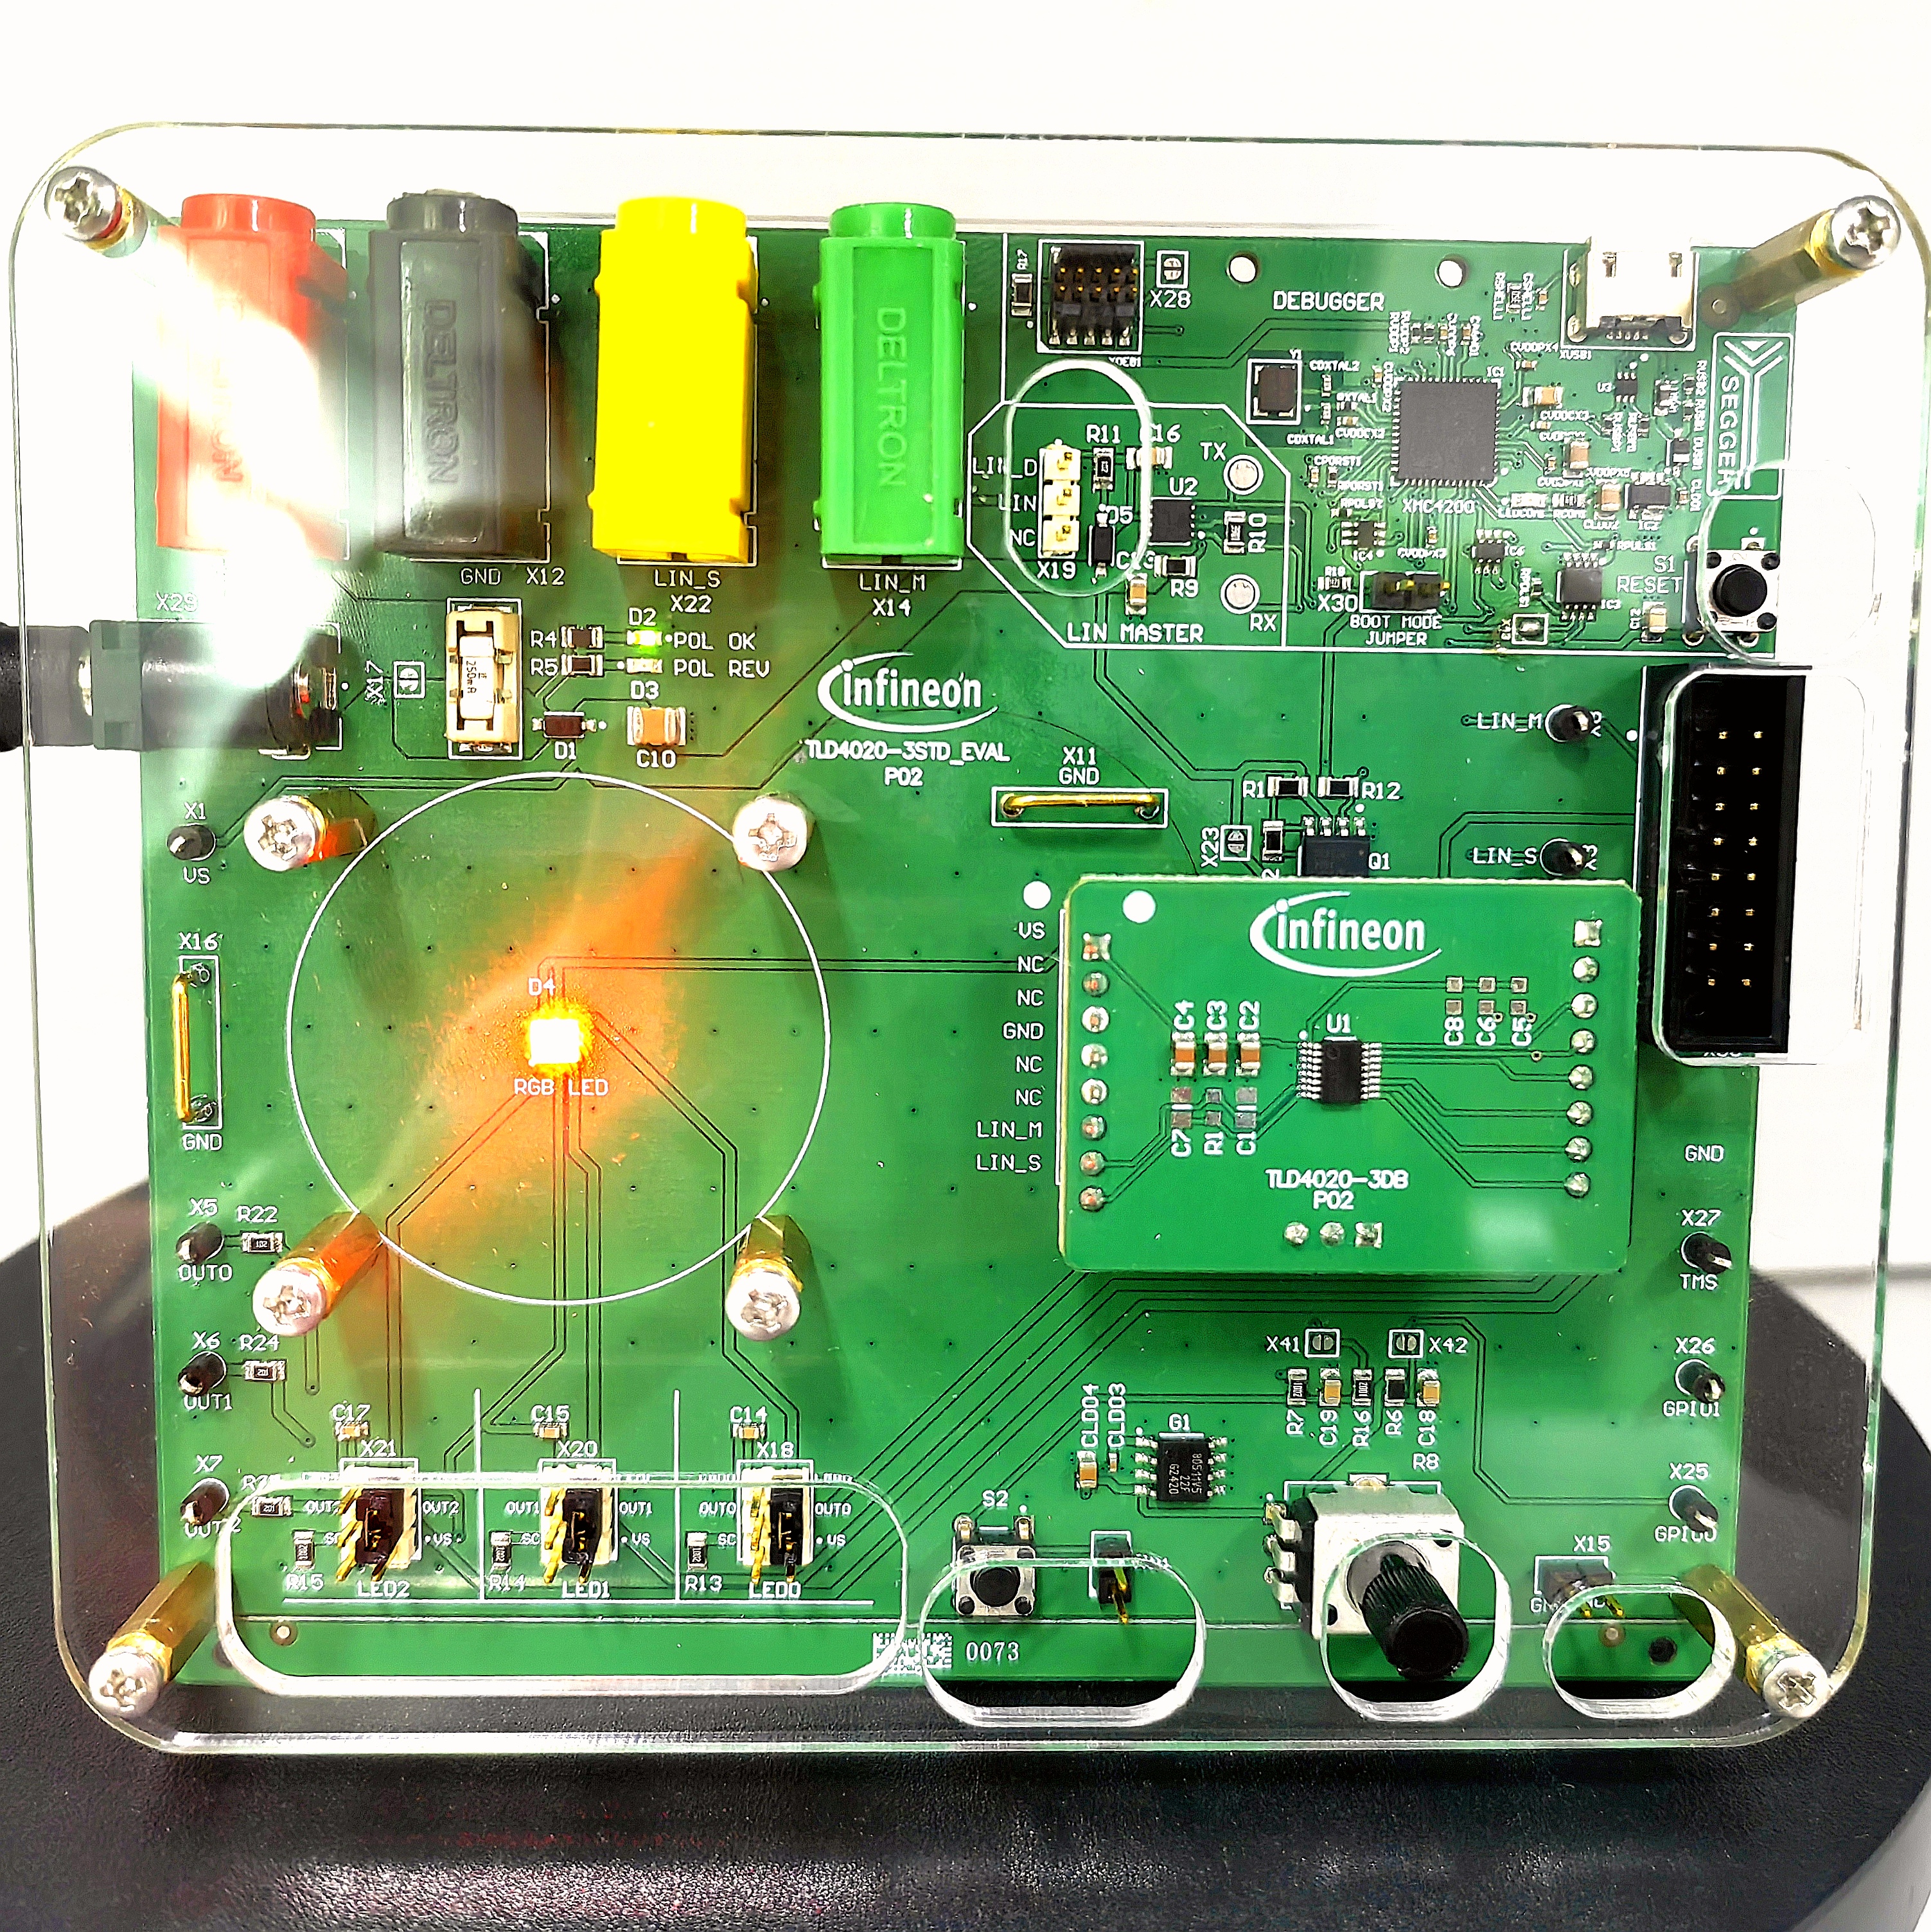
(四)英飞凌TLD4020-3STD_KIT评估板点亮白色LED灯
main.c
/*
 * Copyright (c) 2025 Infineon Technologies AG. All Rights Reserved.
 *
 * Use of this file is subject to the terms of use agreed between (i) you or the company in which ordinary course of
 * business you are acting and (ii) Infineon Technologies AG, its affiliates or its licensees. If and as long as no
 * such terms of use are agreed, use of this file is subject to the Evaluation Software License Agreement distributed
 * along with this file within the software delivery package.
 *
 */

/**
 * \file     main.c
 *
 * \brief    Blinky LED example
 *
 * \version  V1.0.5
 * \date     07. Jul 2025
 *
 * \note
 */

/*******************************************************************************
**                             Author(s) Identity                             **
********************************************************************************
** Initials     Name                                                          **
** ---------------------------------------------------------------------------**
** CG           Christopher Gabriel                                           **
** SL           Stefano Lissandron                                            **
** JO           Julia Ott                                                     **
** VO           Vanessa Ongaro                                                **
*******************************************************************************/

/*******************************************************************************
**                          Revision Control History                          **
********************************************************************************
** V1.0.0: 2022-10-27, SL:   Initial version                                  **
** V1.0.1: 2023-02-14, SL:   Handled initialization error with an infinite    **
                             loop                                             **
** V1.0.2: 2023-09-28, JO:   [ATVCOMETLL-131] Updated date format             **
** V1.0.3: 2024-08-08, VO:   [ATVCOMETLL-84] Added RGB color to channel       **
**                           correspondence                                   **
** V1.0.4: 2025-02-28, VO:   [ATVCOMETLL-173] Add abstract to main.c          **
** V1.0.5: 2025-07-07, VO:   [ATVCOMETLL-202] Updated license text            **
*******************************************************************************/

/*******************************************************************************
**                                  Abstract                                  **
********************************************************************************
** Blinky LED example                                                         **
********************************************************************************
** Within the endless main loop a tick count is incremented. If the tick      **
** reached 100000 the RGB LED colour is changed. Then the tick count is       **
** reinitialized to 0.                                                        **
*******************************************************************************/

/*******************************************************************************
**                                  Includes                                  **
*******************************************************************************/
#include "device.h"

/*******************************************************************************
**                        Global Constant Declarations                        **
*******************************************************************************/

/*******************************************************************************
**                          Global Type Declarations                          **
*******************************************************************************/

/*******************************************************************************
**                          Global Macro Declarations                         **
*******************************************************************************/

/*******************************************************************************
**                        Global Function Declarations                        **
*******************************************************************************/

/*******************************************************************************
**                     Global Inline Function Definitions                     **
*******************************************************************************/

sint32 main(void)
{
  uint8_t u8_return_code;
  sint32 s32_counter;
  sint8 s8_ledIndex;
  sint8 s8_onState;

  /* Main watchdog service */
  (void)PMU_serviceWatchdog();

  /* Initialization of hardware modules based on Config Wizard configuration */
  u8_return_code = Device_init();

  if (u8_return_code != ERR_LOG_SUCCESS)
  {
    /* Place your code here to handle an initialization error */
    for (;;)
      ;
  }

  /*****************************************************************************
  ** Place your application code here                                         **
  *****************************************************************************/
  #define MAX_BRIGHTNESS 0x0FFF
  #define MIN_BRIGHTNESS 0x0000
  #define MAX_COUNTER    100000
  #define RED_LED        0  /* Red LED is connected to channel 0 */
  #define BLUE_LED       1  /* Blue LED is connected to channel 1 */
  #define GREEN_LED      2  /* Grenn LED is connected to channel 2 */
	#define ONE_SECOND_TICK 100000

  s32_counter = 0;
  s8_ledIndex = 0;
  s8_onState = 0;

  /*****************************************************************************
  ** Main endless loop                                                        **
  *****************************************************************************/
	for (;;)
	{
    (void)PMU_serviceWatchdog();
    if (++s32_counter >= ONE_SECOND_TICK)
    {
        if (s8_onState == 0)
        {
            LDRV->PWM_DC_CFG0.reg = MAX_BRIGHTNESS;  /* Red   */
            LDRV->PWM_DC_CFG1.reg = MAX_BRIGHTNESS;  /* Blue  */
            LDRV->PWM_DC_CFG2.reg = MAX_BRIGHTNESS;  /* Green */
            s8_onState = 1;
        }
        else
        {
            LDRV->PWM_DC_CFG0.reg = MIN_BRIGHTNESS;
            LDRV->PWM_DC_CFG1.reg = MIN_BRIGHTNESS;
            LDRV->PWM_DC_CFG2.reg = MIN_BRIGHTNESS;
            s8_onState = 0;
        }
        s32_counter = 0;
    }
	}
}
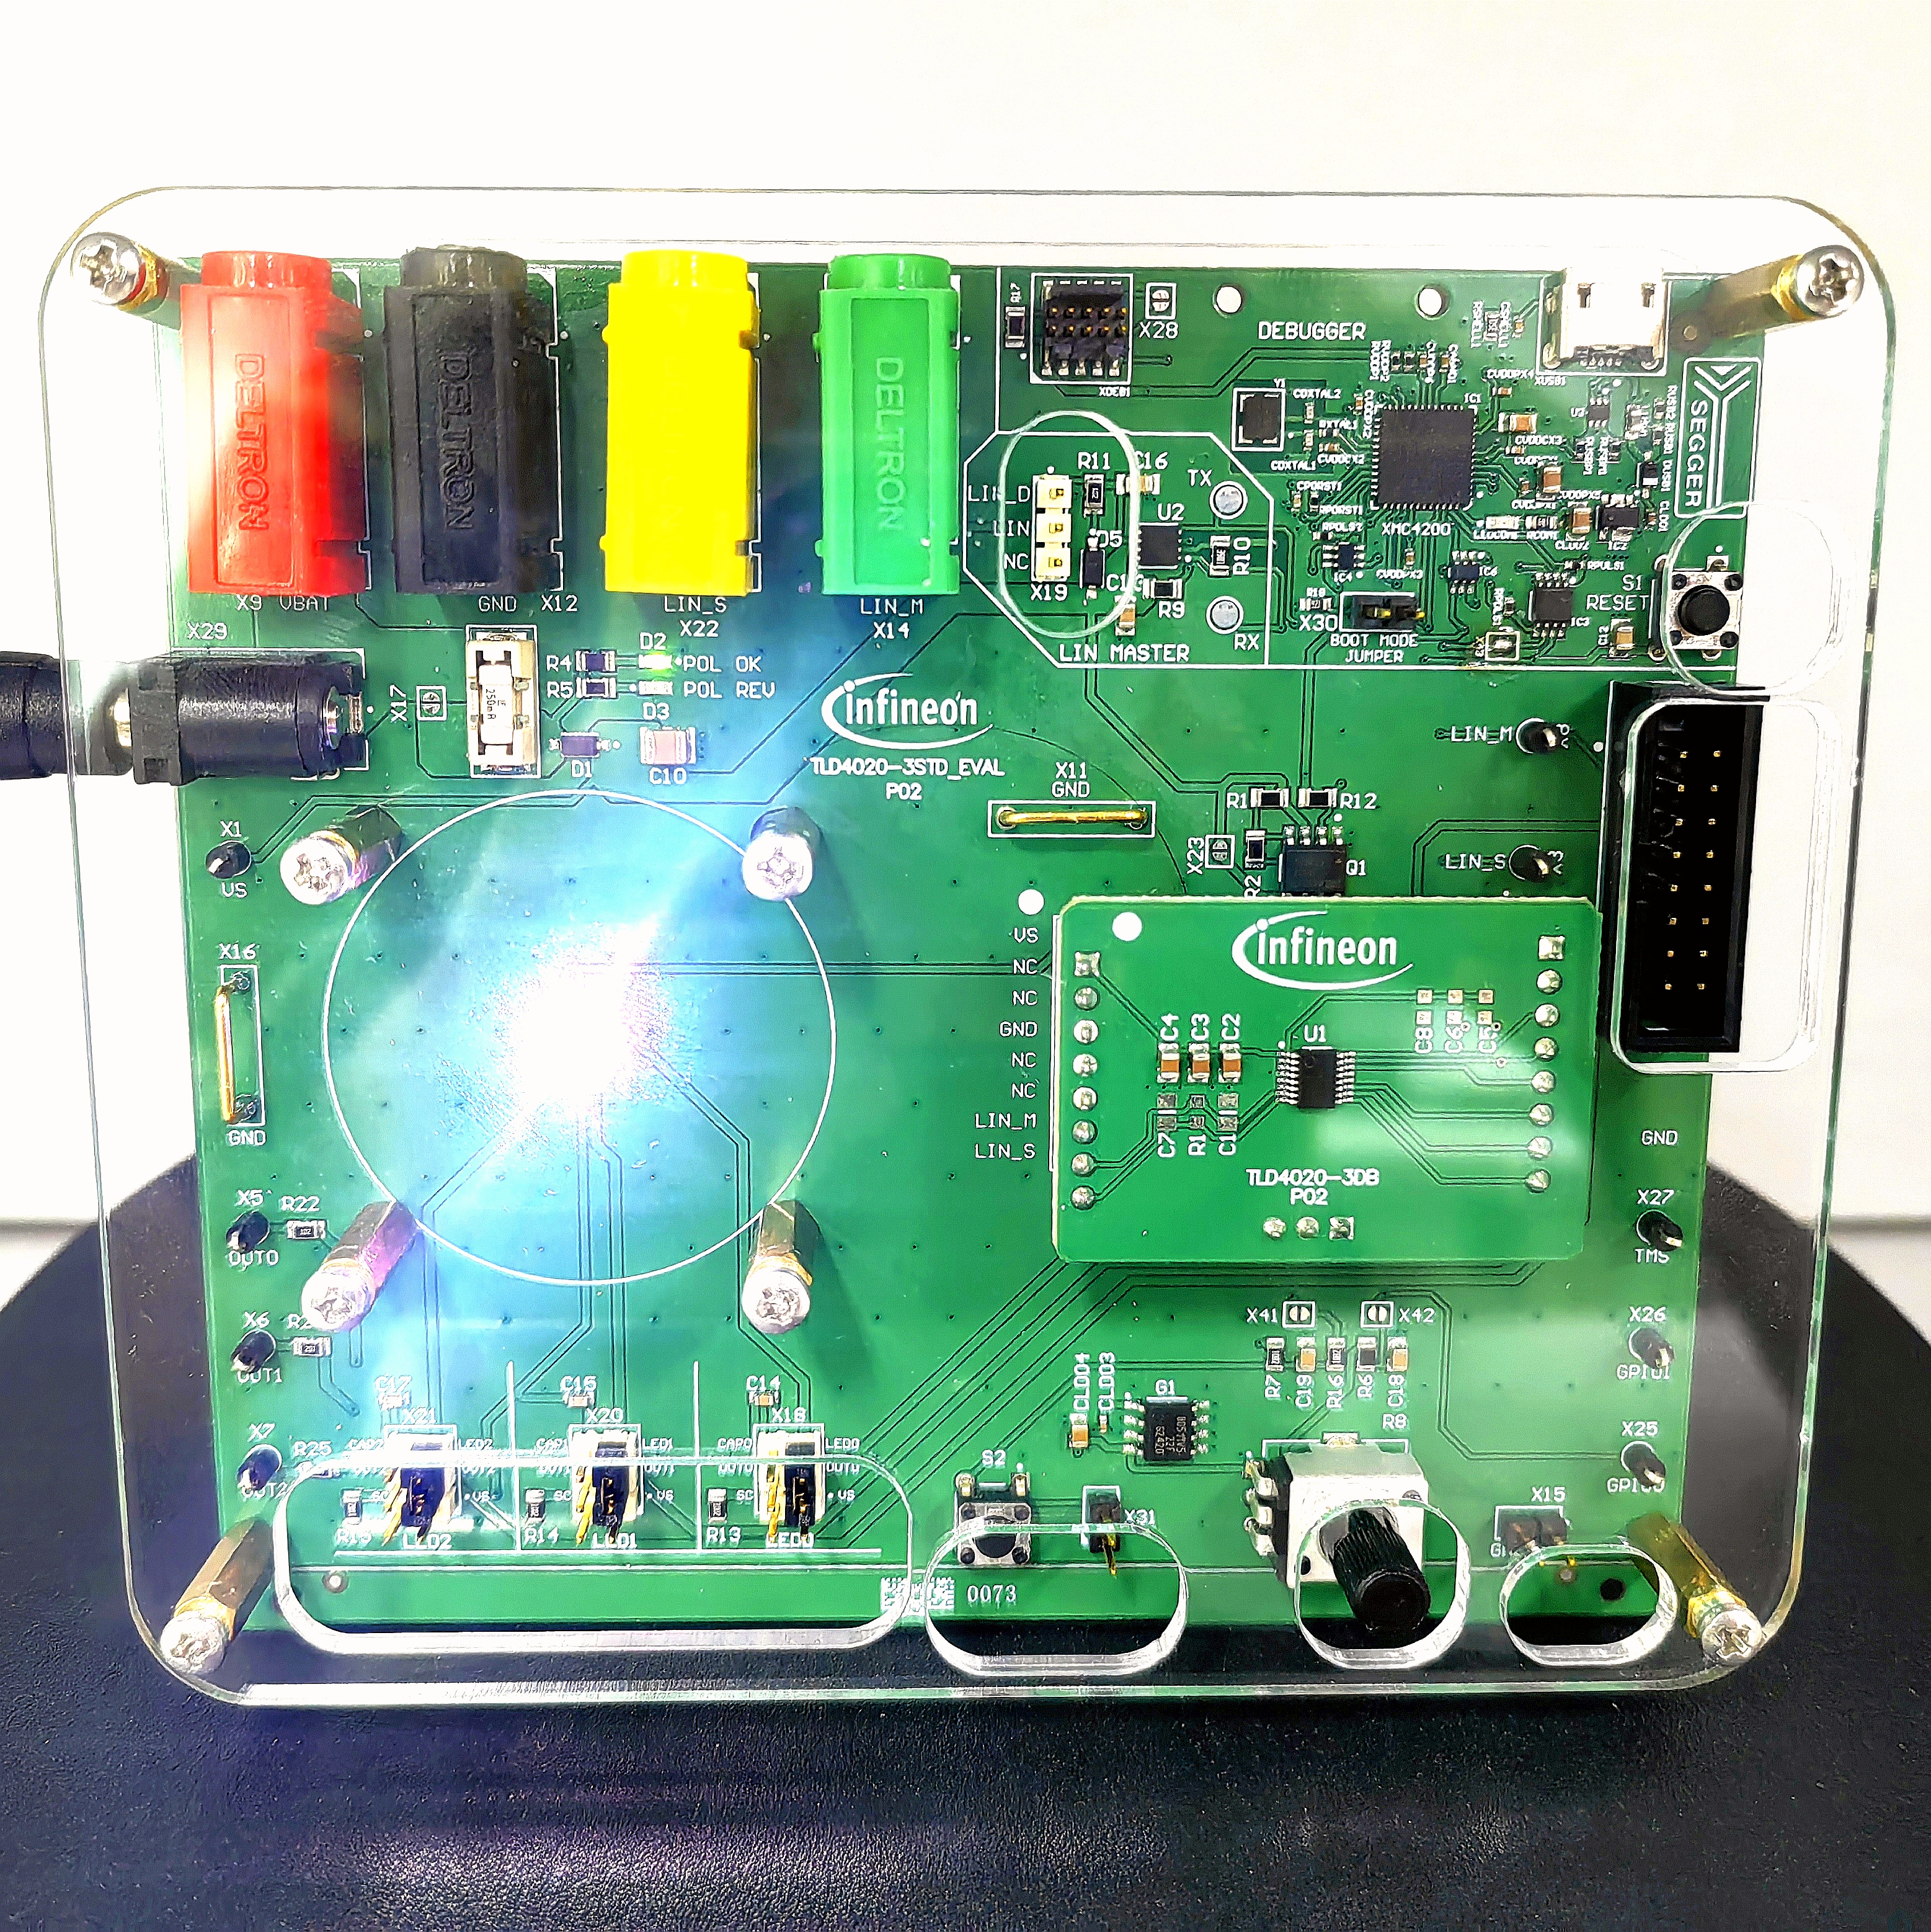
运行效果

智能硬件社区聚焦AI智能硬件技术生态,汇聚嵌入式AI、物联网硬件开发者,打造交流分享平台,同步全国赛事资讯、开展 OPC 核心人才招募,助力技术落地与开发者成长。
更多推荐
 29
29 0
0- 0


 已为社区贡献9条内容

所有评论(0)