正点原子STM32MP157震撼开源,Yocto构建教程揭秘
摘要:本文详细介绍了STM32MP1 Yocto开发环境的配置与镜像编译过程。主要内容包括:通过GitHub获取官方仓库代码、下载Yocto依赖包、设置环境变量、修改配置文件路径、执行镜像编译步骤,以及使用烧录工具将镜像写入开发板。文档还提供了完整的项目目录结构说明和待开发功能列表,并附有相关参考链接。整个过程图文并茂,从环境搭建到最终验证均提供详细指导,适用于STM32MP1开发板的嵌入式Lin
官方wiki文档,强烈推荐!!!里面的内容几乎能解决任何问题!

将官方repo仓库更新成github仓库(官方仓库需要访问google)
- 新增meta-st-develop
- 增加u-boot补丁(meta-st-develop/meta-st-stm32mp-addons/recipes-extended/uboot/u-boot-stm32mp/0001-support-panel-eth-phy.patch)
- 增加kernel补丁和外部kernel配置(meta-st-develop/recipes-kernel/linux/ patch和external kernel config)
- 增加mx仓库,完全兼容STM32CUBEMX工具
mx项目目录
- 设备树
- tf-a
- optee
- u-boot
- kernel
- TODO
- audio
- beep
- adc
- RS232/RS485
- FD CAN
- 6 AIXS SENSOR
- ALS&PS SENSOR
- TF Card
- HDMI
- USB OTG - 待测试
- SDIO WIFI&BT
- TEMP&HUMI SENSOR

下载github代码
git clone --recurse-submodules https://github.com/AcSully/stm32mp1-yocto.git
cd stm32mp1-yocto
git submodule update --remote
下载Yocto下载包(里面包含需要联网下载的源码)
链接: https://pan.baidu.com/s/15_UaWHm3nBICPwpJyYhACw 提取码: 48h4
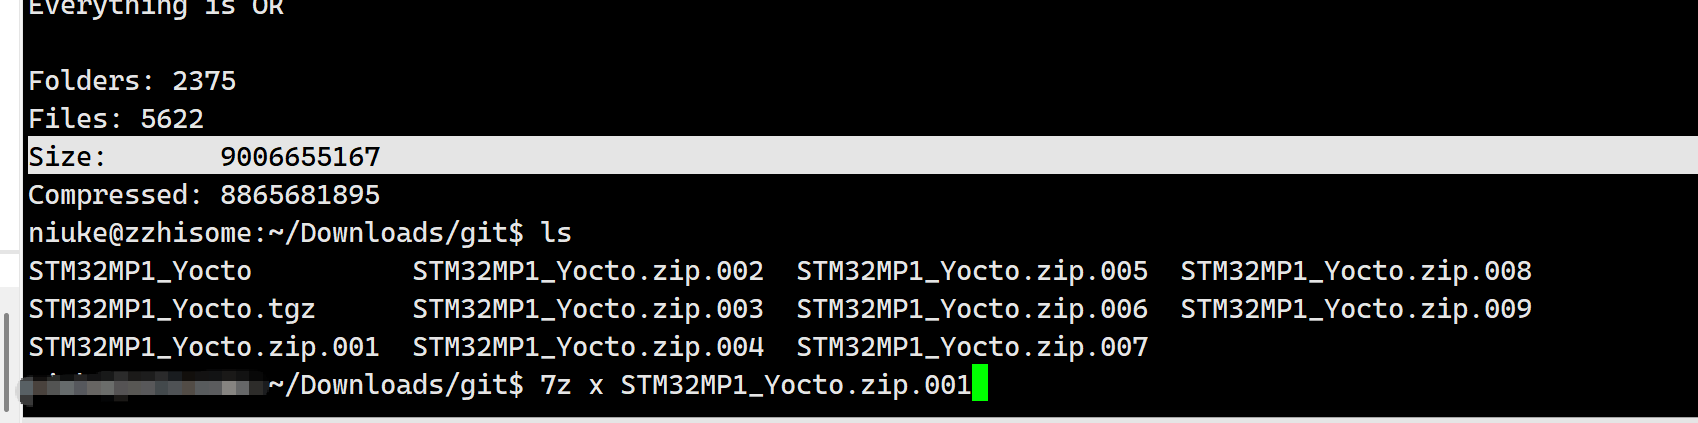
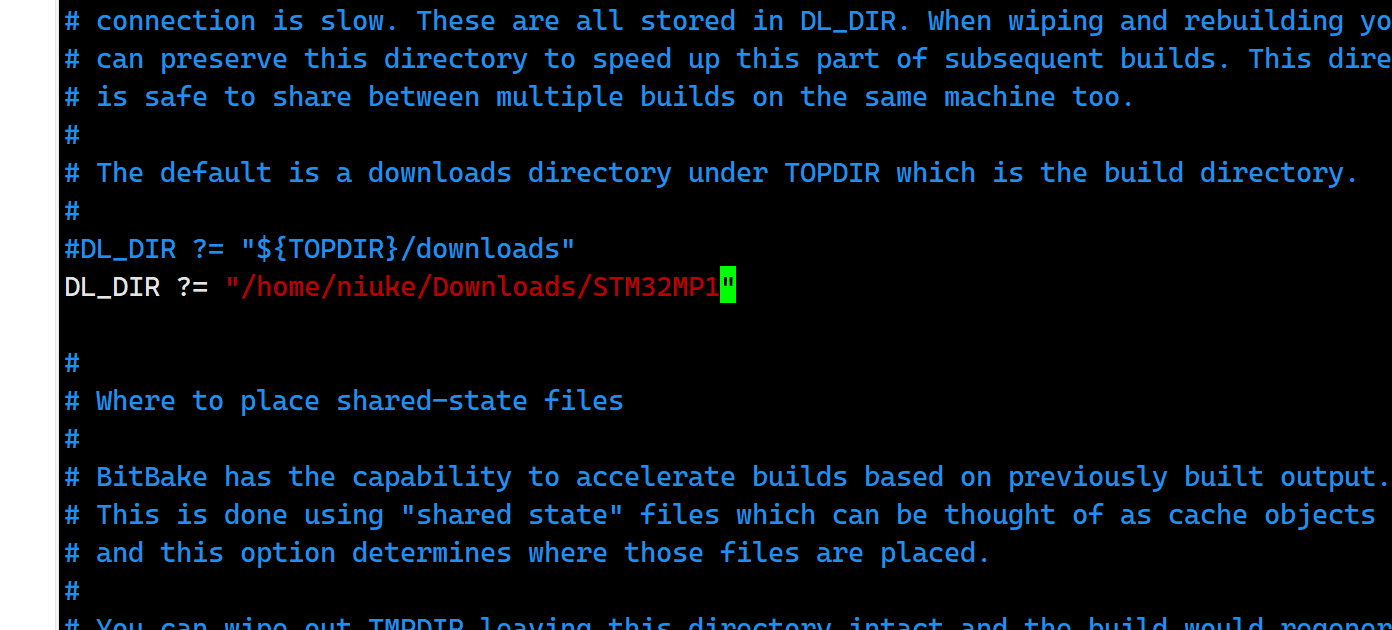
下载完成后解压,记住解压后的目录,我的放在/home/niuke/Downloads/STM32MP1,需要实际解压目录
7z x STM32MP1_Yocto.zip.001
声明环境变量
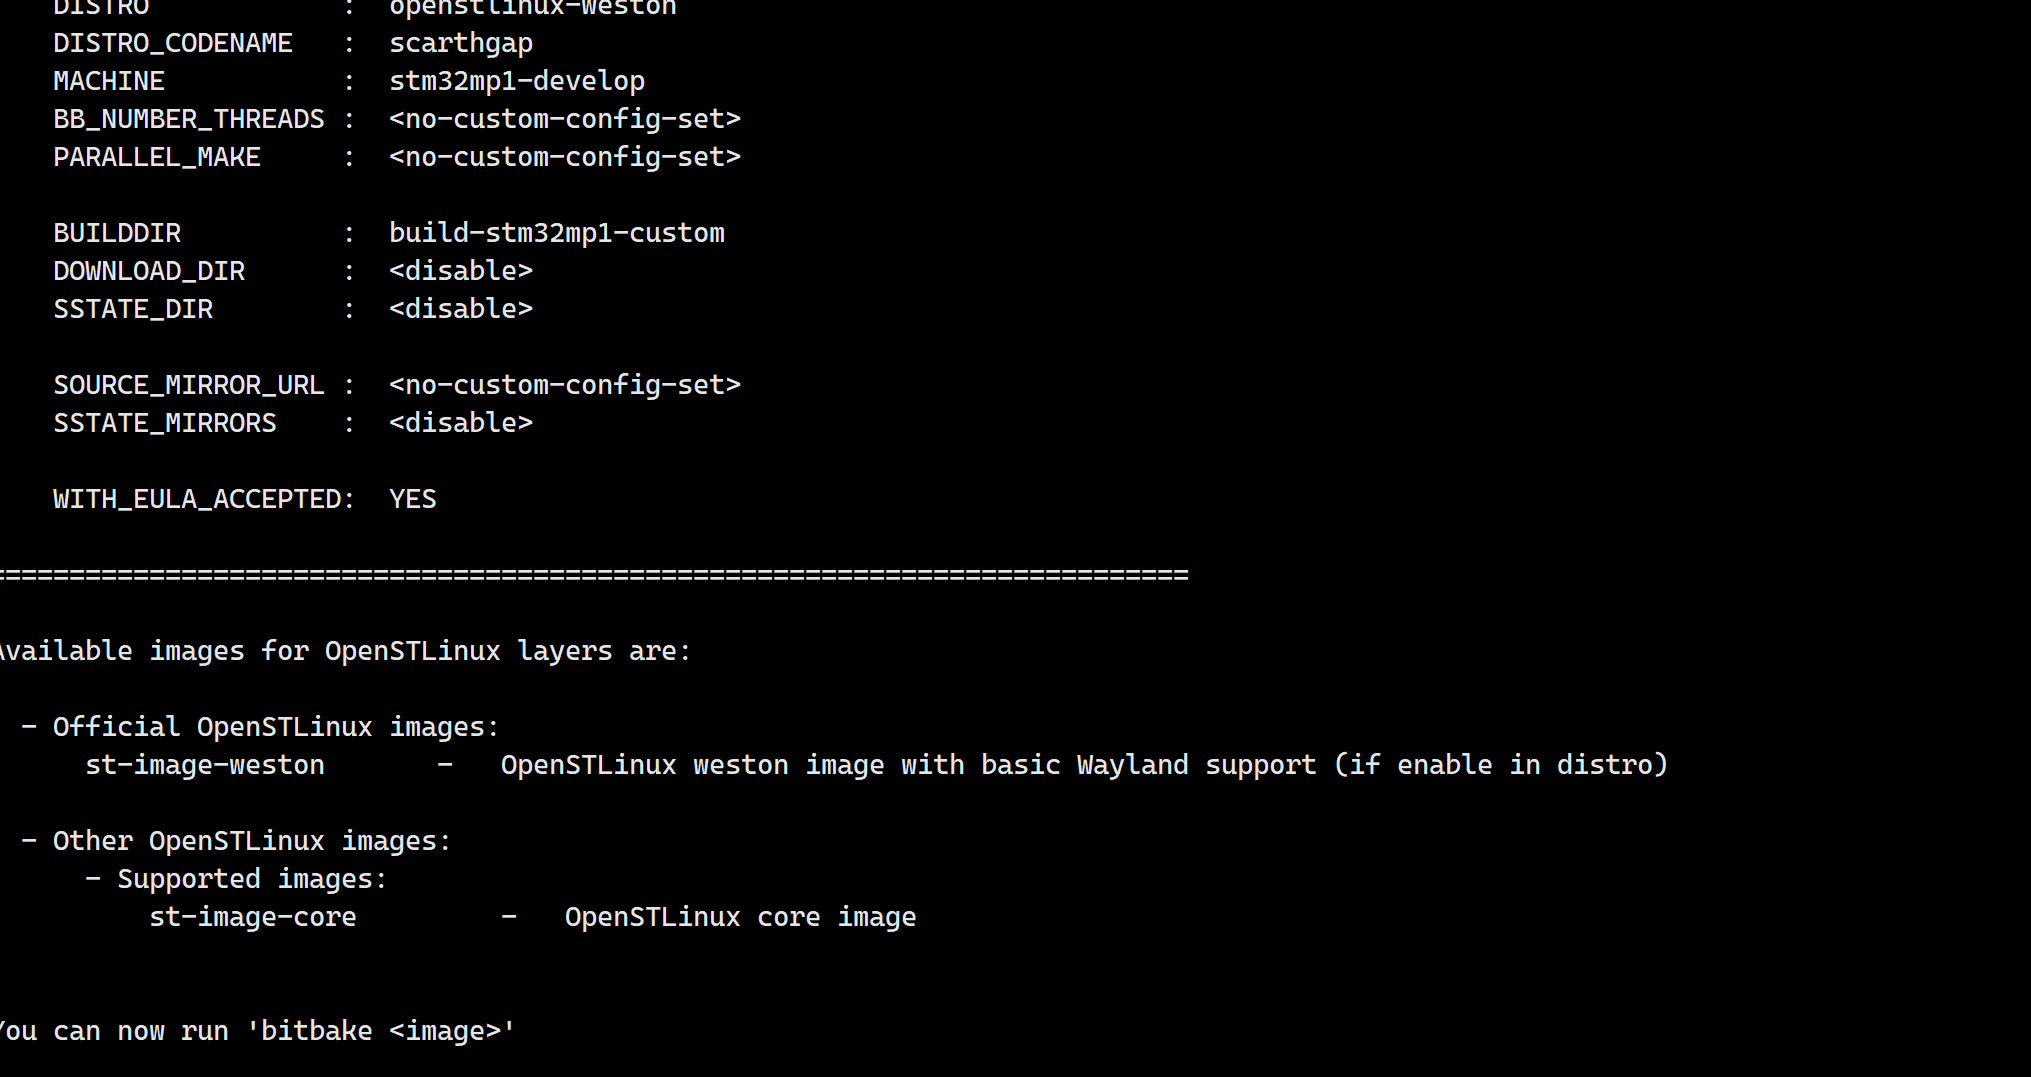
DISTRO=openstlinux-weston MACHINE=stm32mp1-develop source layers/meta-st-develop/scripts/envsetup.sh build-stm32mp1-custom
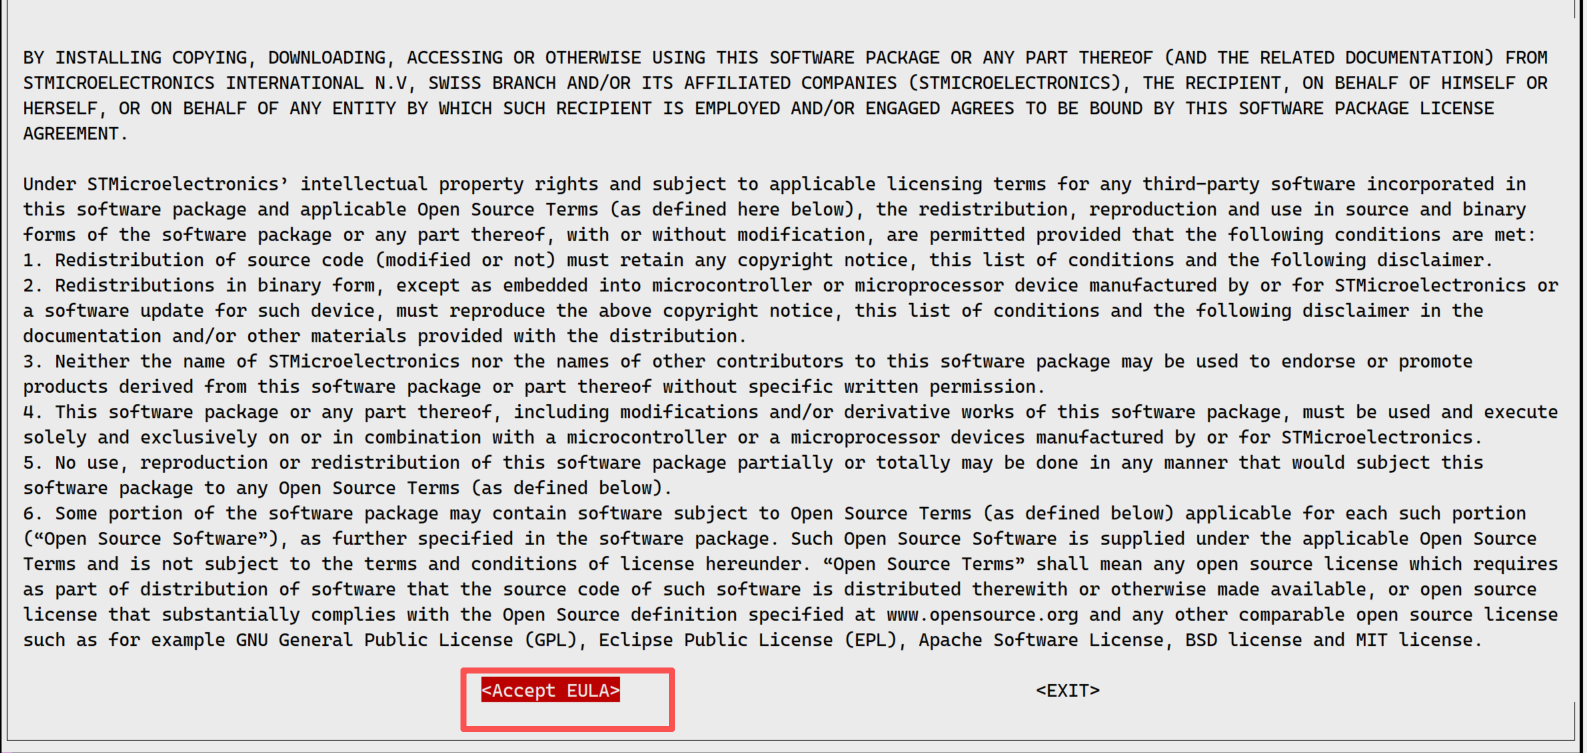
两个都选择接受

vi conf/local.conf
找到DL_DIR, 修改路径为刚才解压的路径(STM32MP1_Yocto.zip.001),保存
编译镜像
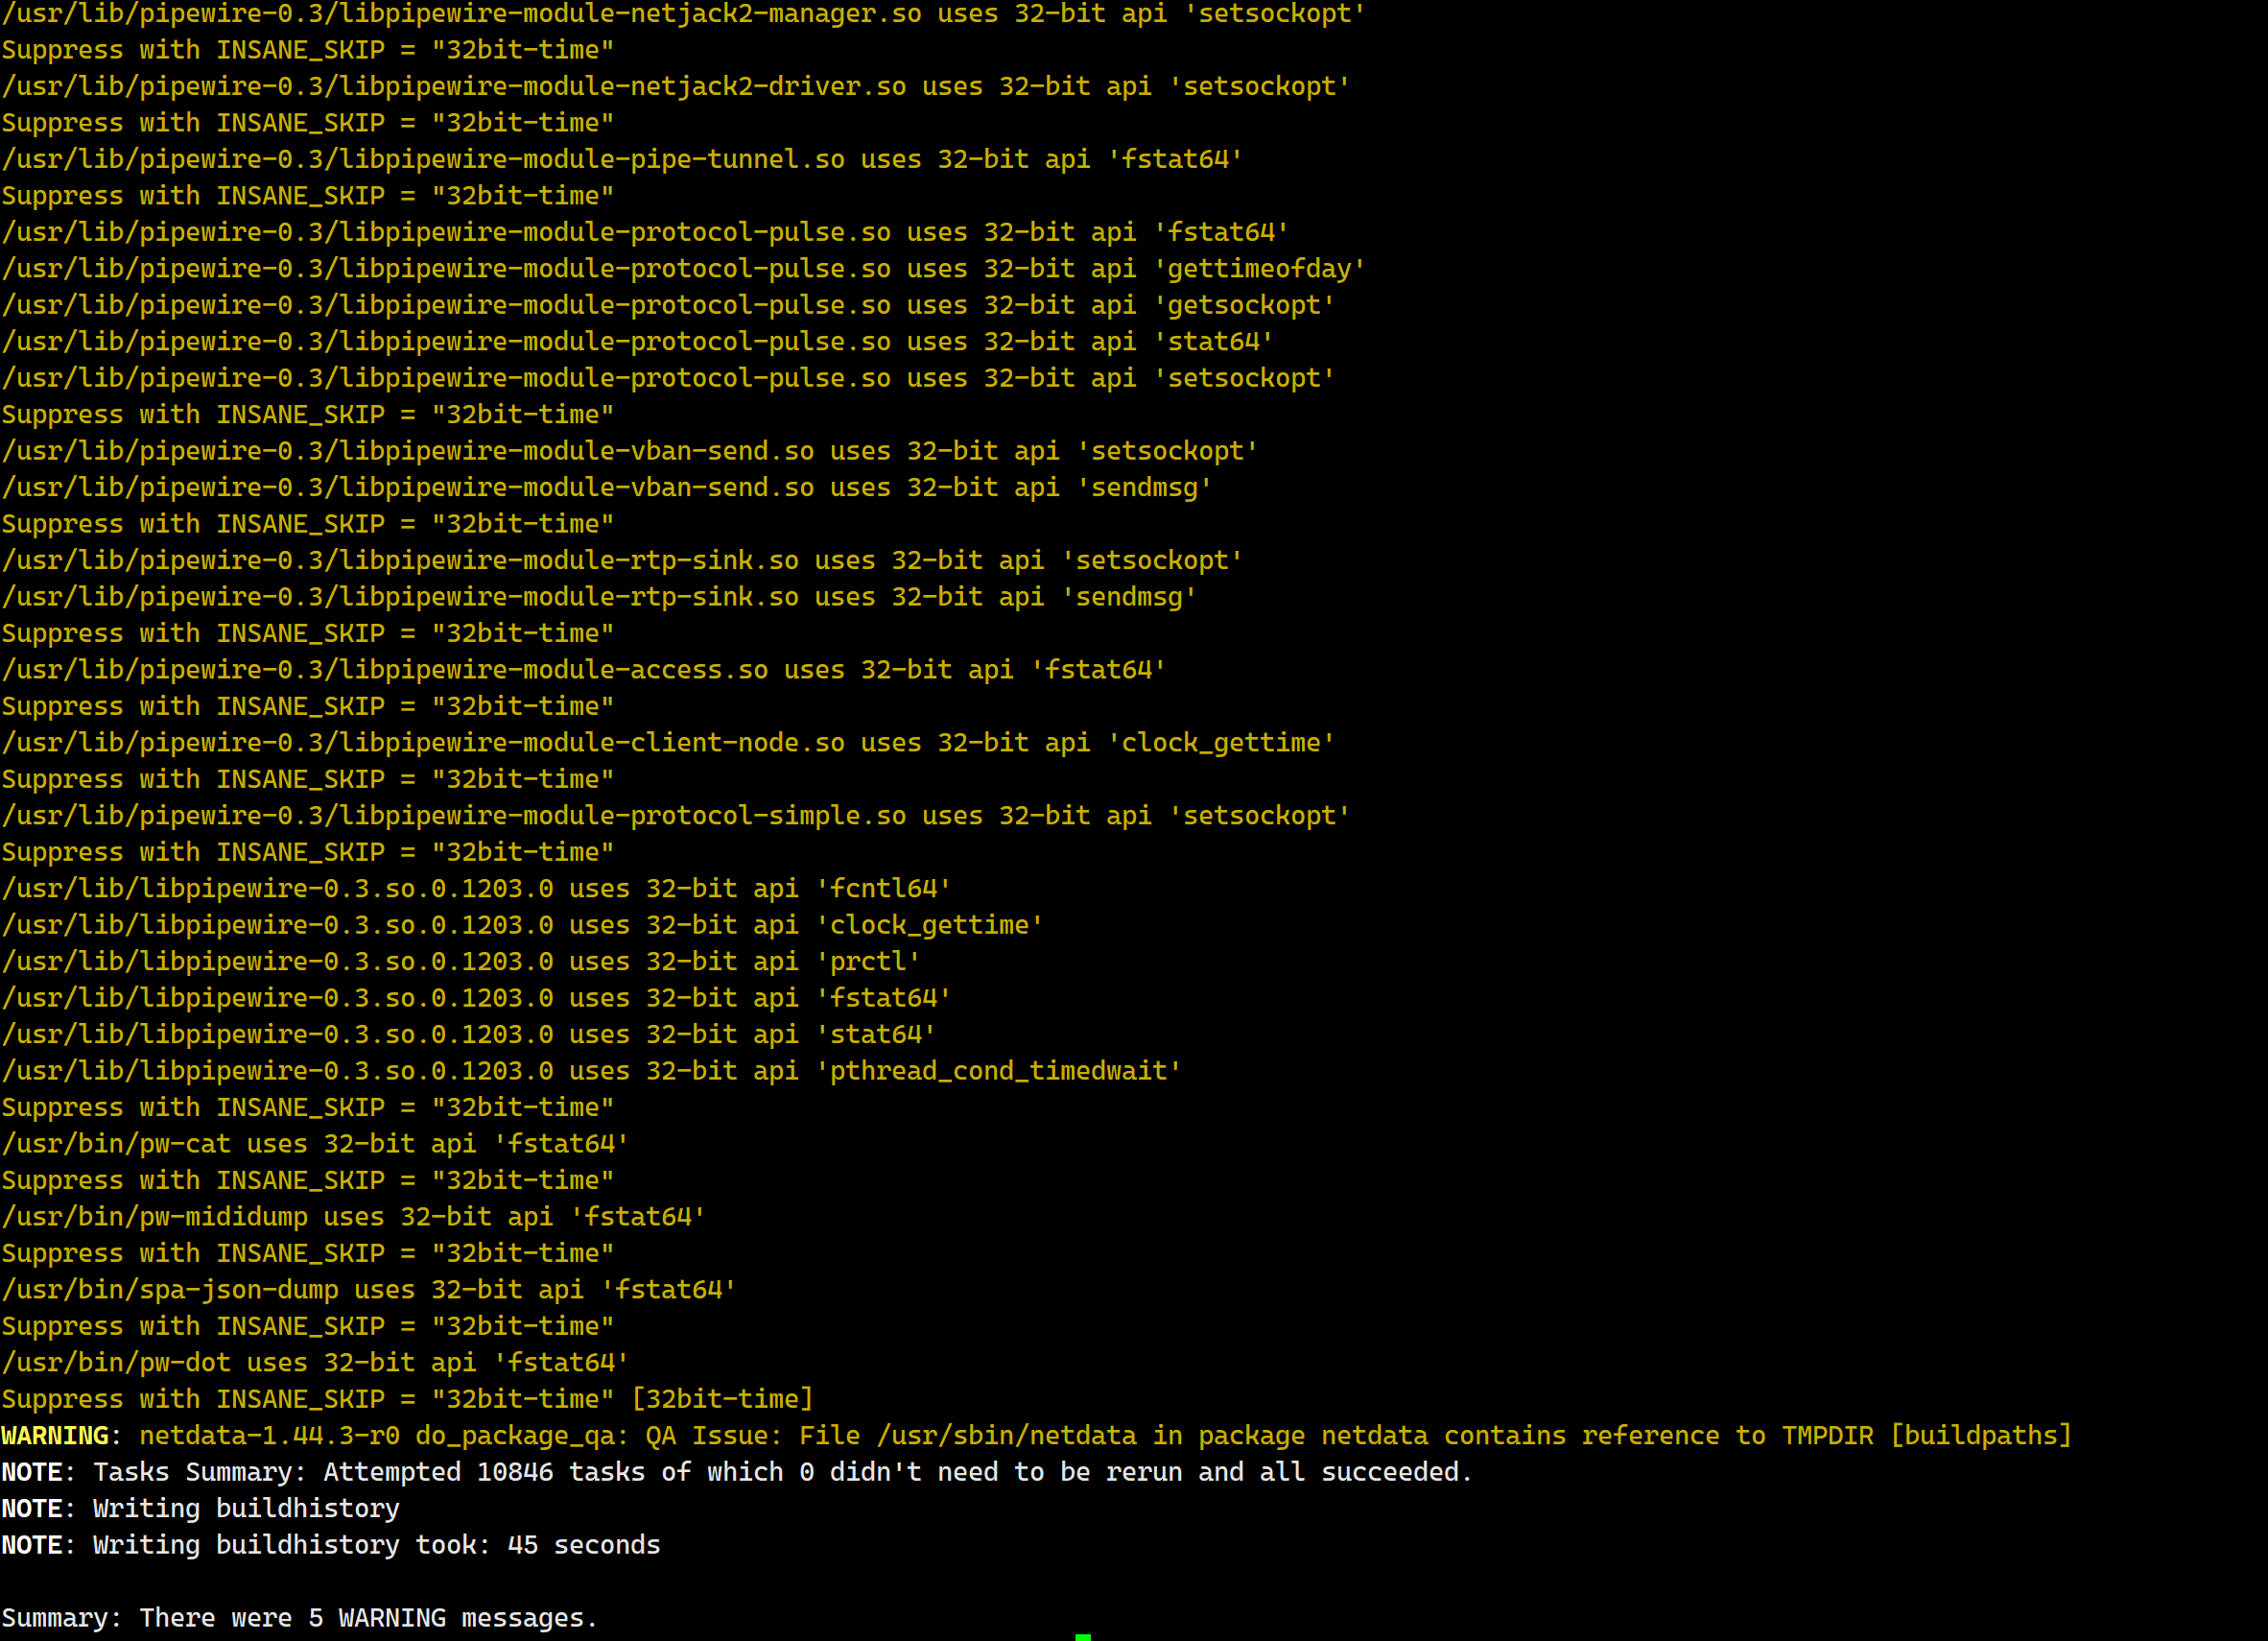
bitbake st-image-weston

烧录镜像到开发板
镜像位置在build-stm32mp1-custom\tmp-glibc\deploy\images\stm32mp1-develop
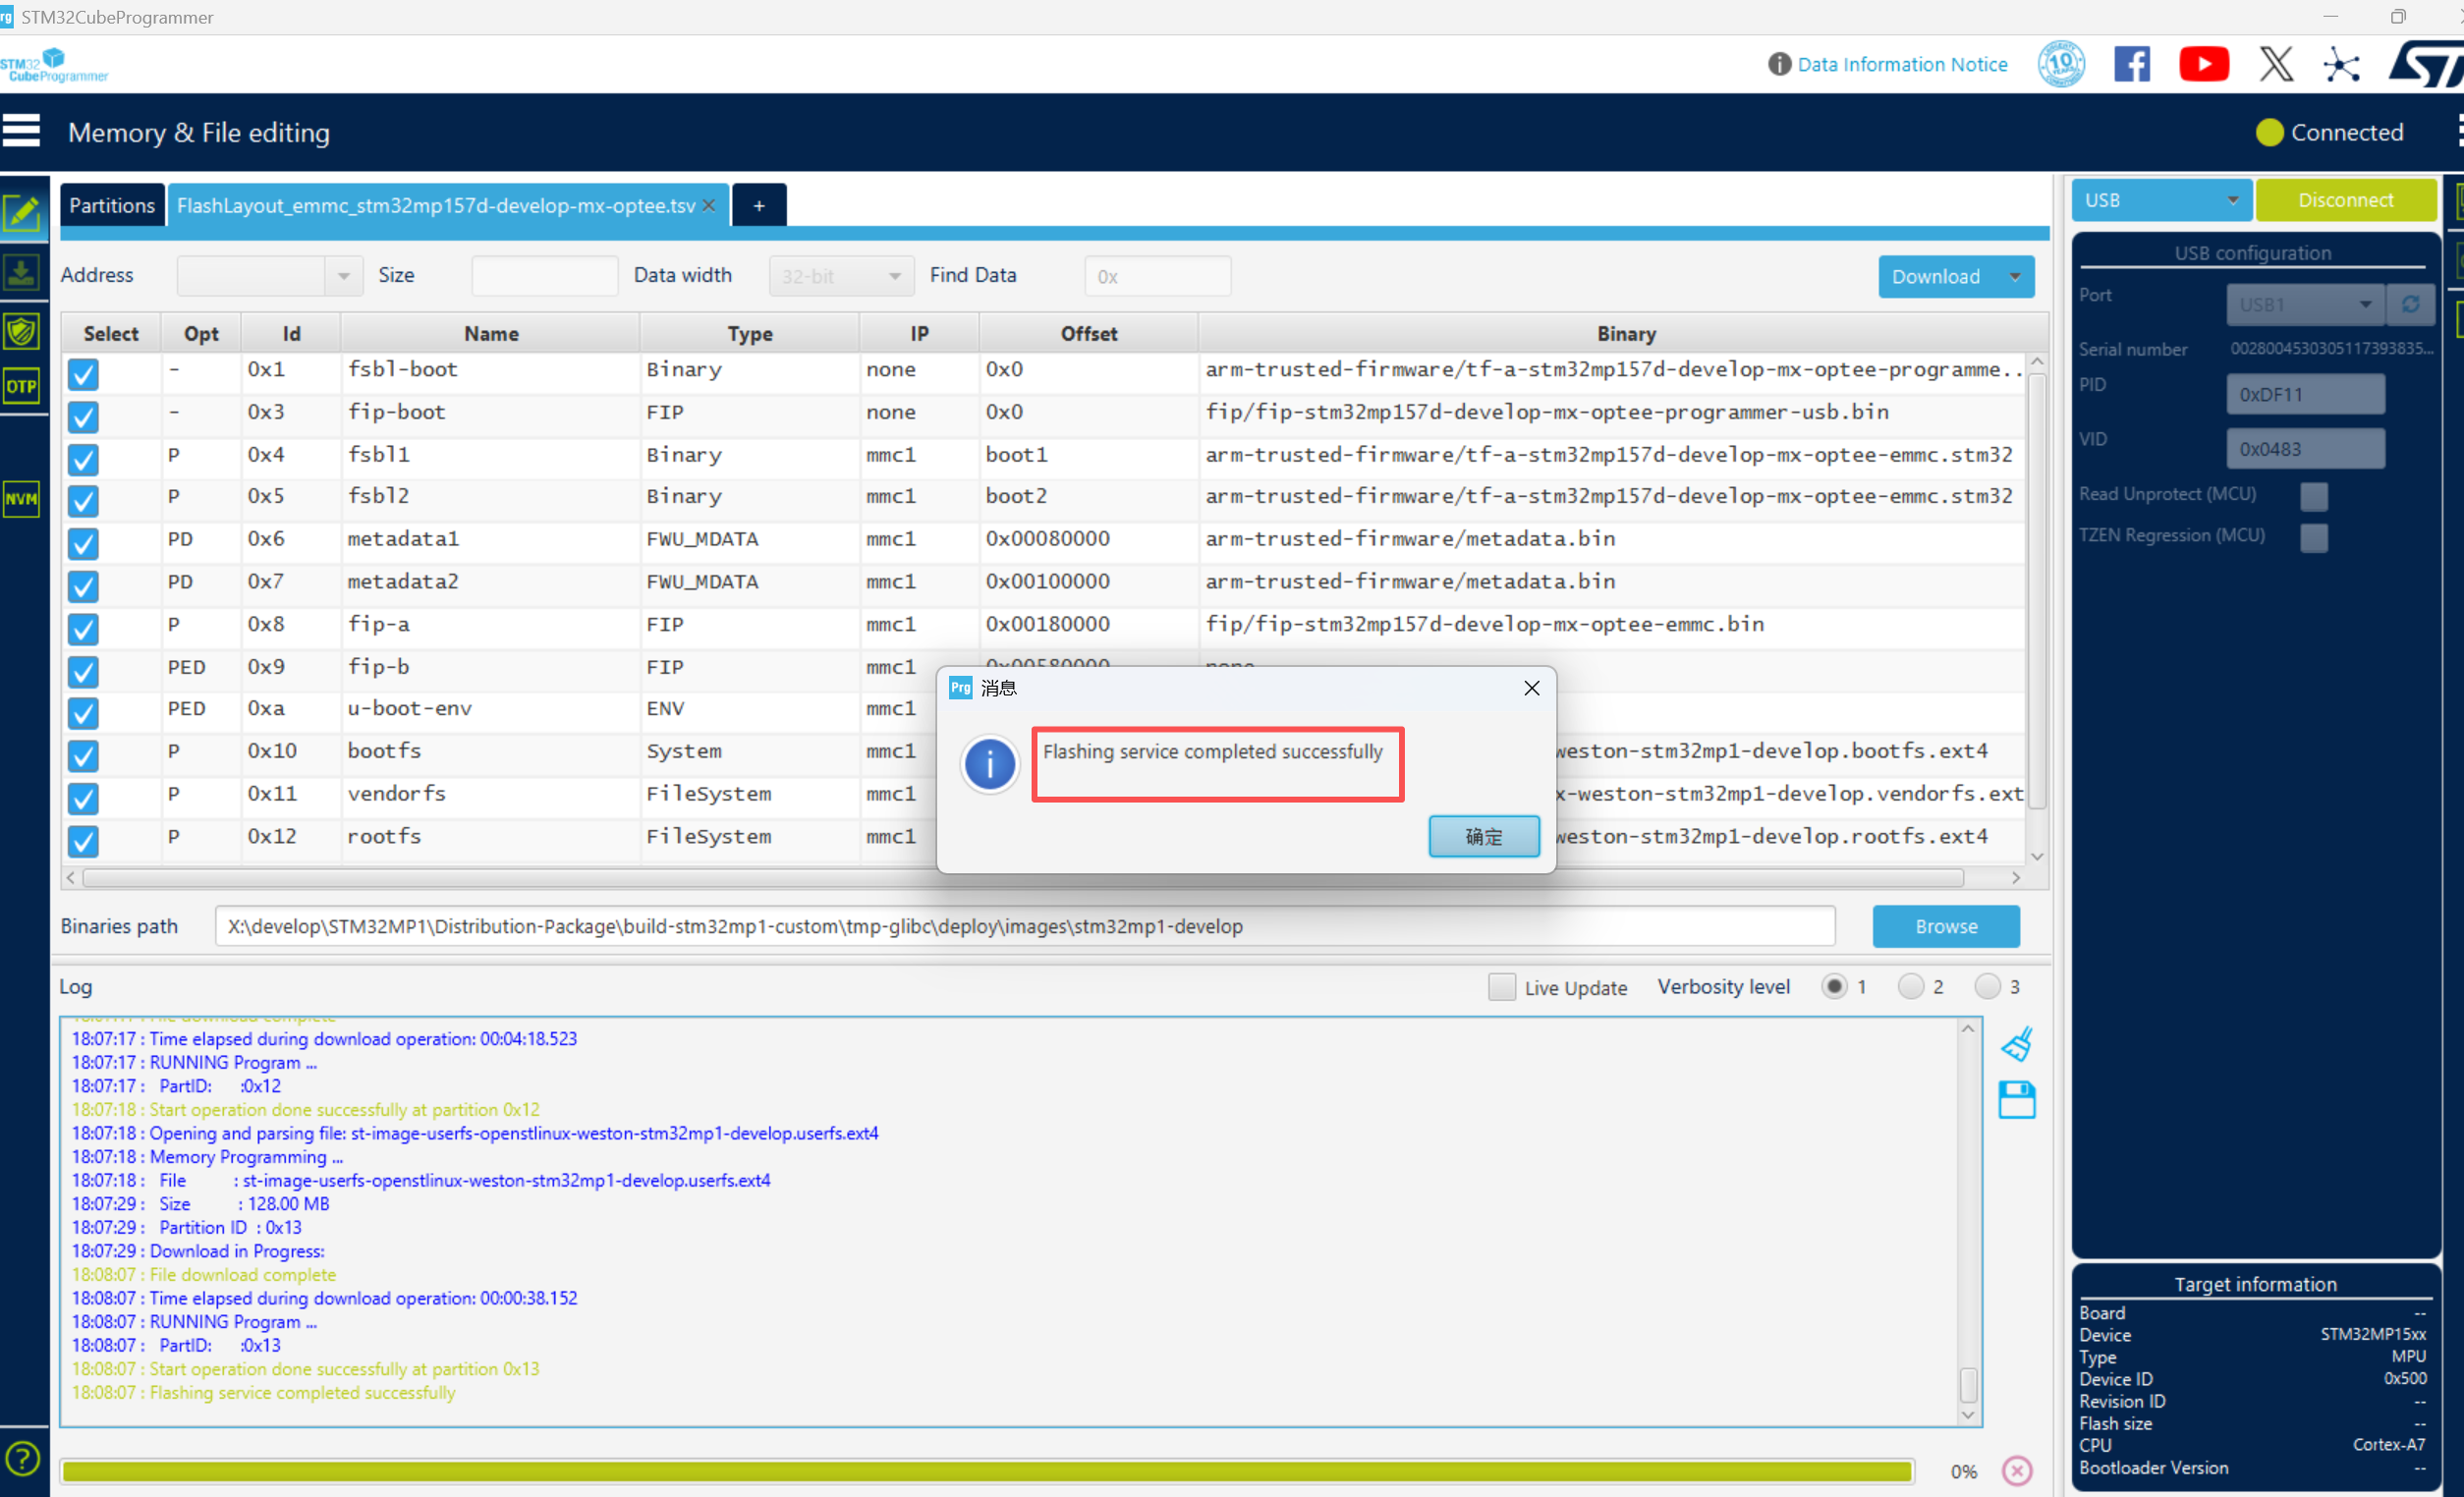
打开烧录软件
打开build-stm32mp1-custom\tmp-glibc\deploy\images\stm32mp1-develop\flashlayout_st-image-weston\optee\FlashLayout_emmc_stm32mp157d-develop-mx-optee.tsv
将拨码开关调整000到烧录模式,烧录器选择USB,connect,Download
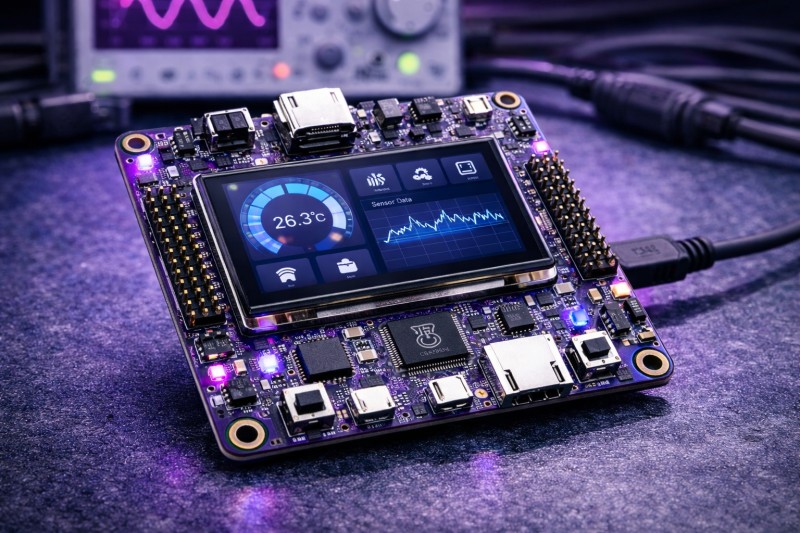
开发板验证
将启动模式修改成EMMC启动,按RESET键,完美!!!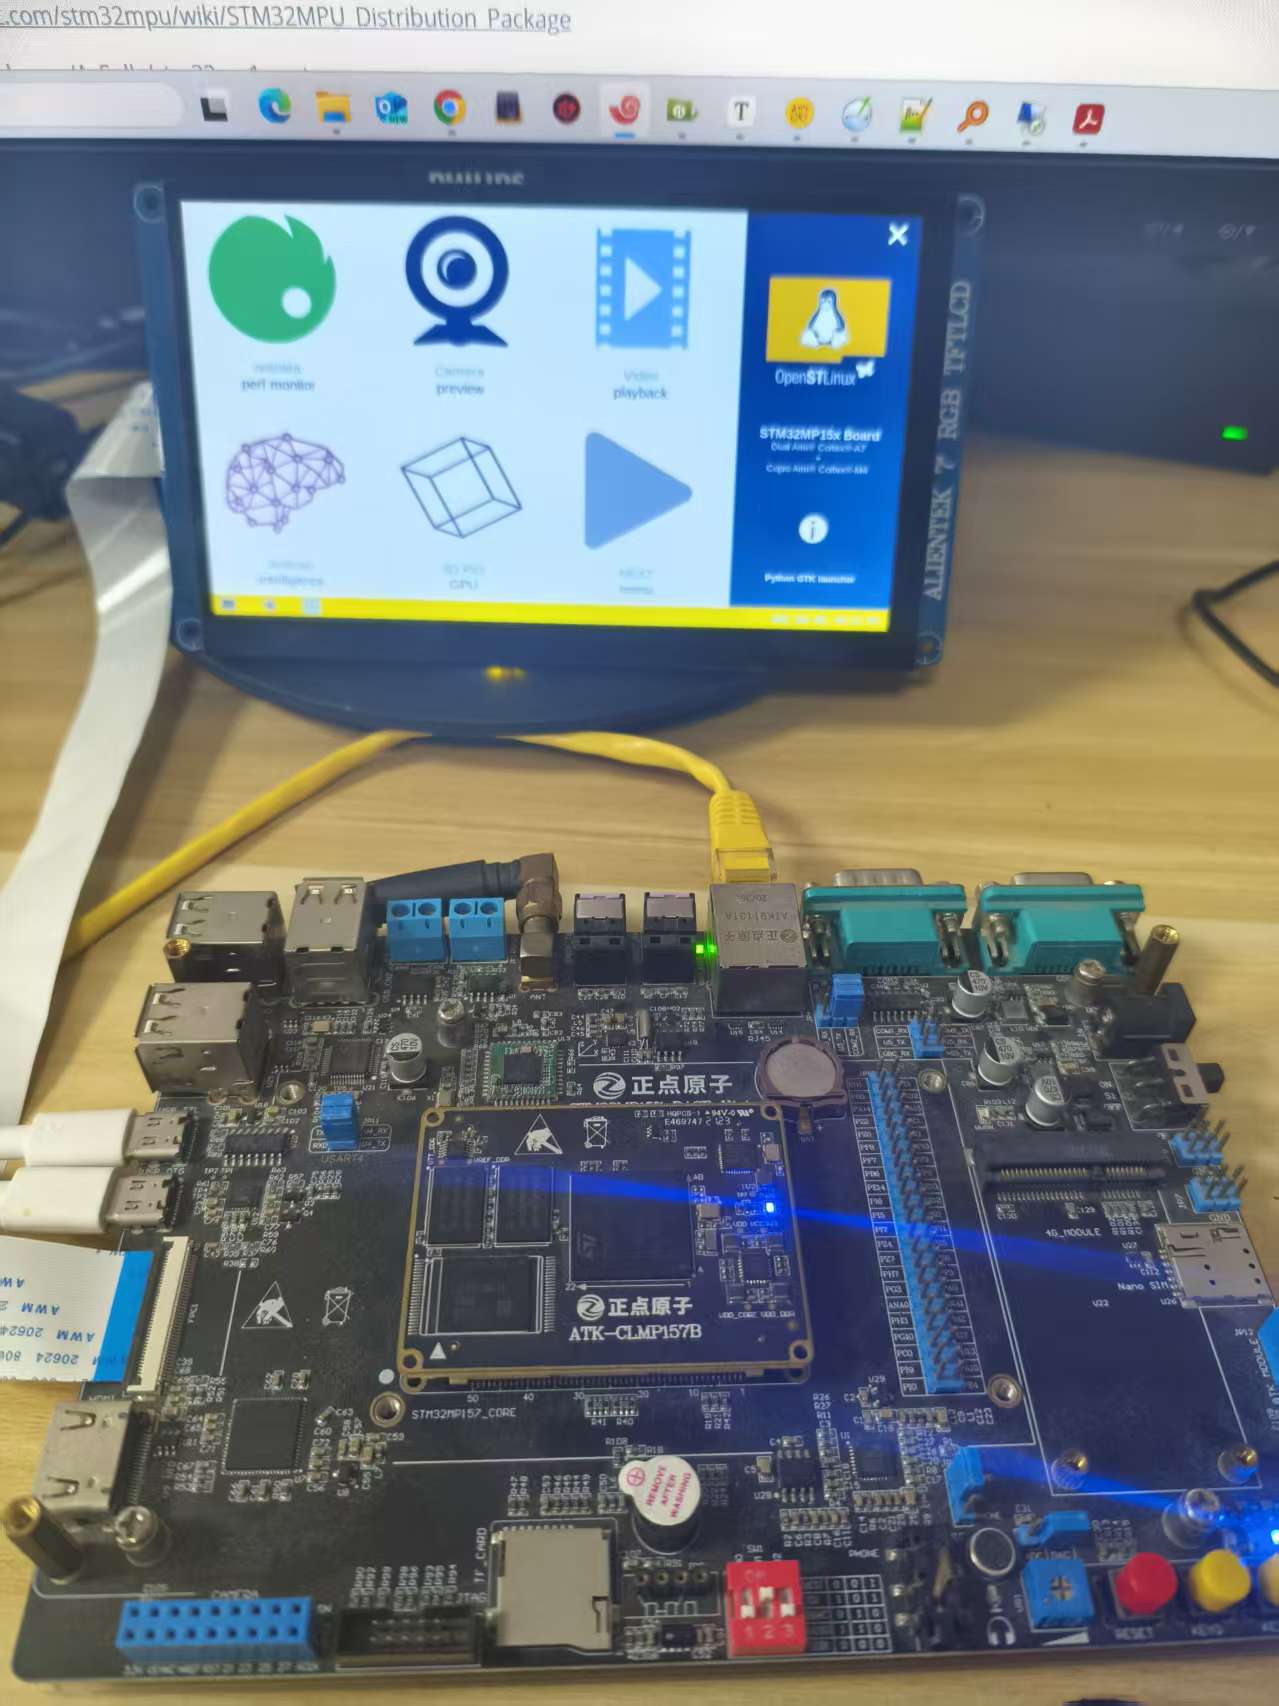
参考地址
https://wiki.st.com/stm32mpu/wiki/STM32MPU_Distribution_Package
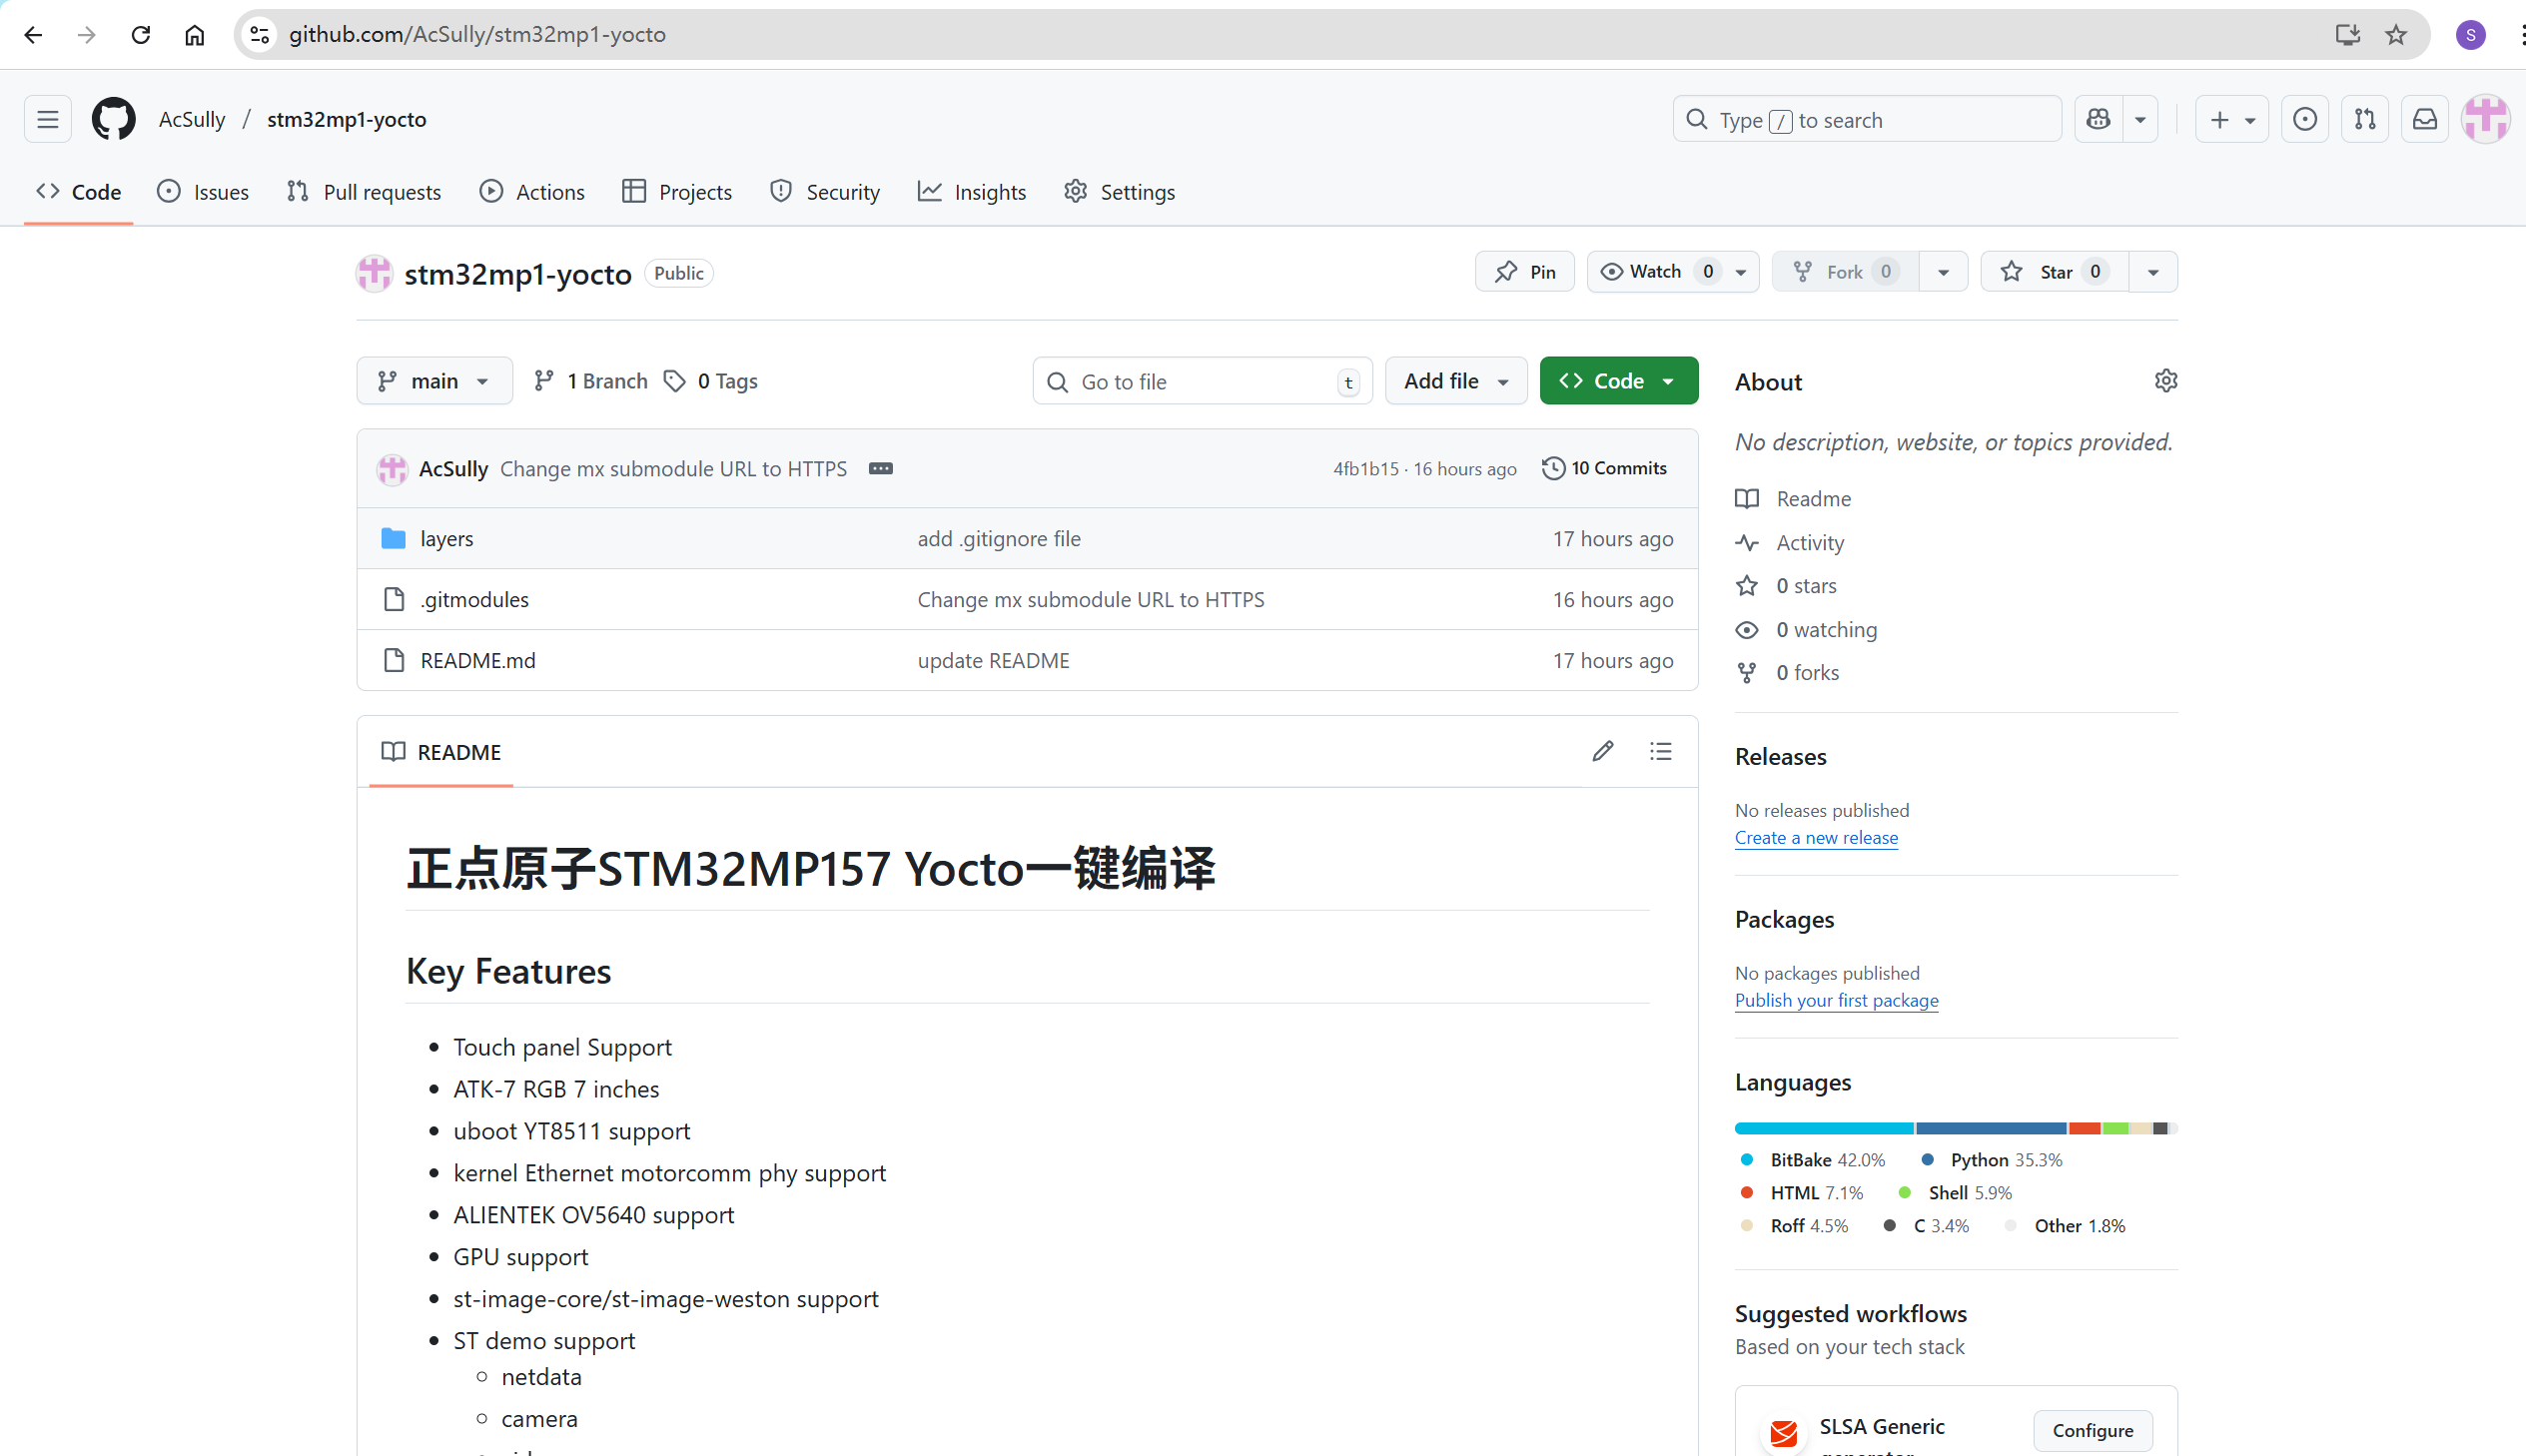
https://github.com/AcSully/stm32mp1-yocto
https://github.com/AcSully/mx

智能硬件社区聚焦AI智能硬件技术生态,汇聚嵌入式AI、物联网硬件开发者,打造交流分享平台,同步全国赛事资讯、开展 OPC 核心人才招募,助力技术落地与开发者成长。
更多推荐


 14
14 0
0- 0


 已为社区贡献11条内容

所有评论(0)